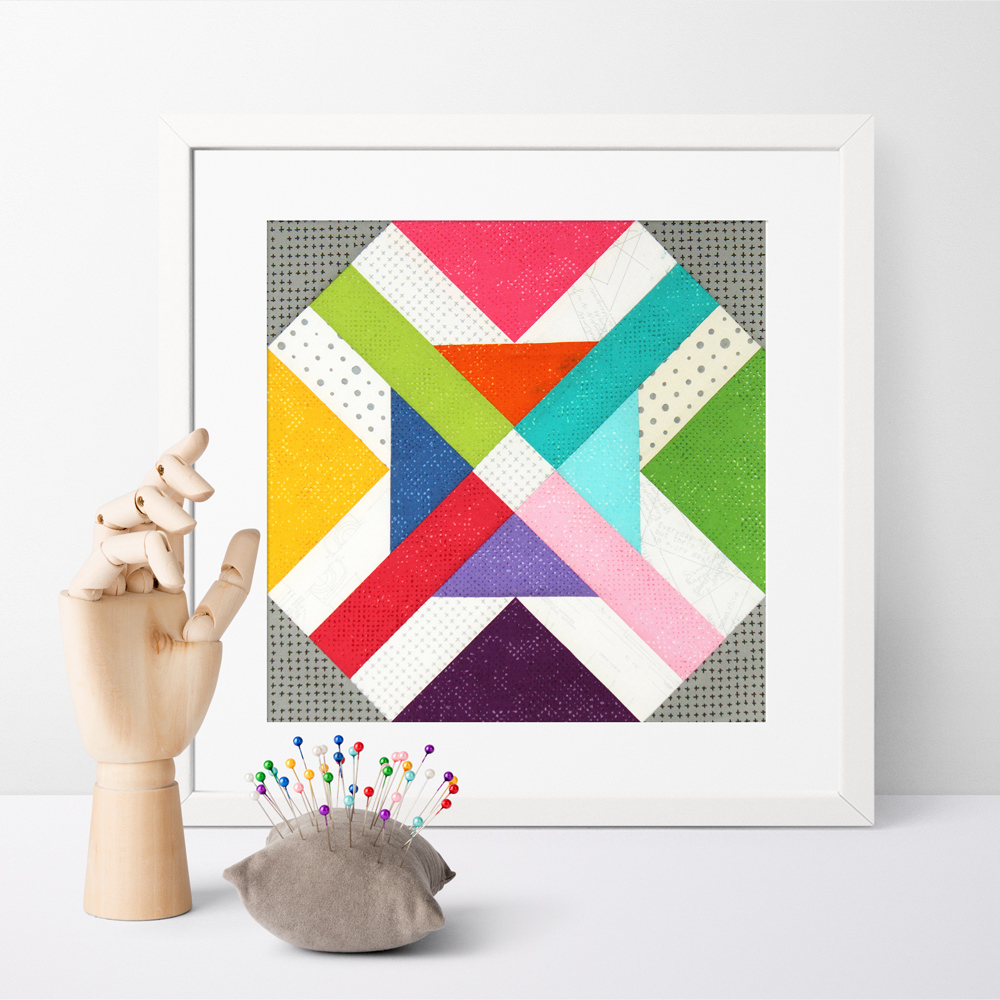
Can you believe it? We are working already on block 11 of our mutual Zen Chic Block of the Month sew along. It’s a block which gets it accuracy again by paper piecing.
Paper Piecing gives you these straight, accurate thin strips for the middle cross and all the triangles
First, print out the paper piecing template. Make sure you check "actual size" on the printer dialog and measure the 1" proof square to double check the right size. Then glue the sheets together. Cut out all single segments from the paper template.
If you have no experience with foundation paper piecing, this video will give you a basic understanding.
We have also already worked on paper piecing with block 5 and Block 8, where you can find step-by-step instructions for this method.
You will notice in the block intructions that some of the measurements are in blue letters - it means: cutting instruction includes seam allowance of 1/2" instead of the standard 1/4". This extended seam allowance makes paper piecing easier because you can place the piece of fabric more roughly on its determined place and trim it off later to the perfect size.
Work through each single paper piecing segment and join fabrics in numerical order. Lay out all single segments as shown in the pattern diagram. Then join segments with 1/4” seam allowance.
Have fun sewing block #11 and share your results with the other quilters of our Zen Chic BOM sew along using our hashtag #SPOTTEDMOREPAPER on instagram and our facebookgroup.
You still need the BOM quilt pattern to join our Zen Chic Sew Along? Follow the links below for all related blog posts and download the instructions right here:
Get the Block of the Month Quilt Pattern
This is a PDF-pattern and not a brochure! Store the file to your desktop computer. I can’t recommend mobile devices for saving the file. (Keep in mind: The download expires after 1 week or 3 attempts)
ALL BLOG POSTS FOR THE BOM
Cutting your fabrics with triangle templates a bonus download
Cutting diagrams for yardage, bonus download

