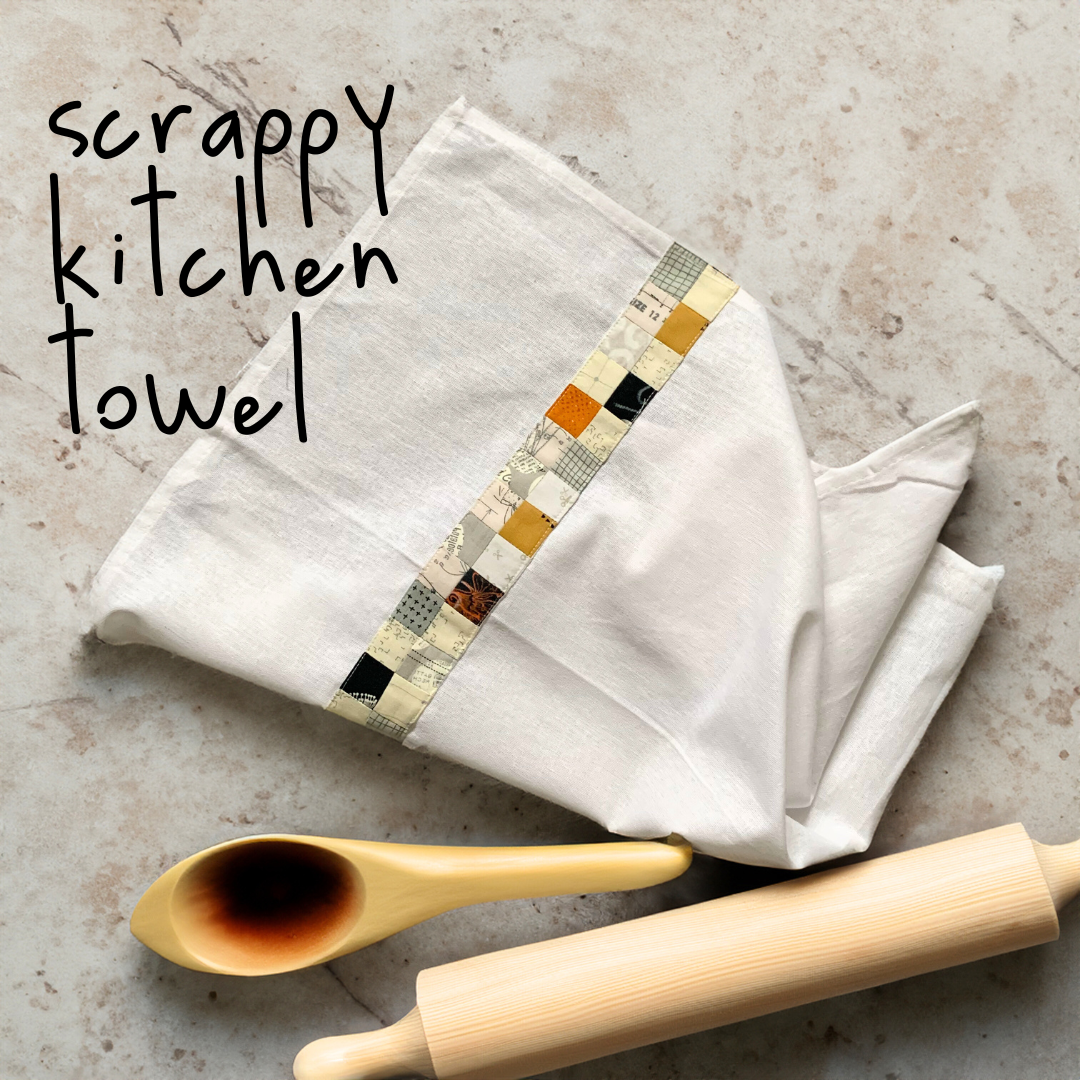
Stitch Your Way to Stylish Tea Towels with Zen Chic Flair: A Step-by-Step Tutorial
Hey there, my fellow fabric fondlers!
Today, we're jazzing up the mundane with a sprinkle of quilting magic. That's right, we're turning those pesky "leaders and enders" into a chic statement for your kitchen. You know what I'm talking about: those little fabric soldiers that keep your threads in check and your sanity intact. Let's transform them from afterthoughts to aft-oh-so-fabulous!
The idea
I have a small drawer for leaders/enders in my sewing furniture that I can easily access while sewing and here I have already sorted cut squares, pairs and fourpatches. So I can easily create a new project from my little helpers while I'm sewing. Sometimes tea towels, sometimes a pouch, there are plenty of ideas.
Step 1: Squaring Up
Start by turning the remnants from your cutting table into uniform squares. Mine are snazzy 1 1/2” pieces, perfect for adding a touch of patchwork flair to your kitchen towel with simple piecing.
Step 2: Pairing Party
Next time you need a “leader/ender,” grab two squares and pair them right sides together, like a mini fabric sandwich. Stitch them with a precise 1/4” seam allowance, because we’re all about that accuracy, aren’t we?
Step 3: Collecting Couples
As you keep on stitching, you'll gather a delightful collection of these duos. We’re not making patchwork; we’re making a love story between squares here 😆!
Step 4: Creating Checkerboards
Once you have enough, it’s time to play matchmaker and pair these pairs into four-patches.
Then, line them up in a checkerboard style strip in the width of your towel that screams modern chic. Lay out your pieced patchwork strip and give it a fusible web backing: It should be 2 1/2” x width of your pieced strip. Place the side with the glue on the right side of the strip and with a 1/4” seam on both long sides sew a kind of tube. Turn the tube right side out and fold the seam allowances of the short edges inside the tube.
Step 5: Towel Transformation
Grab a plain linen tea towel (the blank canvas of the kitchen) and with the fusible web side down place your strip (I put mine about 8” above the lower edge). Iron it on, then stitch around the edges to secure your masterpiece.
Step 6: The Big Reveal
Voilà! Your dish towel is now a dish "ta-da!" A perfect blend of functionality and style, ready to be the envy of all kitchen textiles.
Want to make a modern quilt?
Check out my latest patterns. Perfect for my "Bluish" collection that just hit the stores.


