Quilting with a Twist: Turn Scraps into Chic Art with Our Modern Log Cabin Challenge
Hey there, fabric fanatics!
Got an itch to stitch something new, chic, and totally YOU? Let’s take the old-school Log Cabin quilt block for a spin around the dance floor and add a little pizzazz. We’re talking about an exciting cocktail of improvisational design, color-blocking, and a big ol’ pile of fabric scraps! Let's dive in:
1. Scrap Scrounging and Sorting:
Darling, it’s time to raid that scrap stash. Anything goes here, be it leftovers from past masterpieces or old clothes. The wilder the color and pattern selection, the better! But hey, let's not throw caution to the wind completely – ensure your colors blend like a perfect smoothie. Sort those scraps into color-blocked piles. It's all about the modern charm, sweetie.
Sharpen those rotary blades, and let’s get cutting! Now, the classic Log Cabin would have you stick to one width, but we're shaking things up. Be daring and mix and match strip widths. Variety is the spice of life, after all!
2. Strap on your Cutting Cap
3. Laying Down Log Cabin Foundations
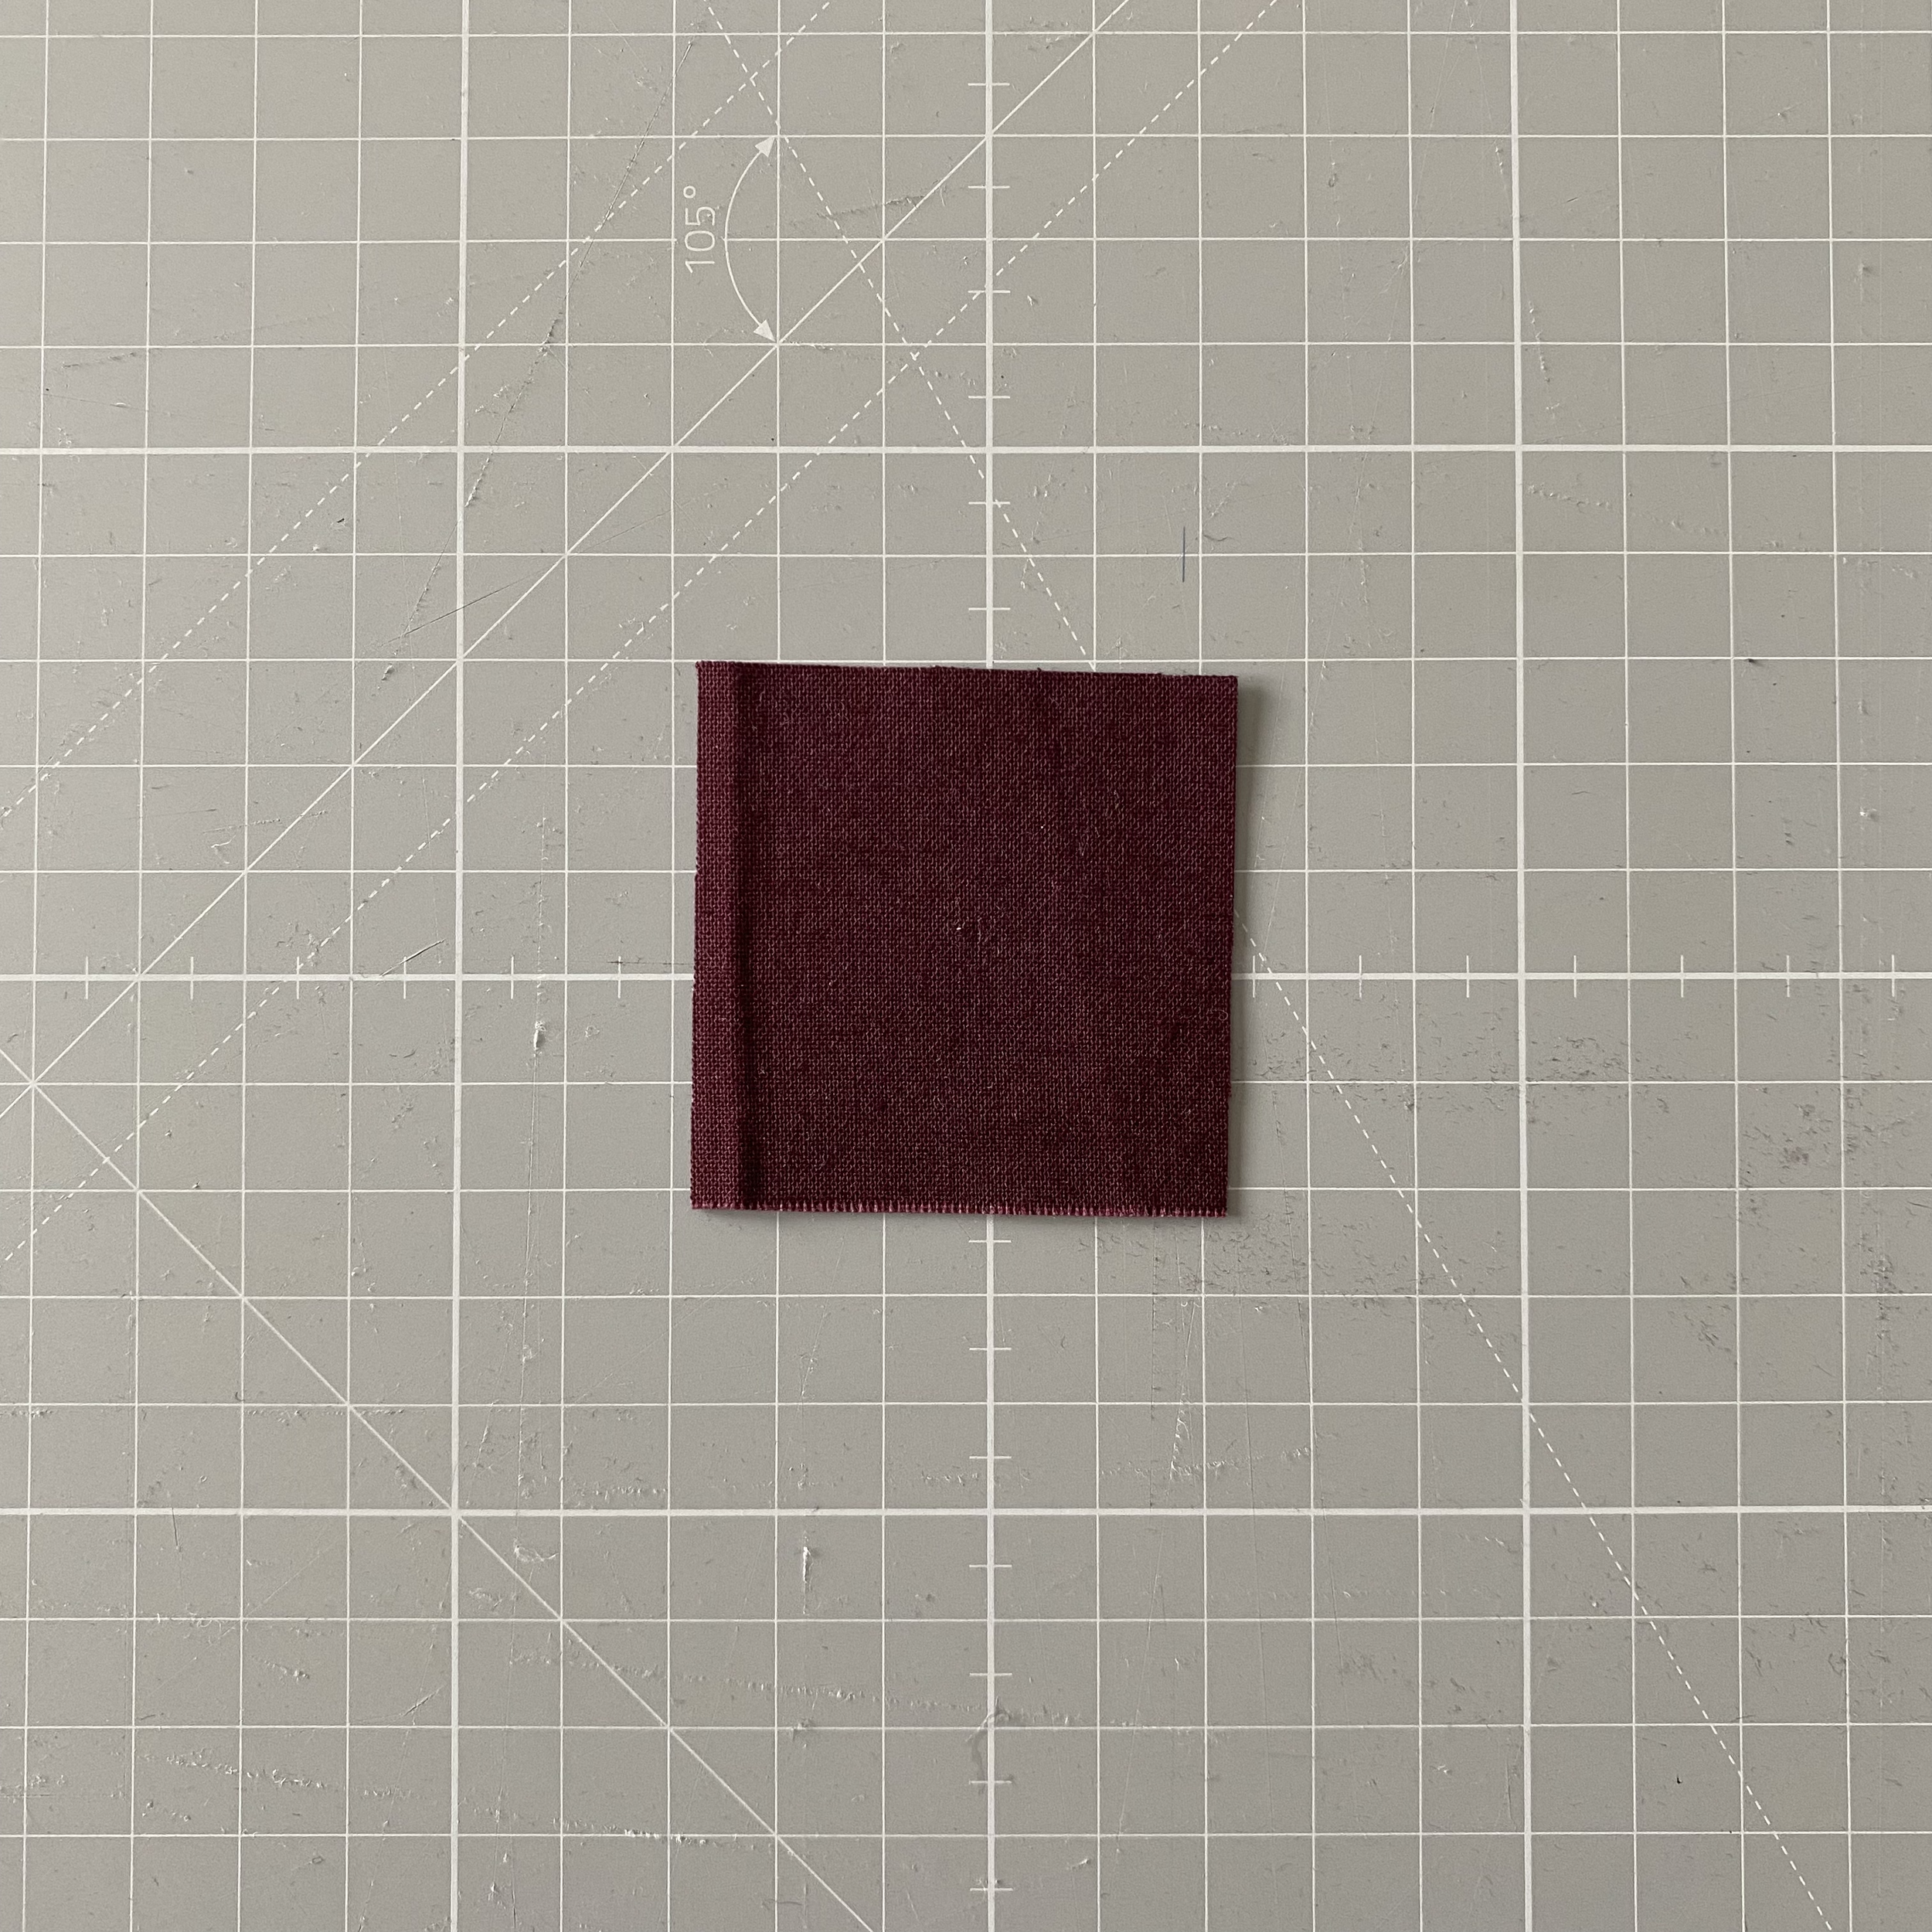
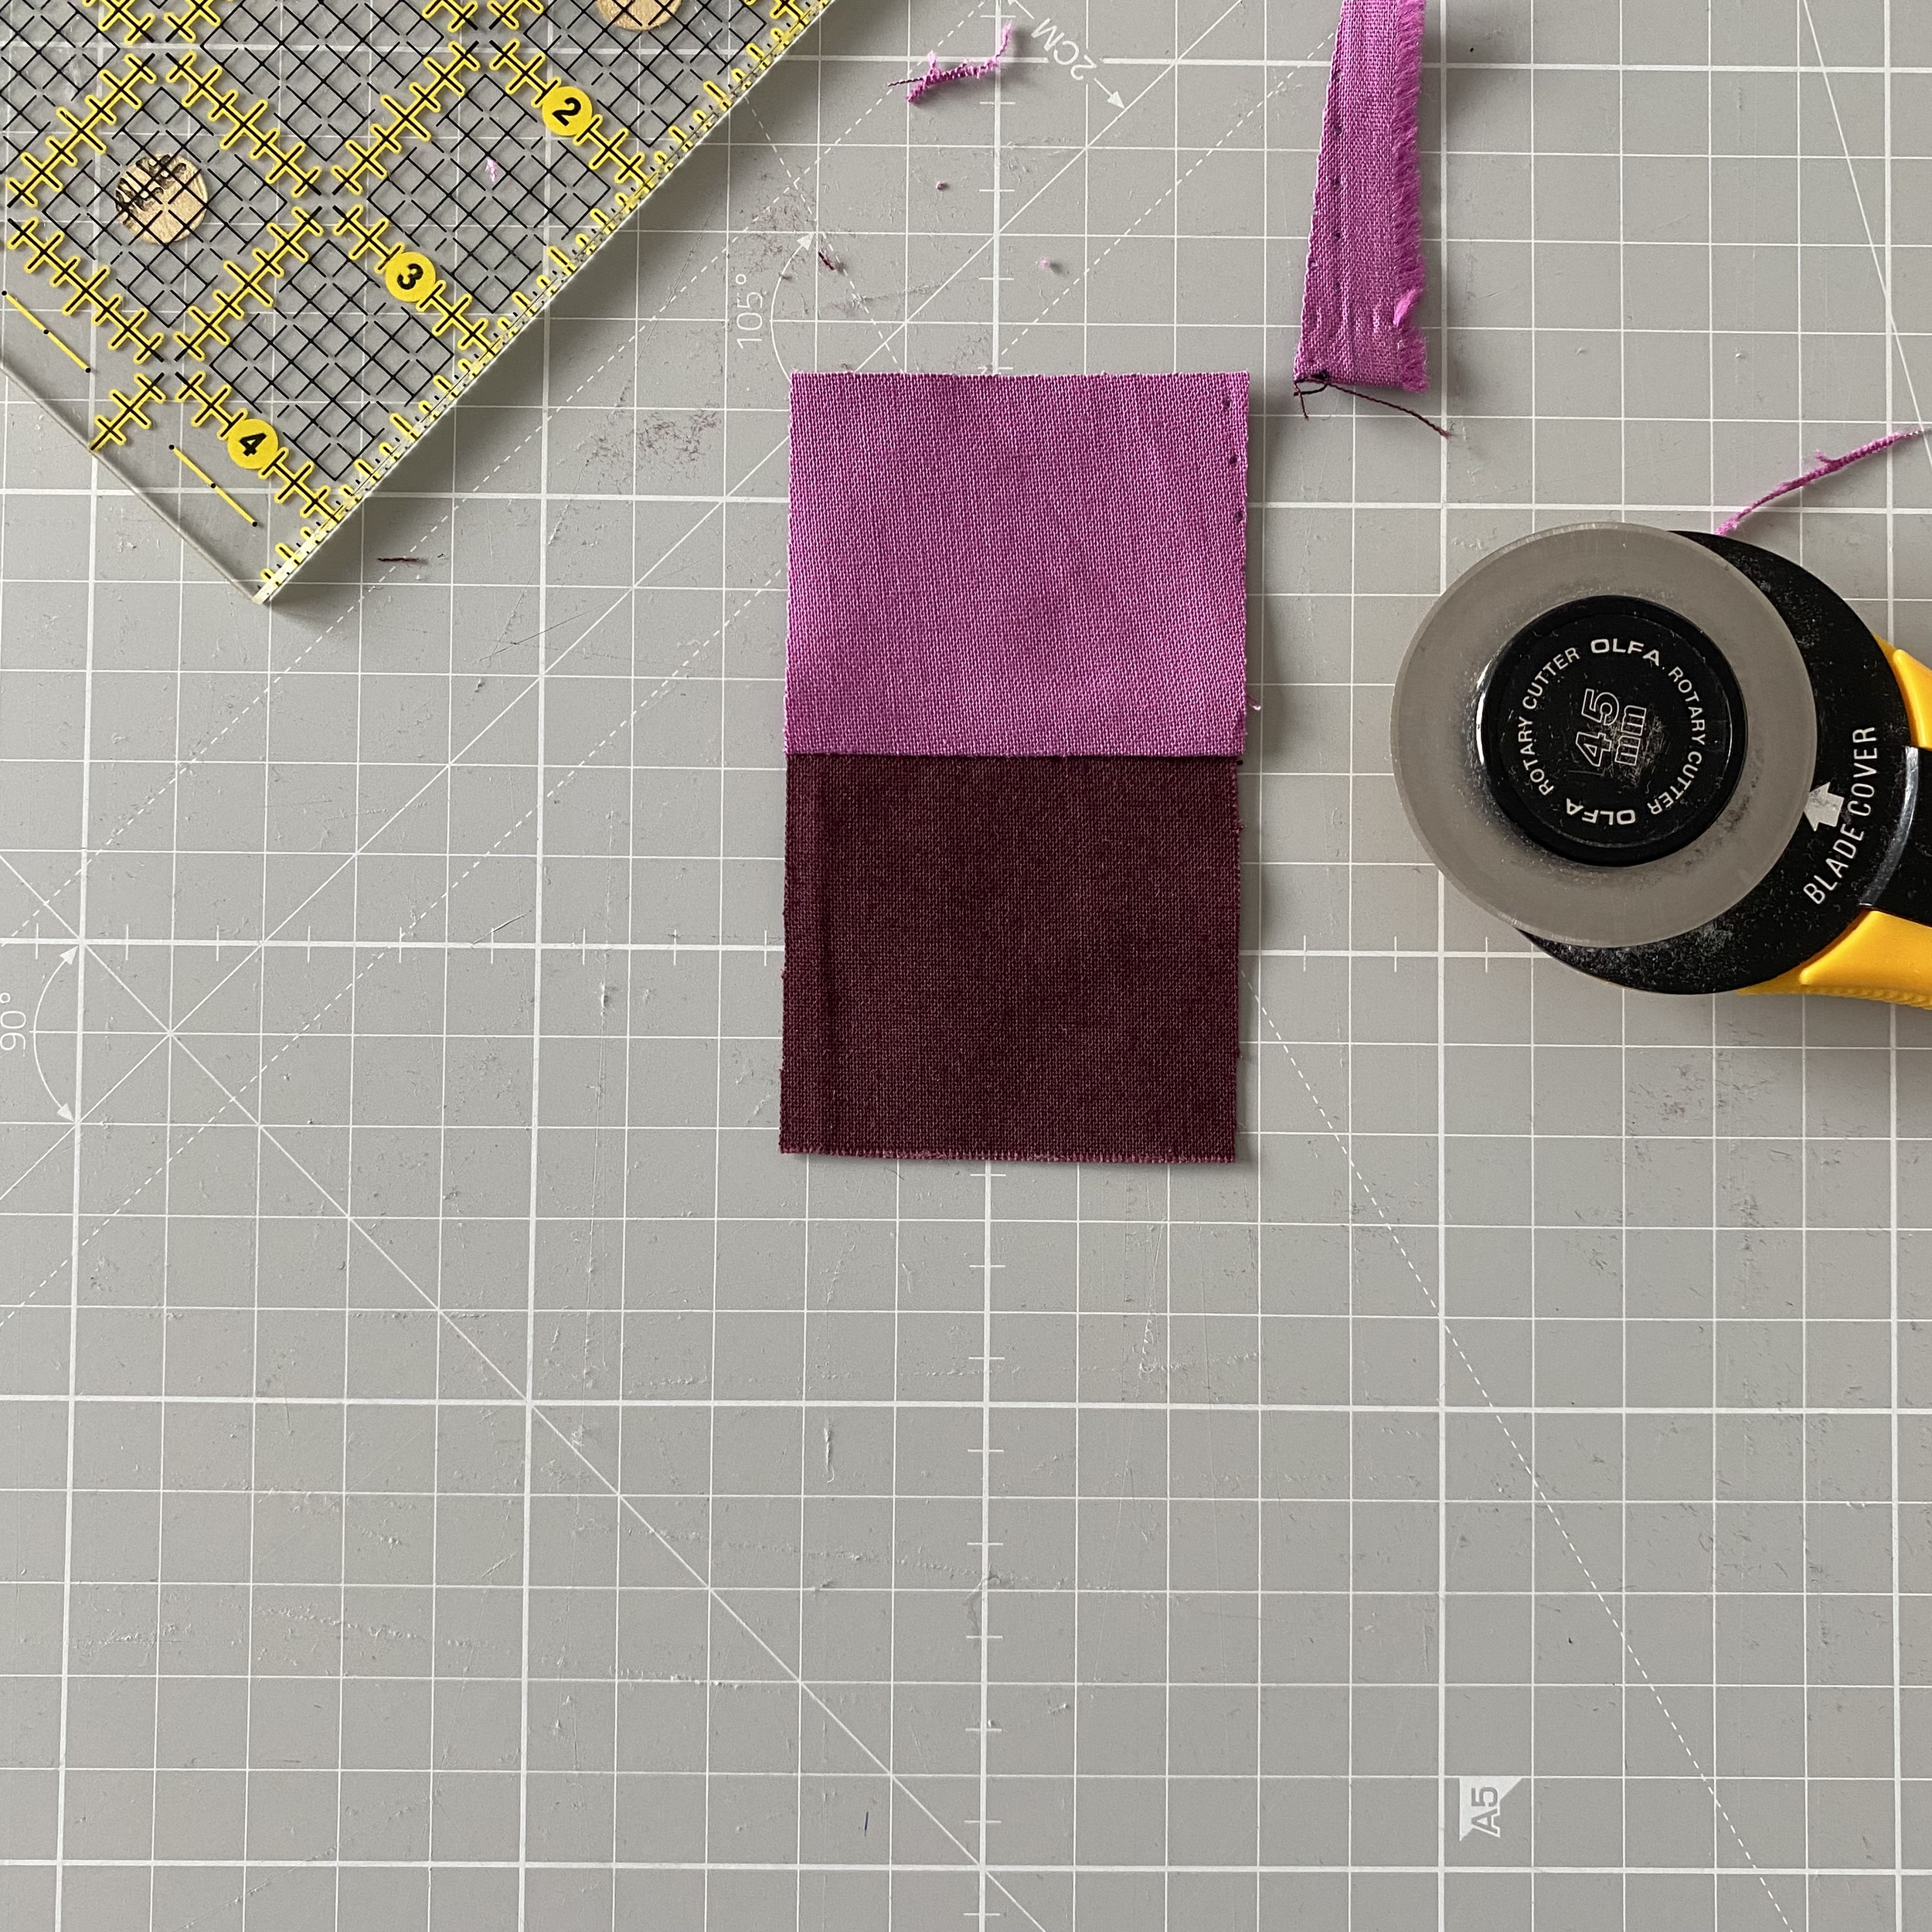
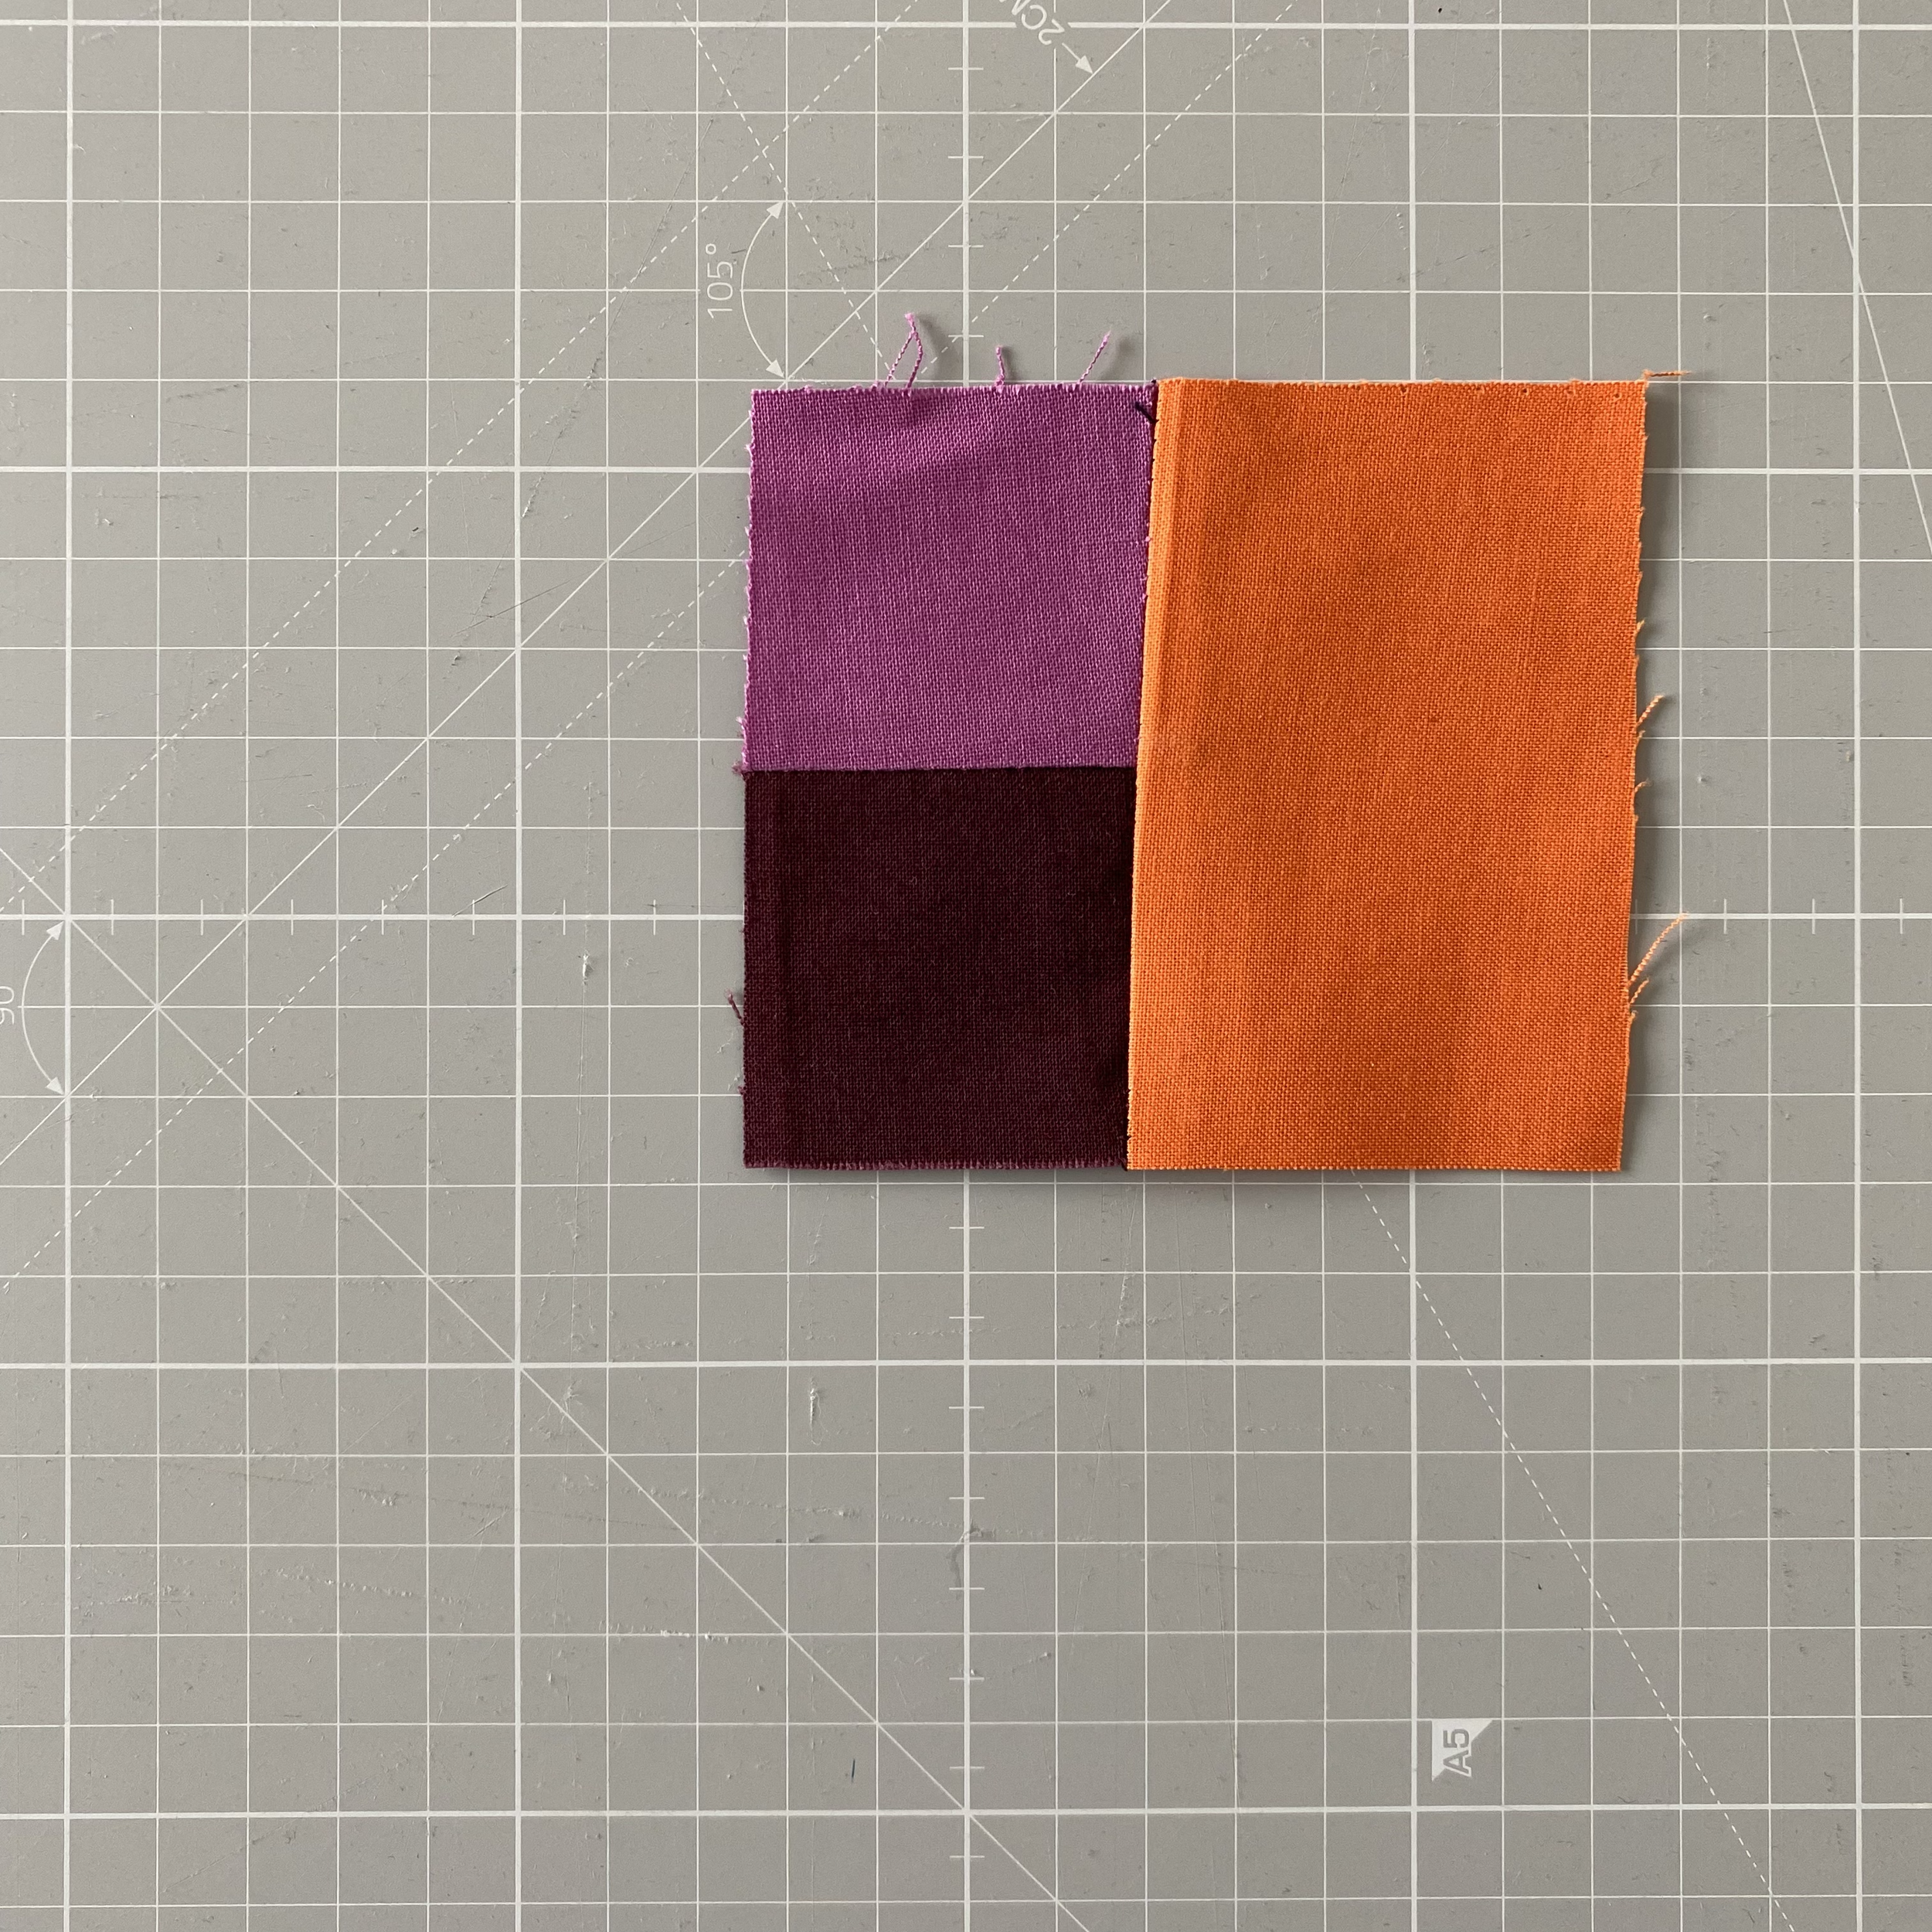
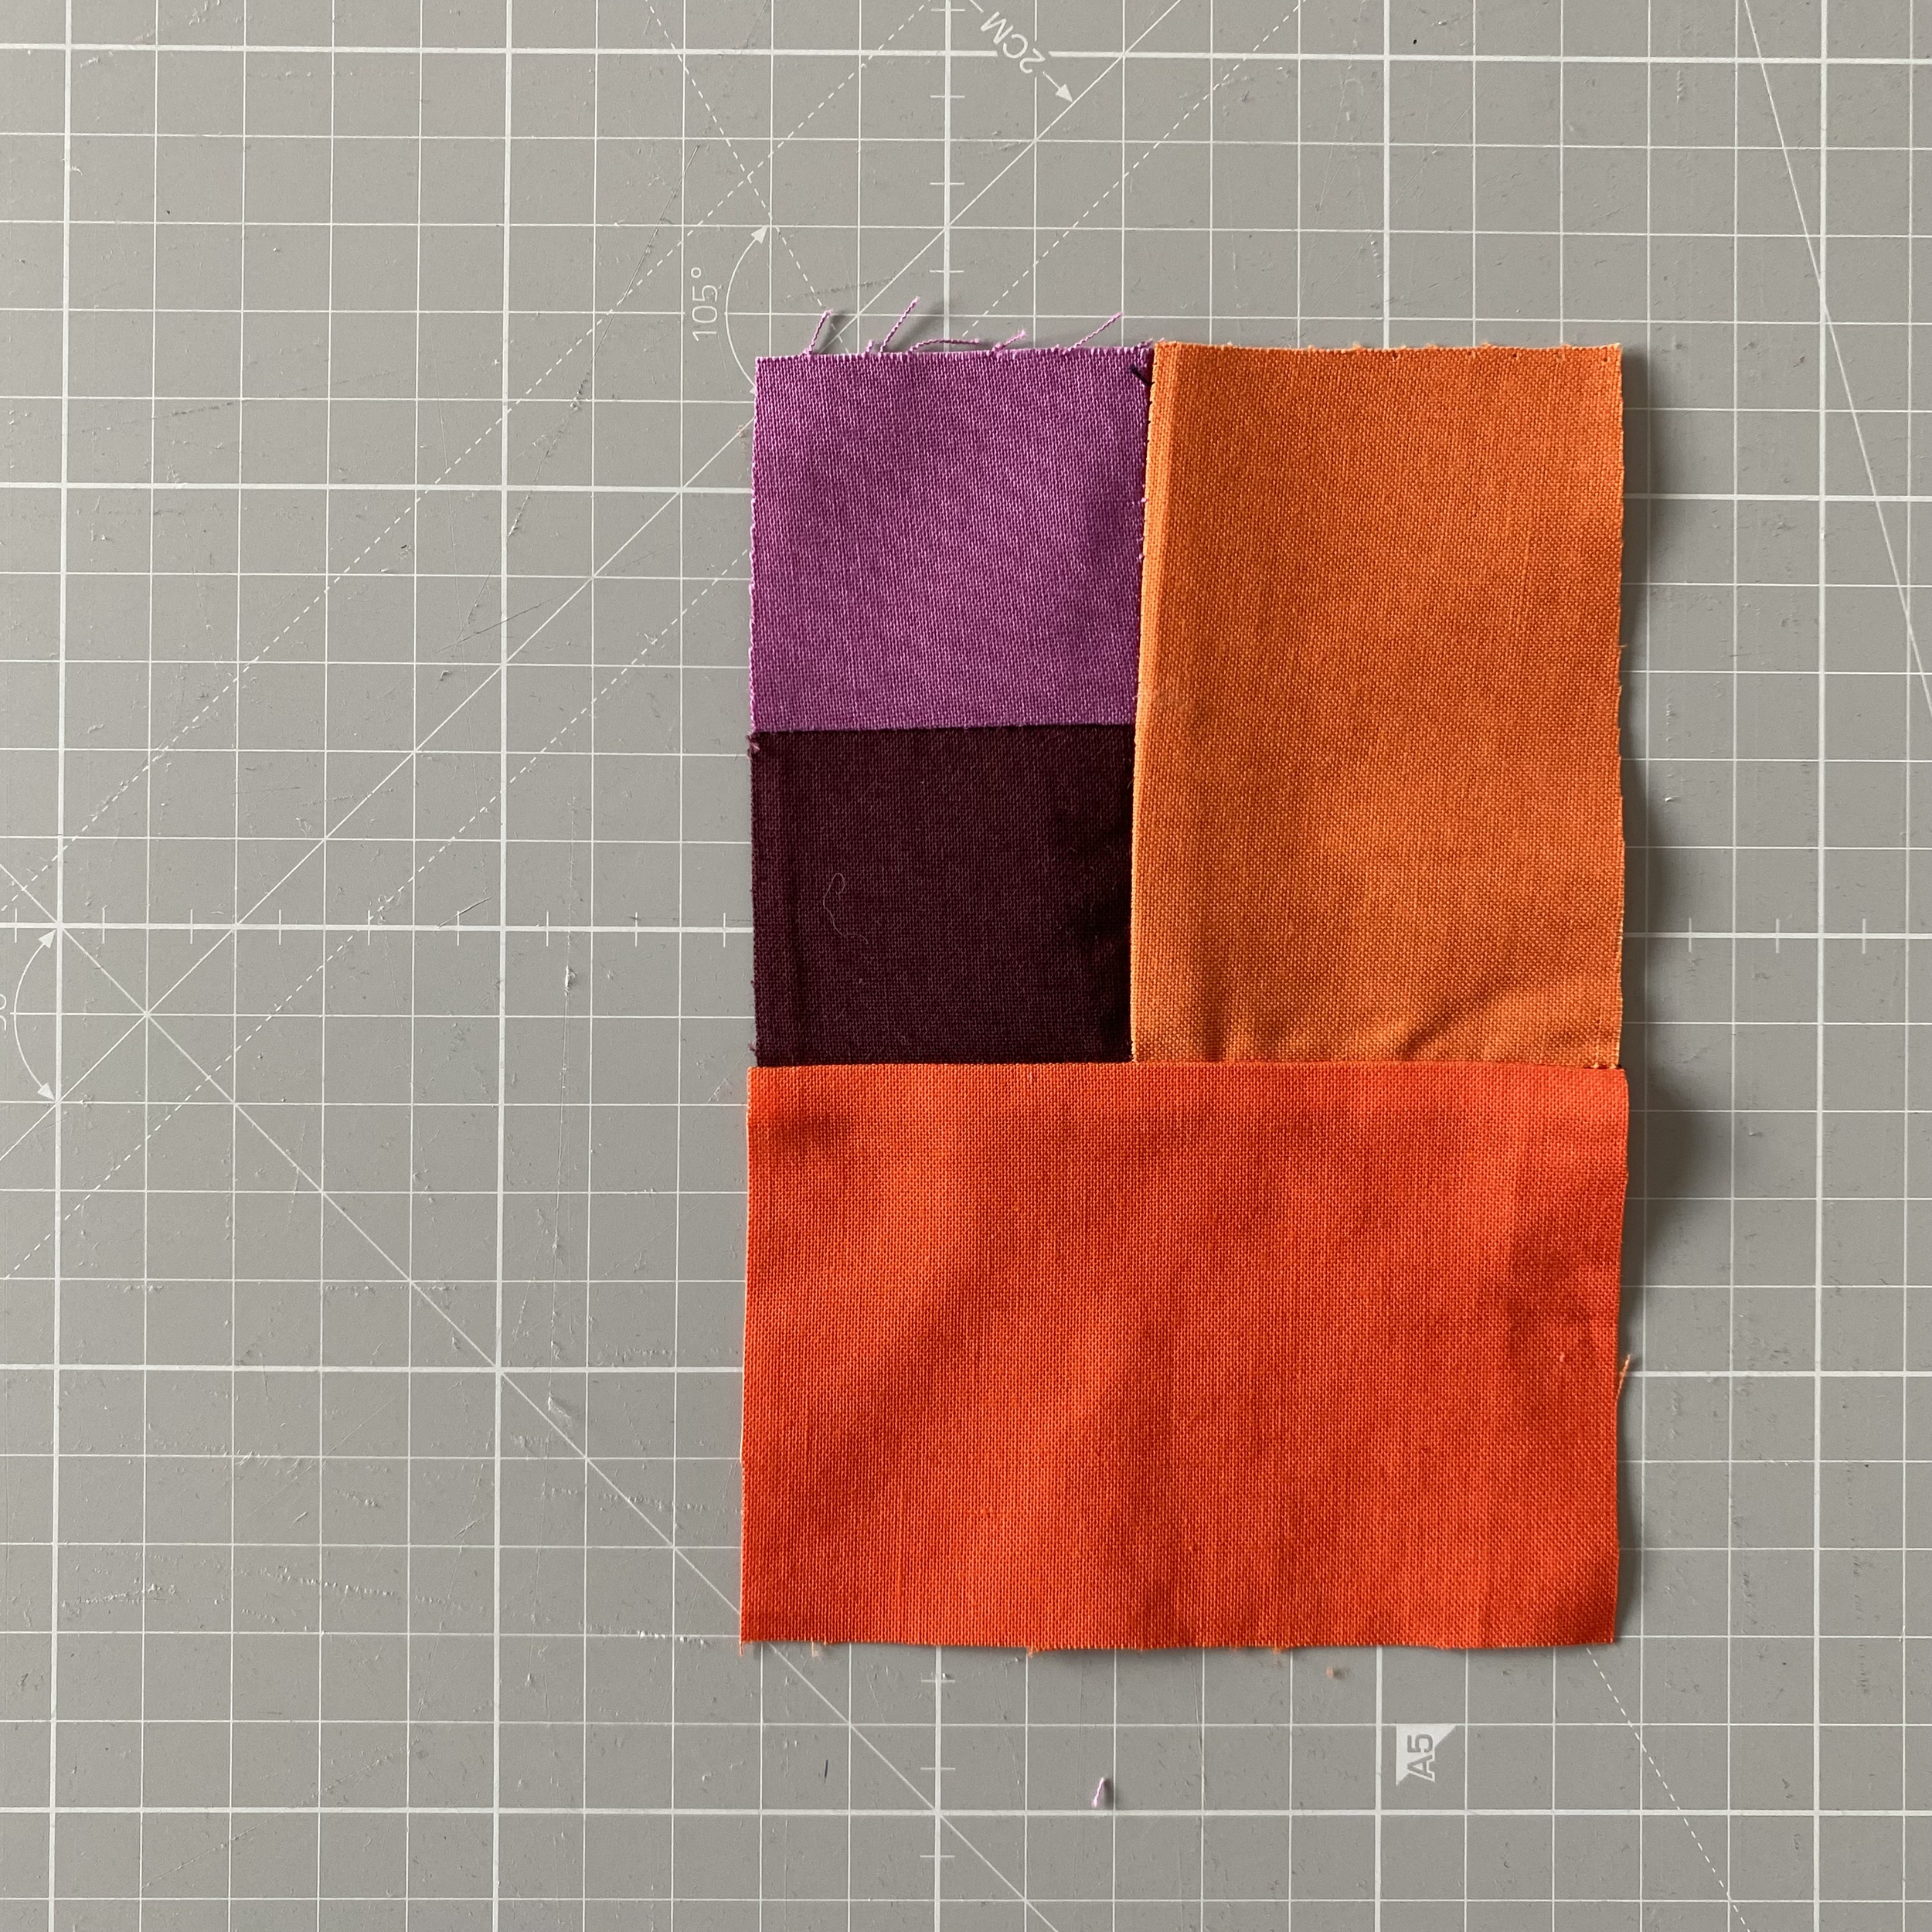
We begin our block with a square in the center – the heartbeat of our Log Cabin. Start swaddling that little square with your strips in a clockwise fashion, adjusting each new strip's length as the block grows. It’s like a comforting fabric hug!
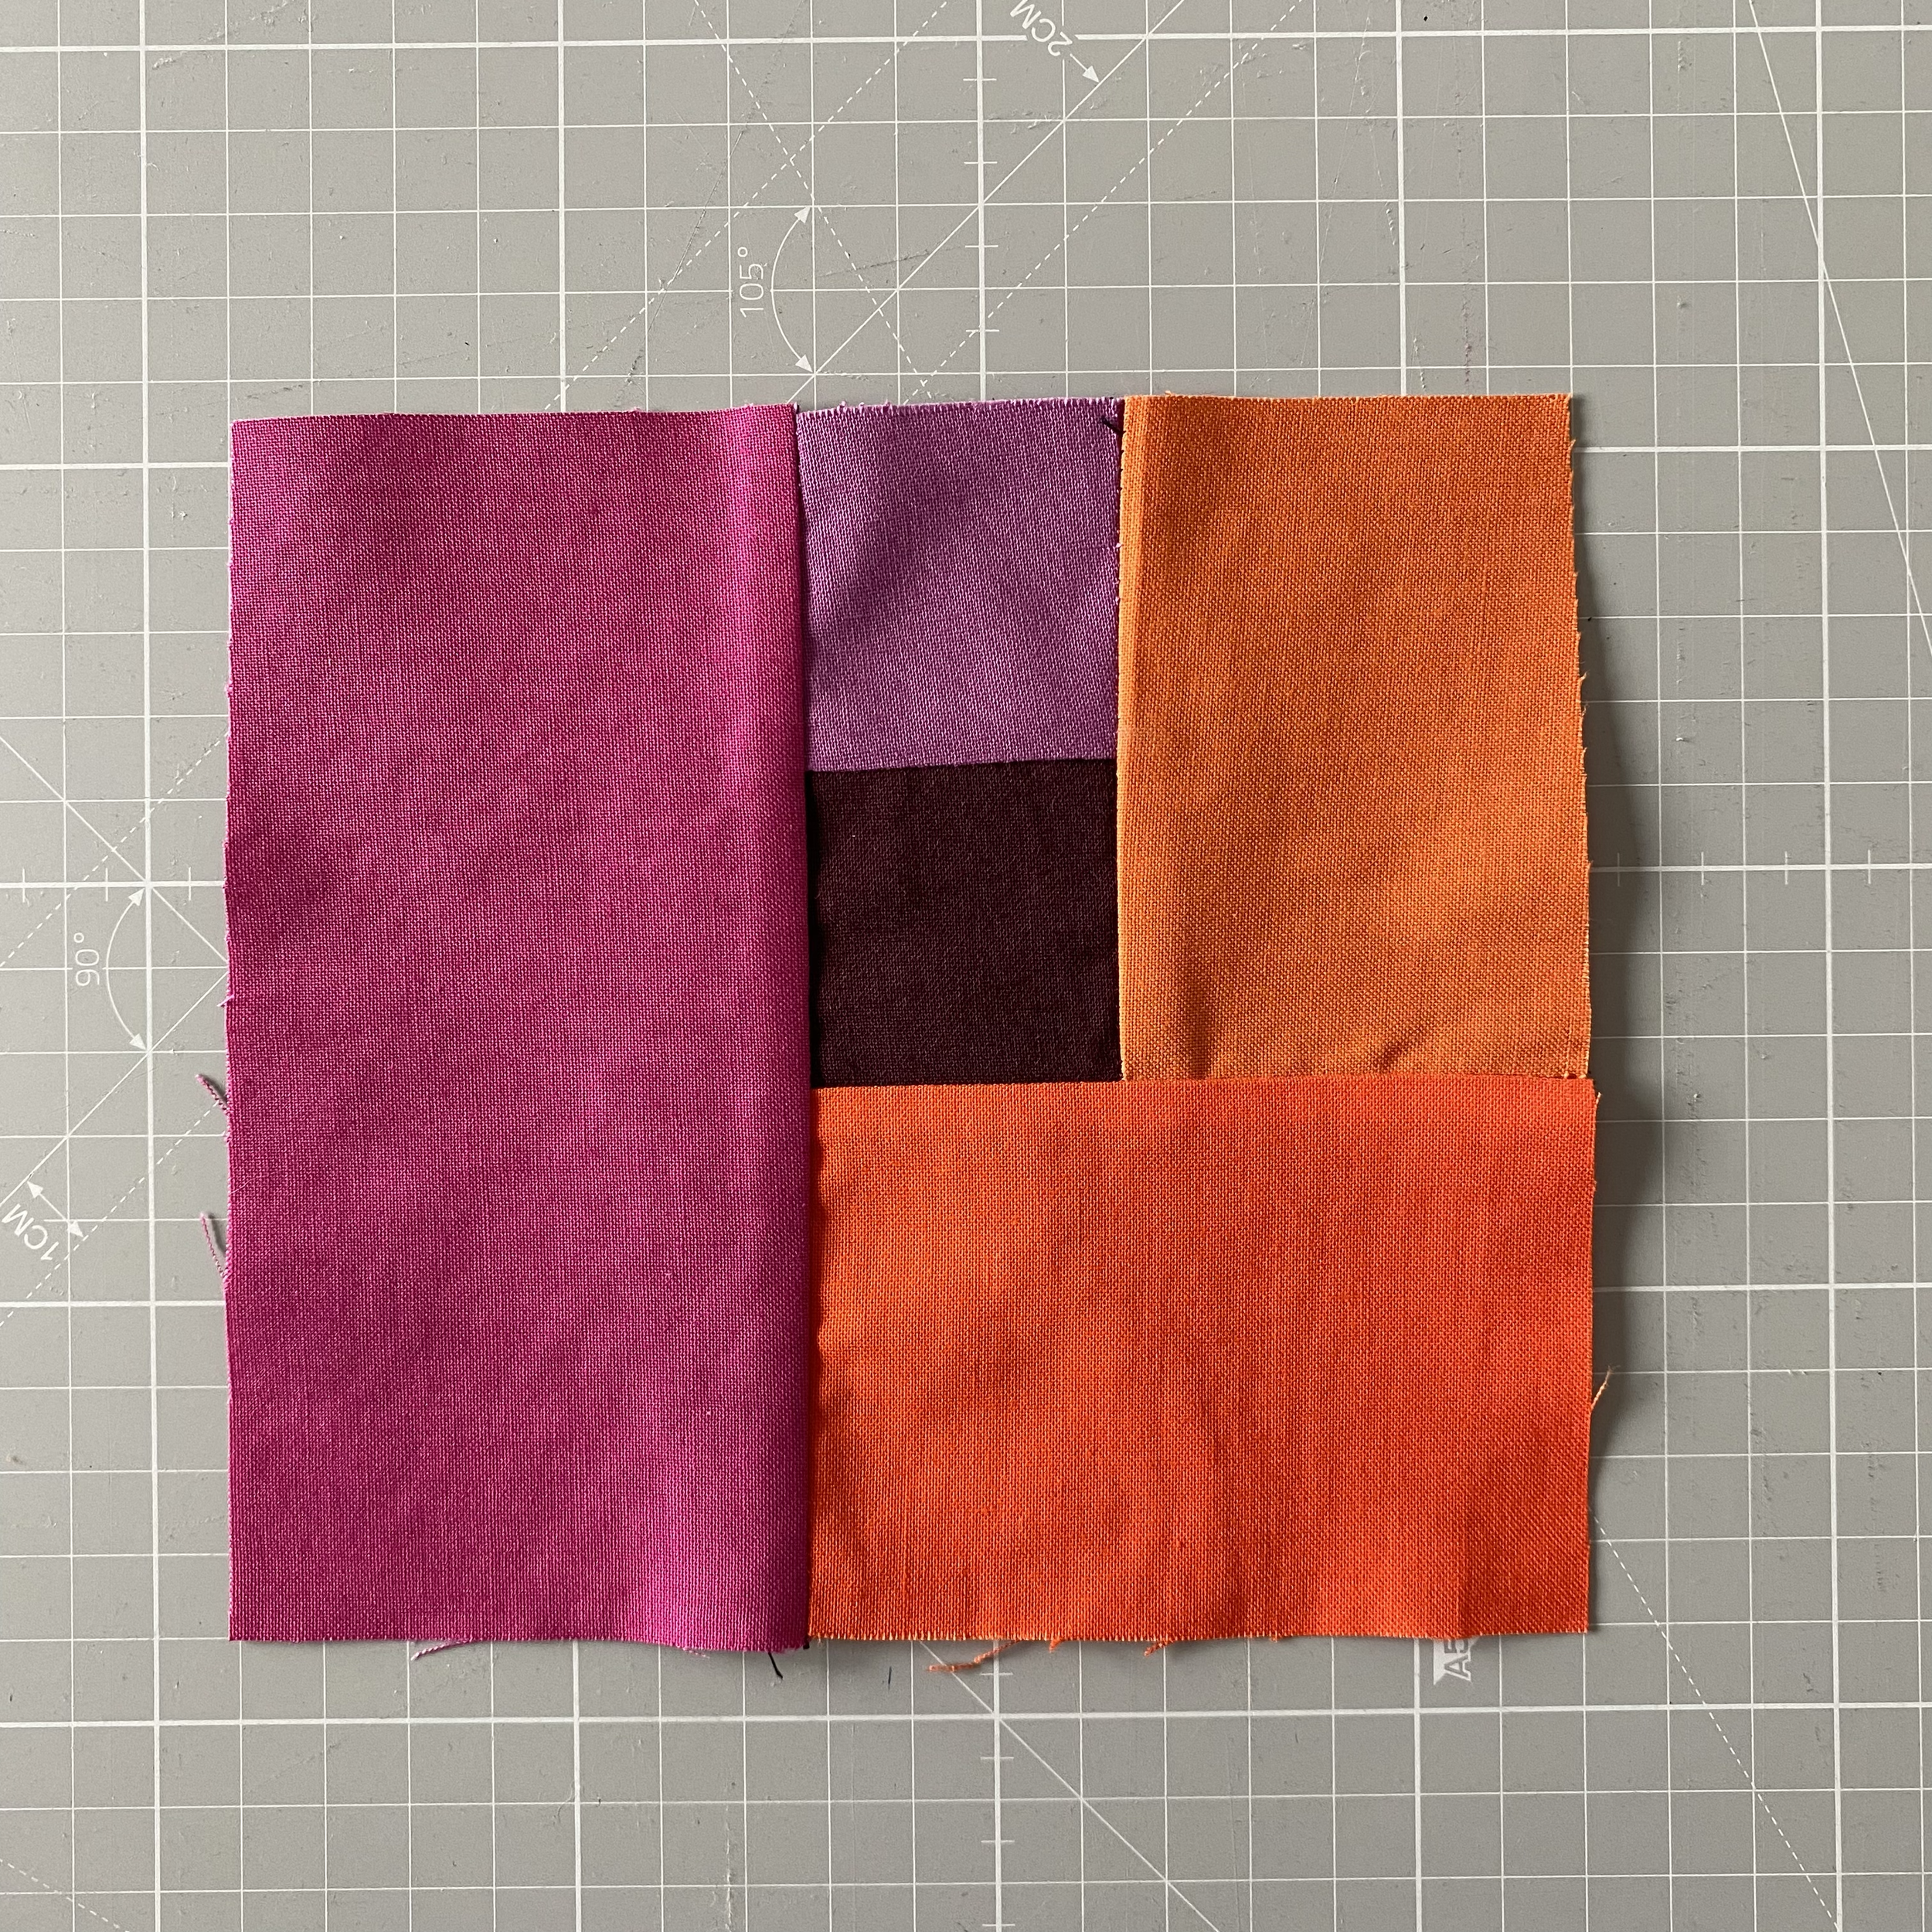
4. Press for Success
After each strip addition, give that block a good press. We want our quilt blocks flatter than a pancake at a syrup convention. Trust me, this is crucial for the grand quilt assembly!
5. Block Party
Keep adding those strips till your block reaches the size that screams, "Yes, darling, that's perfect!" So you've got this square thing, maybe it's like 8 inches or something. Trim it down to size adding all the seam allowances and then just use that measurement for all the other blocks. Easy peasy, right?.

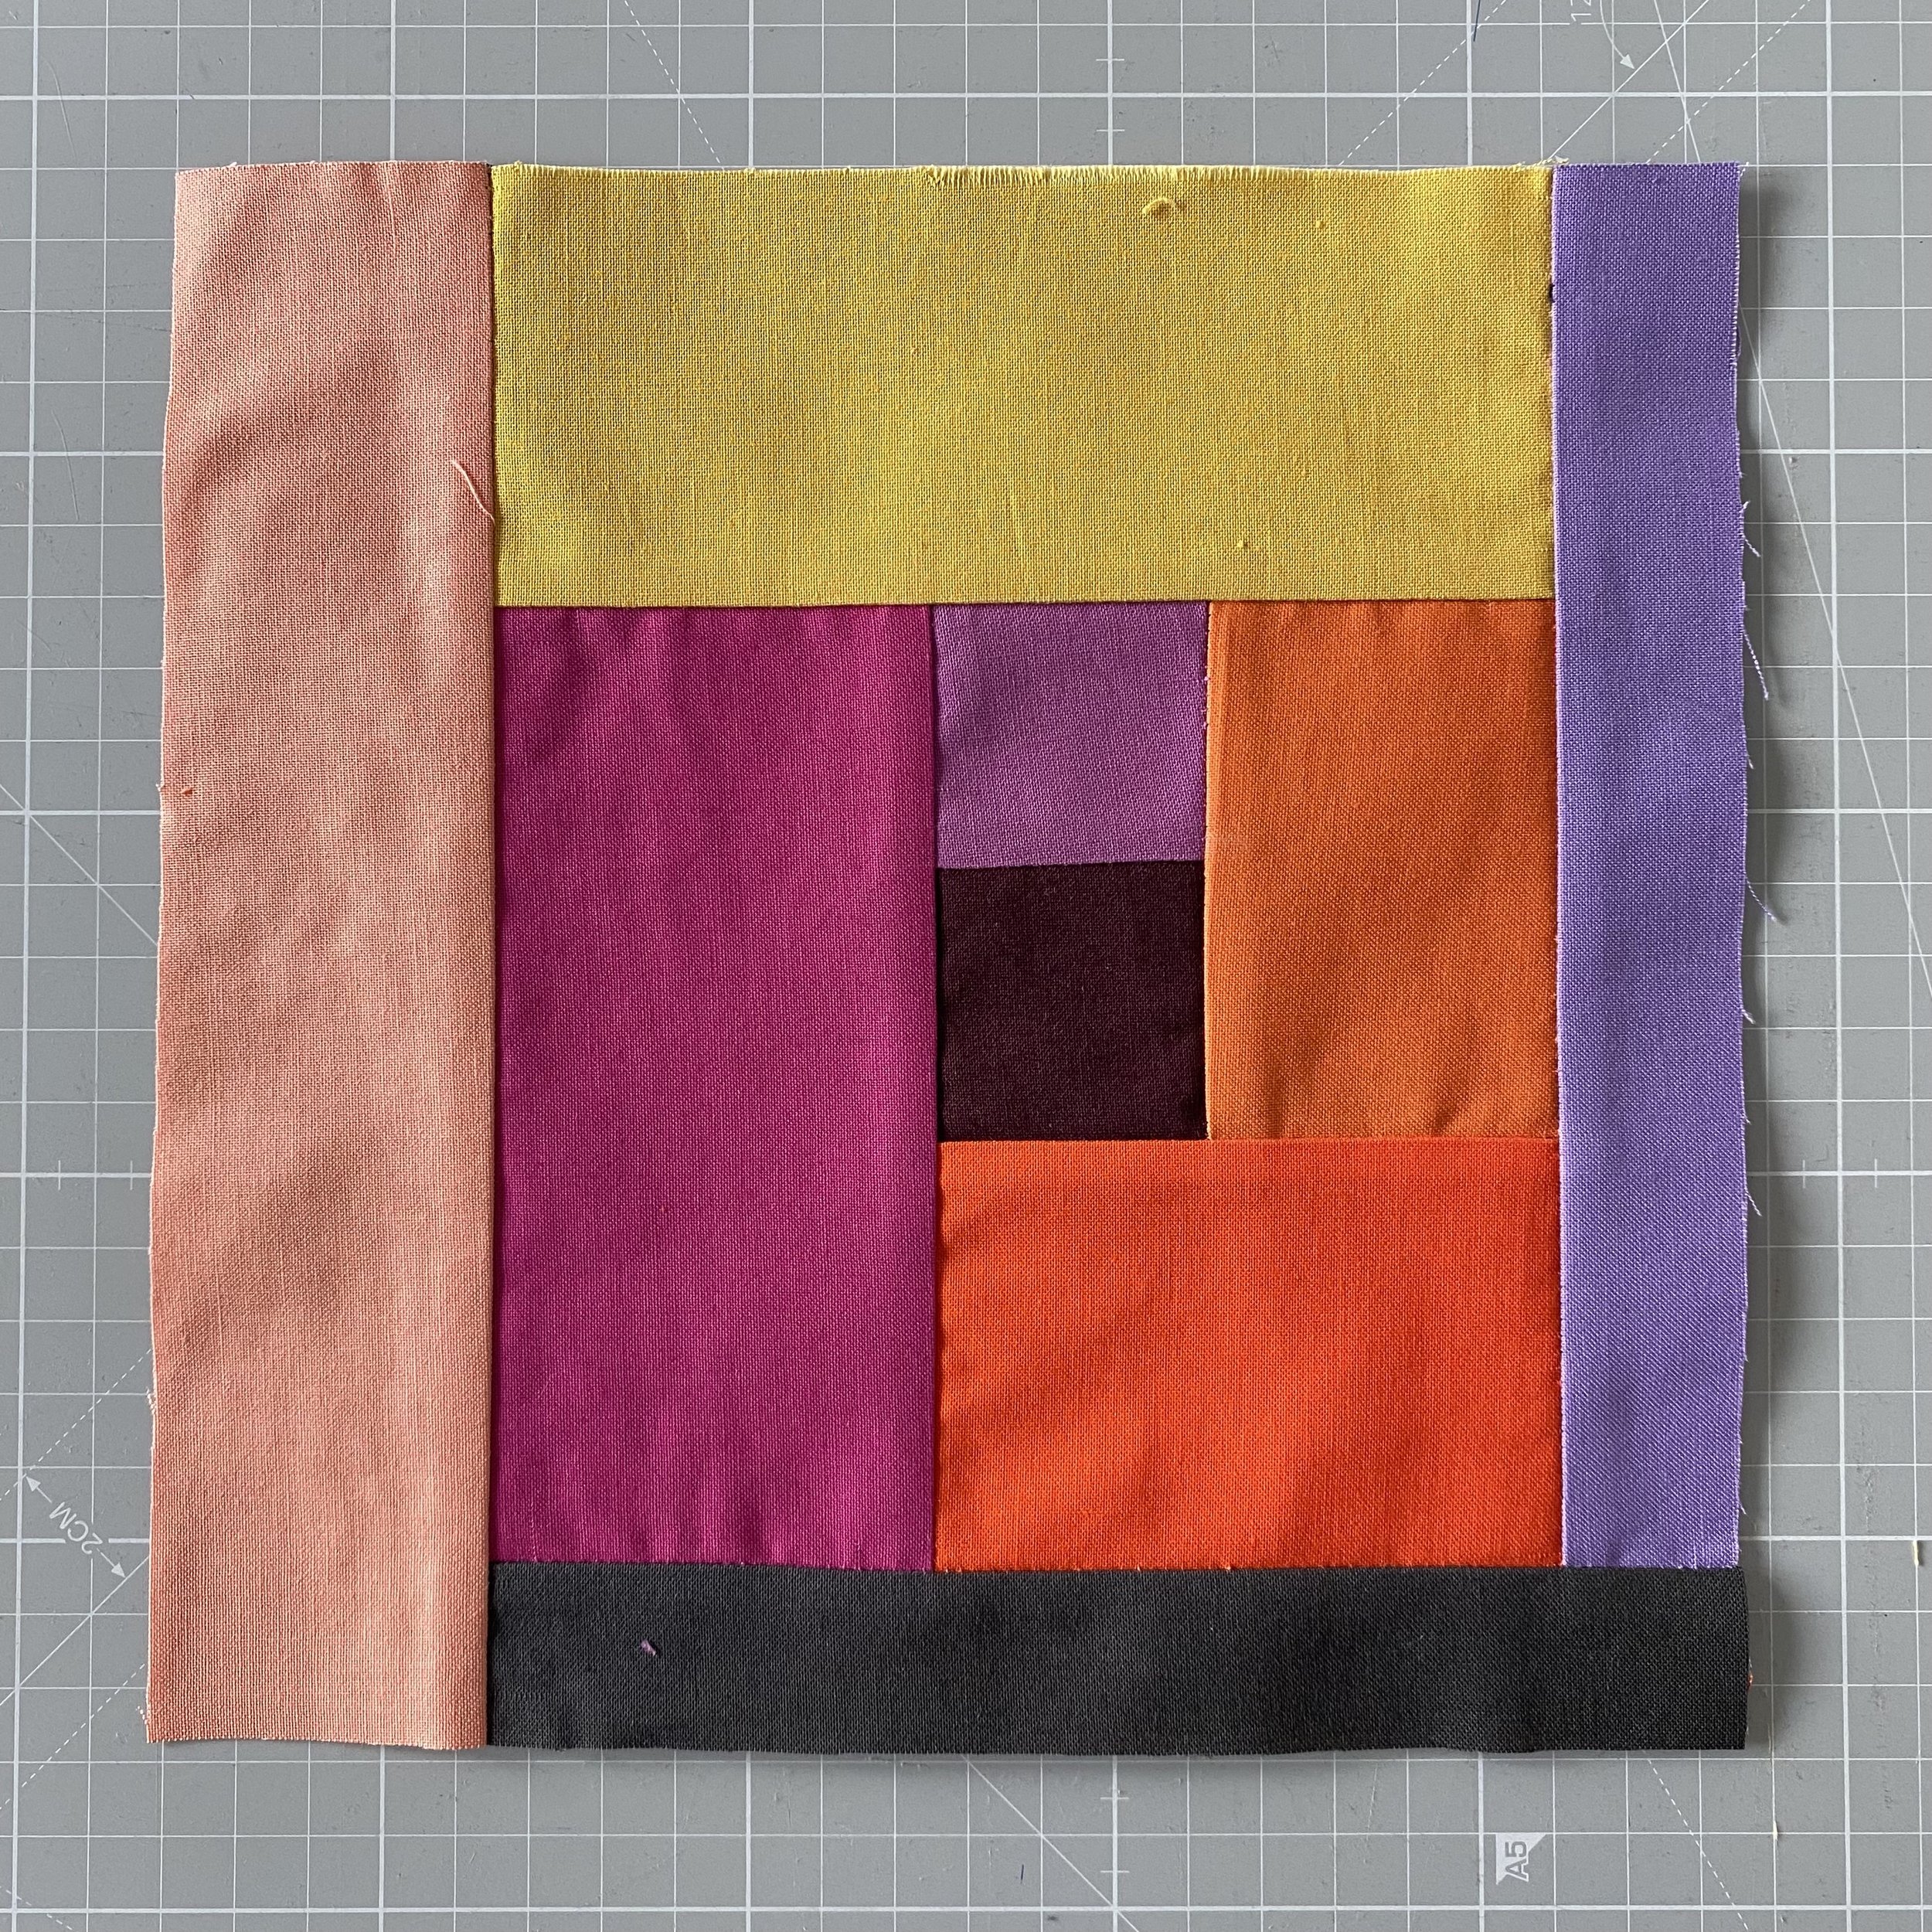
6. Arrange to Derange
Now that you've got a pile of gorgeous blocks, play around with them like a DJ with her turntables. Rotate, align, scatter - let your creativity run wild until you land on a layout that tickles your fancy.
7. Stitch ‘em up, Buttercup
Time to stitch those blocks together and behold the quilt top of your dreams! A neat finish is our mantra, so remember to press those seams.
8. The Grand Reveal
Add batting, pick a sassy backing fabric, and bind the edges. Ta-da! You’ve got yourself a quilt that’s both modern and brimming with tradition.
Take a moment to admire the Zen Chic enchantment: A Modern Quilt featuring an Improvisational Log Cabin Block, stylishly draped on a chair! 🌟💖 Intrigued by this modern twist on the traditional? We've got just the thing for you - a detailed, step-by-step tutorial on our blog, guiding you from fabric stash to fashion statement. Embrace the exhilarating world of modern quilting, where classic Log Cabin aesthetics meet Zen Chic's edgy charm. Whether you're a seasoned quilter or embarking on your first creative adventure, this is your chance to create a unique piece of textile art. Pin this as your go-to inspiration, and let's bring a splash of vibrant modern quilting to every corner of the world! #ZenChic #ModernQuilt #LogCabinRevolution #DIYQuiltTutorial


