One Sweet Block, Four Perfect Sizes
I’m so excited to be presenting Block 5 in our Moda Blockheads 2020 year-long sew along! If you’ve been following along, then you know that each week, for a year, myself and other Moda designers will take turns sharing a free block pattern and tutorial.
BlockHeads 2 was so much fun, and we saw so many people get involved in the Facebook community (30,000!) and on Instagram… Be sure to use the hashtags #modablockheads and #modablockheads3 to share your blocks with us there!. And this year is off to a great start as well, we can’t wait to see all the unique and beautiful sampler quilts being created out there!
And now on to Block 5…
(By the way! Be sure to read this entire post for a giveaway and huge announcement later!)
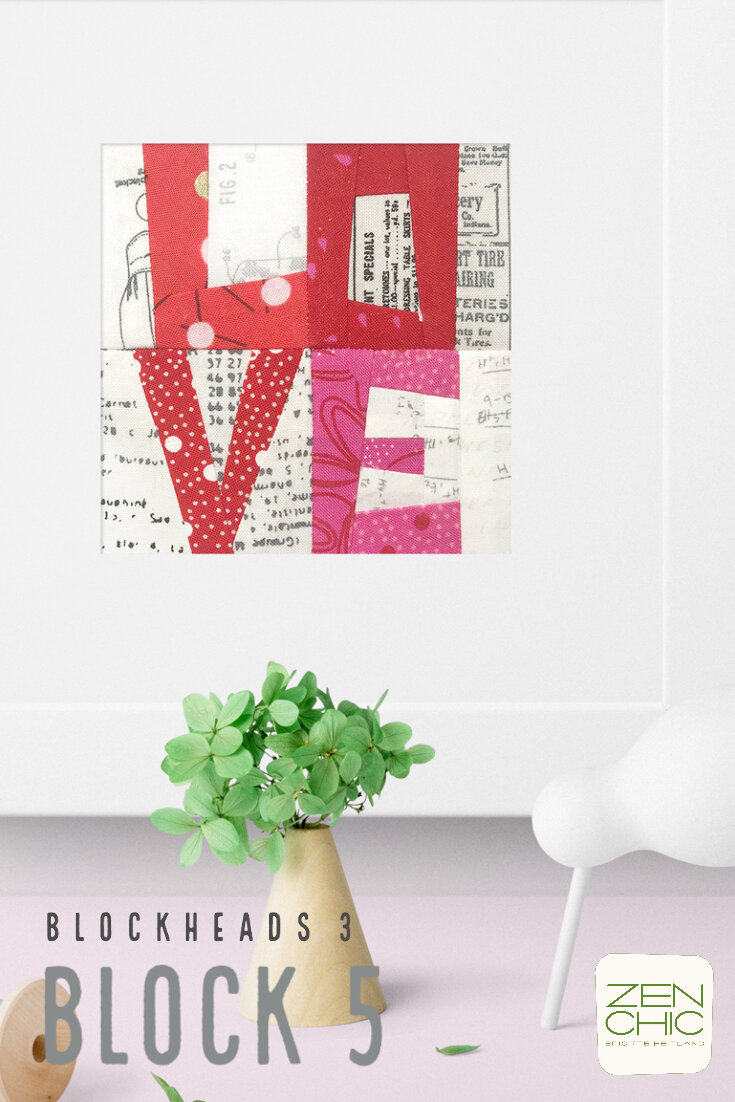
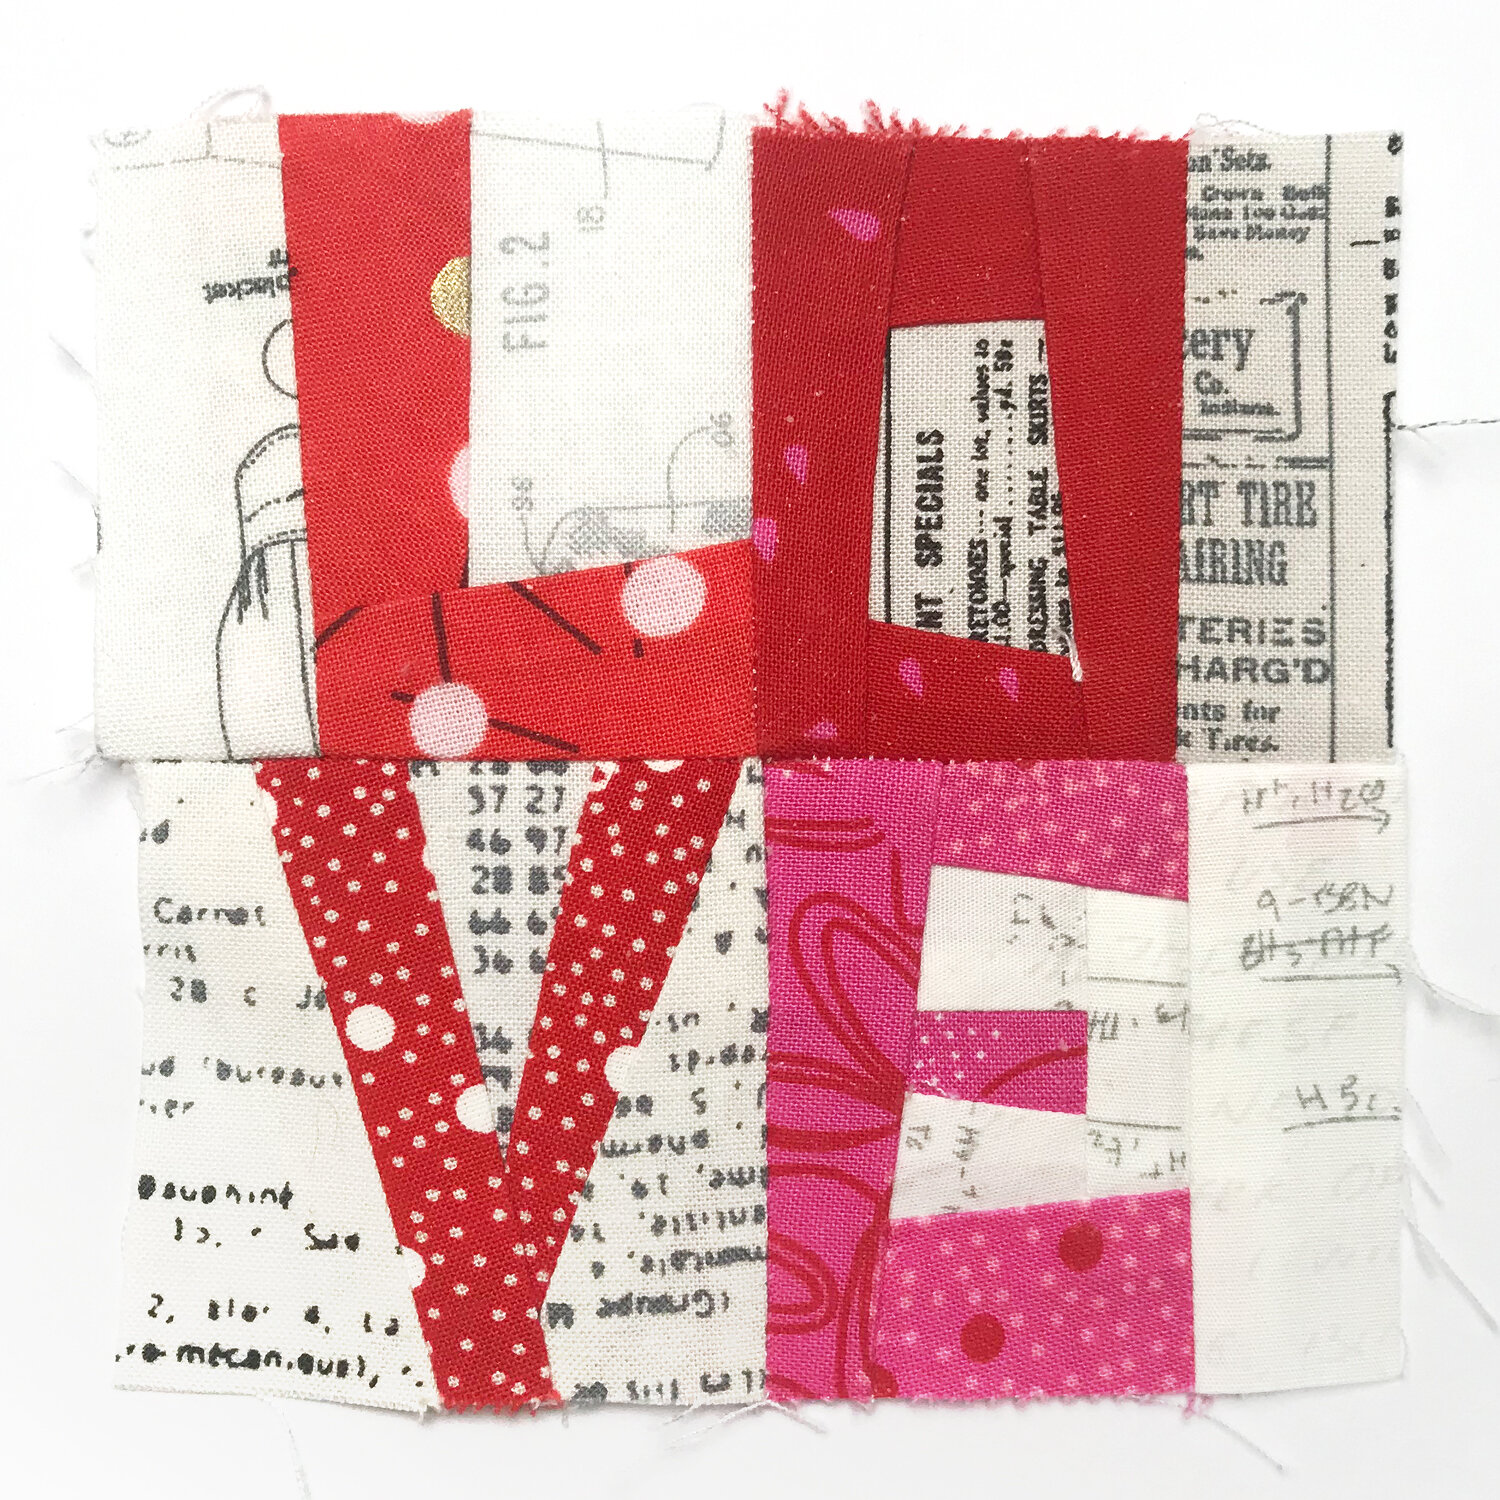
The pattern download will give you four size options: 4”, 6”, 8” and 12”. I decided to create a sweet, small 4” version of my Blockheads block, along with a larger 12” size you’ll see in a bit. I used my newest fabric collection, JUST RED, which was perfect for this project. With its diverse display of this fun, fiery, passionate, playful color, the JUST RED fabrics highlight the word “Love” in the block in a way that absolutely captures the eye and imagination – especially as red is the color we all associate with this delightful word.
Zen Chic brings you a mini version of Block 5 in the Moda Blockheads 3 free year long sew along, using the Just Red and More Paper fabric collections. This lettered quilt block makes for a perfect Valentine project.
This small block is only 4” x 4”, and makes for a lovely little project like a Valentine’s greeting card, pincushion, an embellishment on a towel or bag front or any other fun accents you can imagine.
The 4” version of Block 5 in the Moda Blockheads 3 free year long sew along makes for a super cute pincushion, using the Just Red and More Paper fabric collections.
So if you like the new fabric – I have something special for you! I’ve talked about it already the last couple of weeks and here we are finally…
Ready for that big announcement? I’m having a huge discount sale on all my patterns February 12th – 16th!
This week we finally open the huge pattern discount…
Buy any 2 patterns, get a 15% discount (use coupon JR2)
Buy any 3 patterns, get a 25% discount (use coupon JR3)
Buy any 4 patterns, get a 35% discount (Best Deal!) (use coupon JR4)Offer expires on Sunday, 16th February, 11:59 PM PST
Ready to shop? You can find my patterns here.
BTW – I found this great fabric walk-through of the JUST RED collection published by SAID WITH LOVE and I can’t help but share it!
Love in a Larger Size
12” block size…
Let’s take a look at the larger version of this block with this 16” x 16” pillow. The block itself is 12” x 12”, and is framed with a matching background color.
For this pillow, I used my fabric line SPOTTED. It’s a great way to display how different this little block can look whether you sew it in a large or small size, use prints or solids, an analog color scheme with a light background or if you go with colors that pop.
The pillow has a color scheme reminiscent of the 70s and 80s, and the quilting is echo quilting reminiscent of 70s-inspired shapes. This brings the color scheme to the surface even further, and it looks quite modern as a result. I can also imagine this pillow with a black background and just lettered low volumes… so many possibilities!
Want to win this pillow?
All you have to do is to sign up for my newsletter here!
We will choose a random winner from our new newsletter subscribers! Leave a comment below if you’d like (this is optional of course, but we’d love to hear from you!), subscribe to the Zen Chic newsletter and stay tuned for the giveaway winner and some other fun updates and announcements.
A fun and chic pillow created with the free Block 5 pattern from Zen Chic for the Moda Blockheads 2020 year-long sew along.
Are you new to quilting and want to learn the Foundation Paper Piecing Method? Follow along with the pictures as I walk you through the exact process…
Block 5 Step-by-Step Tutorial
Block 5 is based on a popular technique called Foundation Paper Piecing. This technique helps to create extremely precise points and shapes and is especially helpful if your angles are not 90 degrees, or 45 degrees, but rather any random angle as seen in this block.
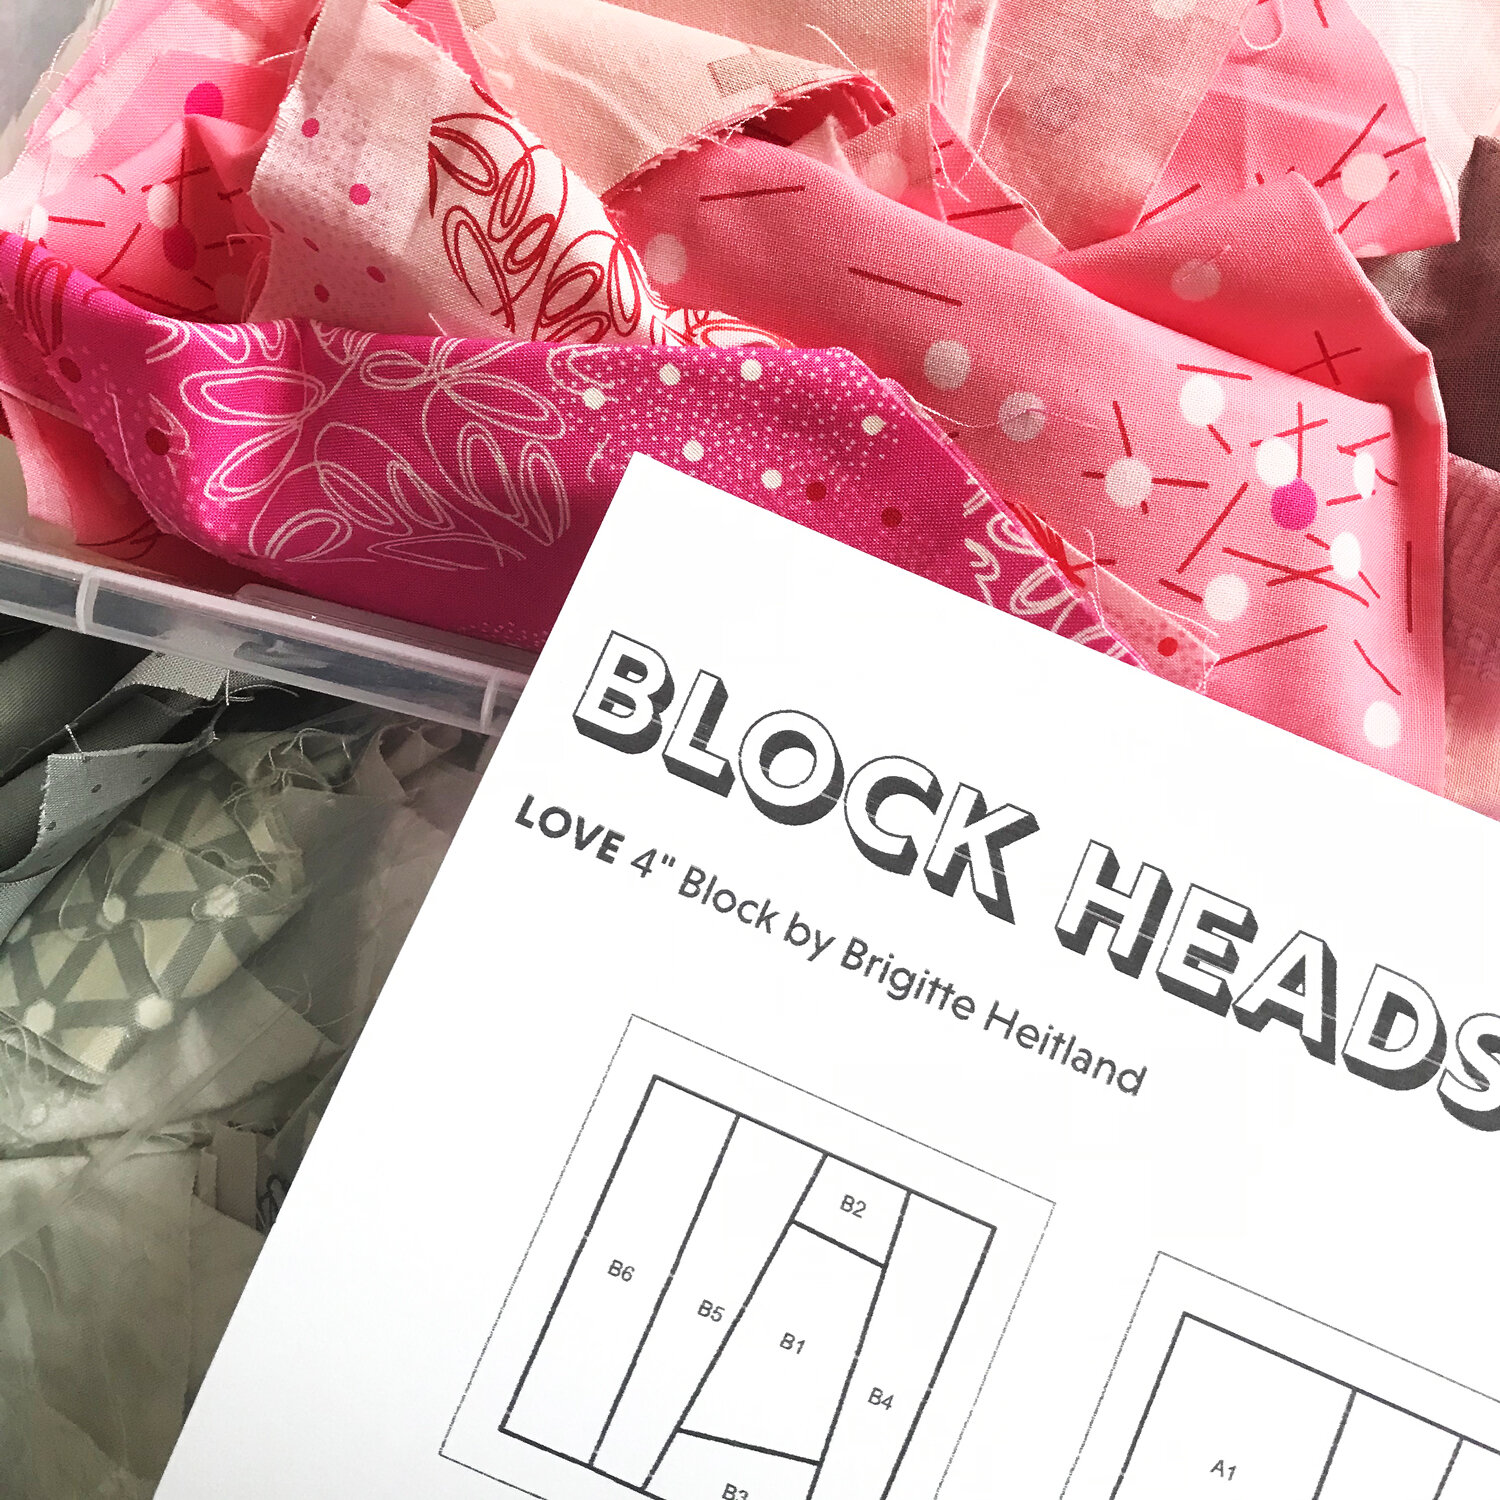
To get started with this block, print out the Blockheads Block 5 pattern. For this little love card, I used the 4” size pattern, grabbed a couple of scraps for the letters themselves, and a couple of low volumes for the background of the block (Picture 1).
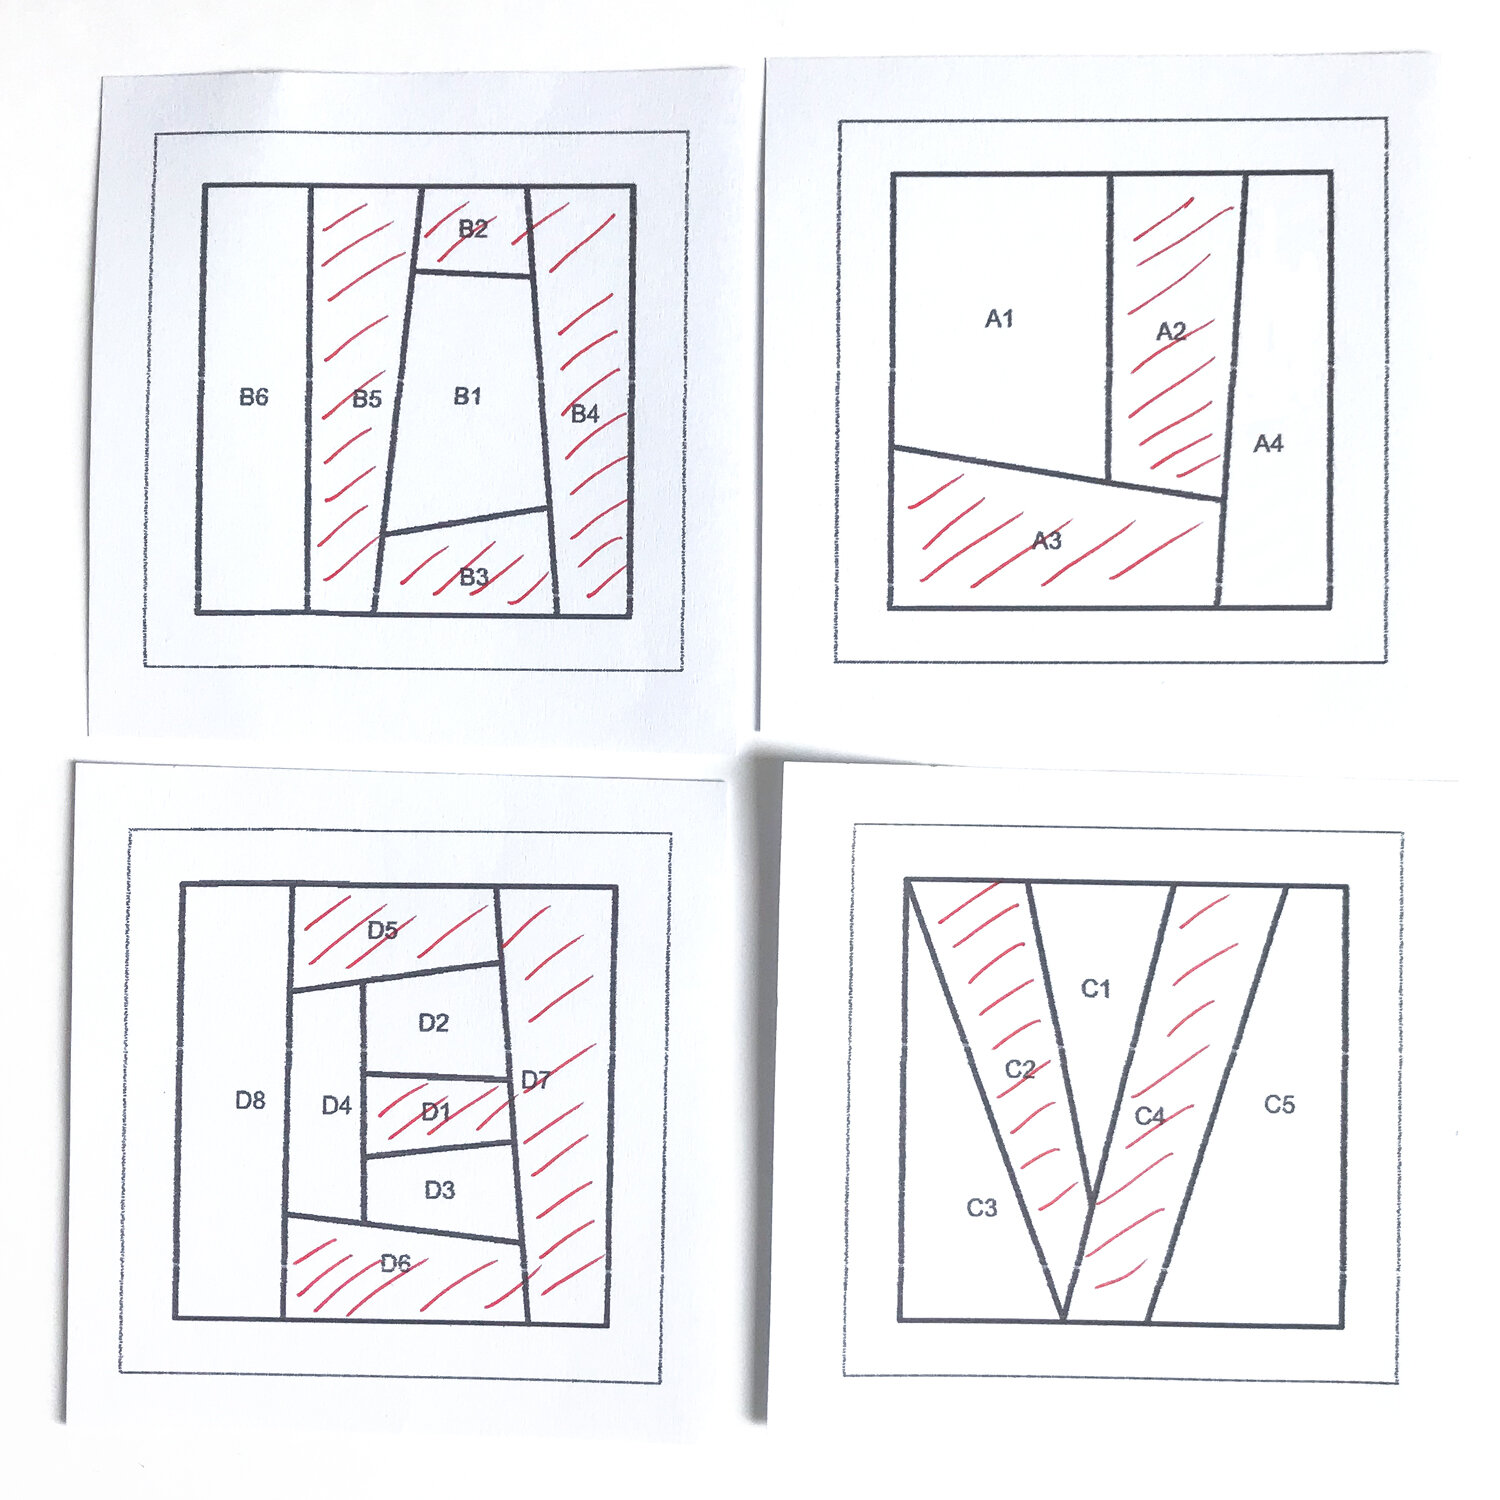
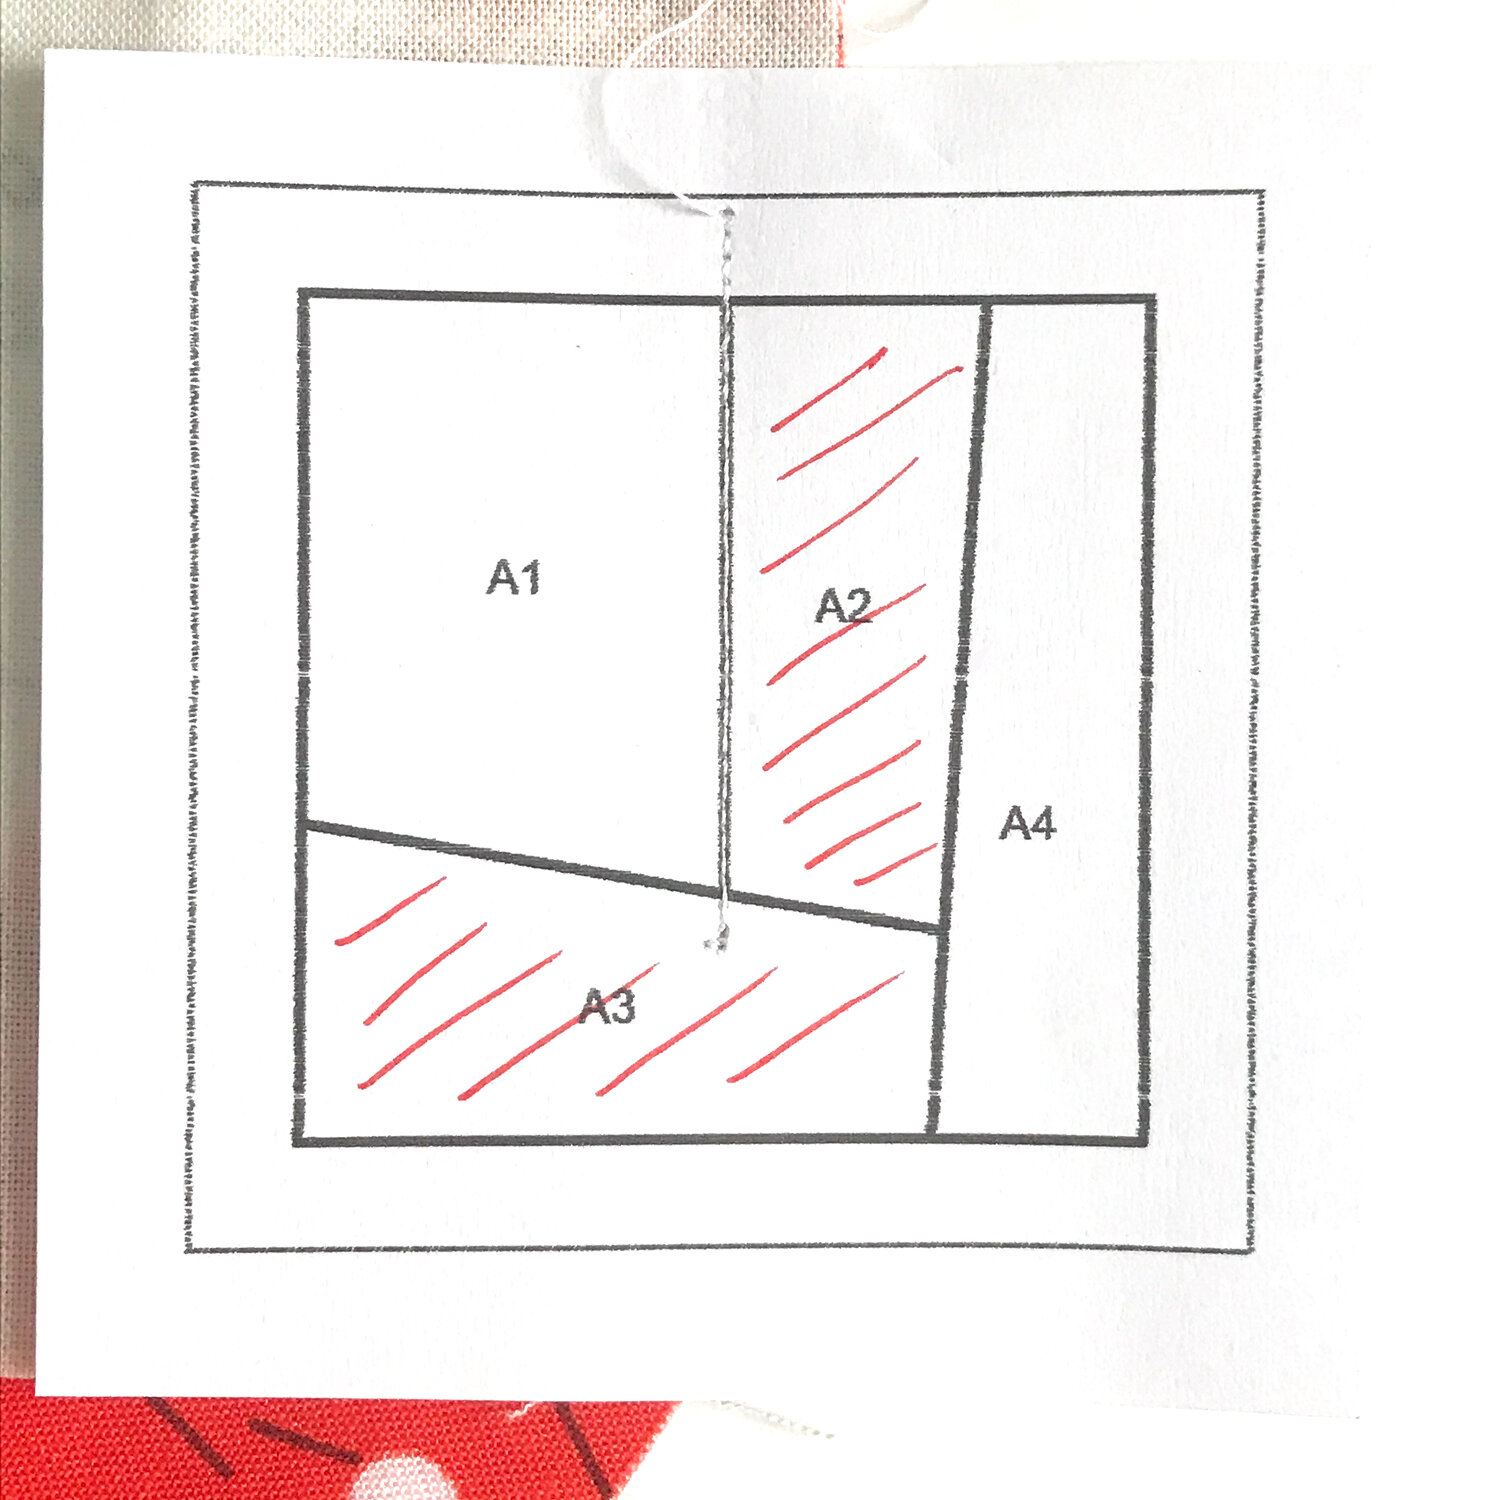
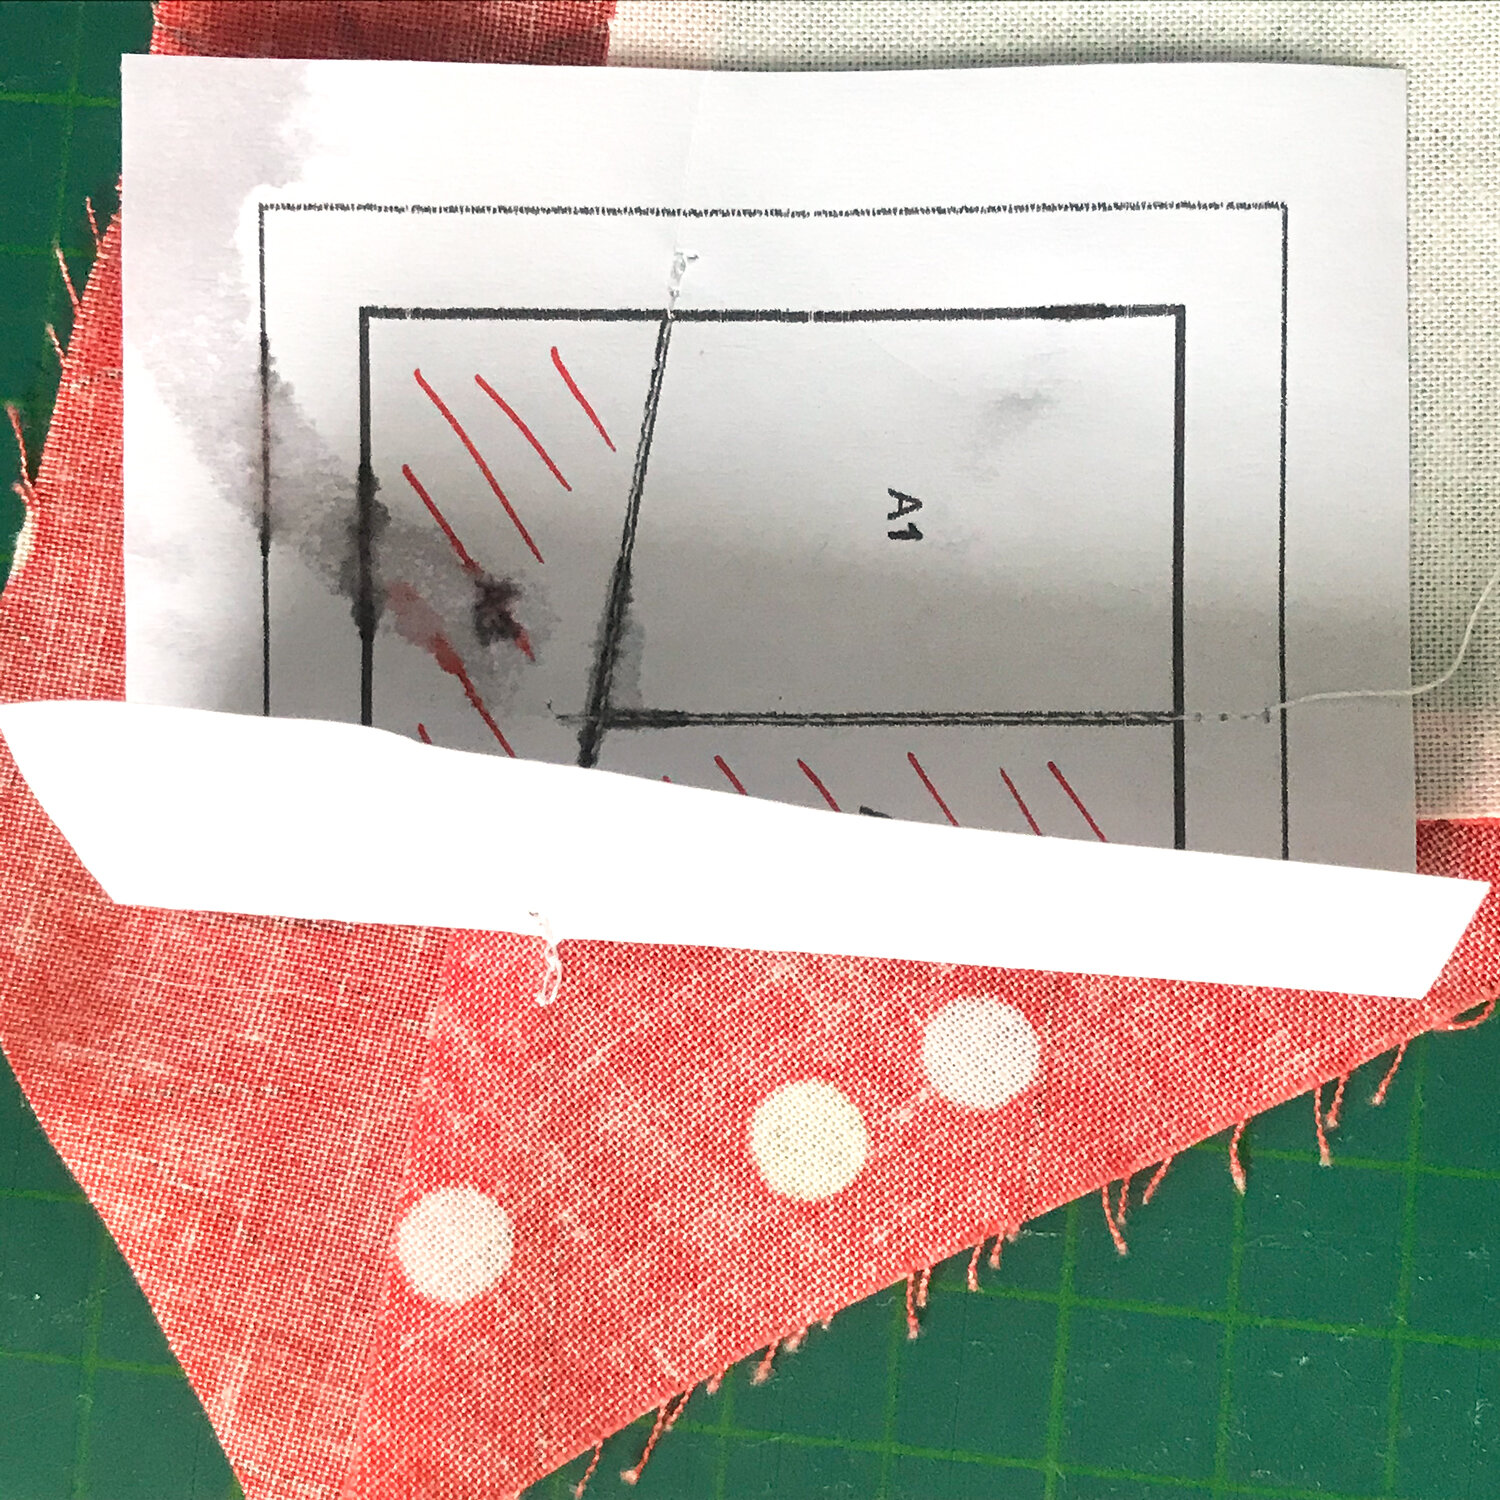
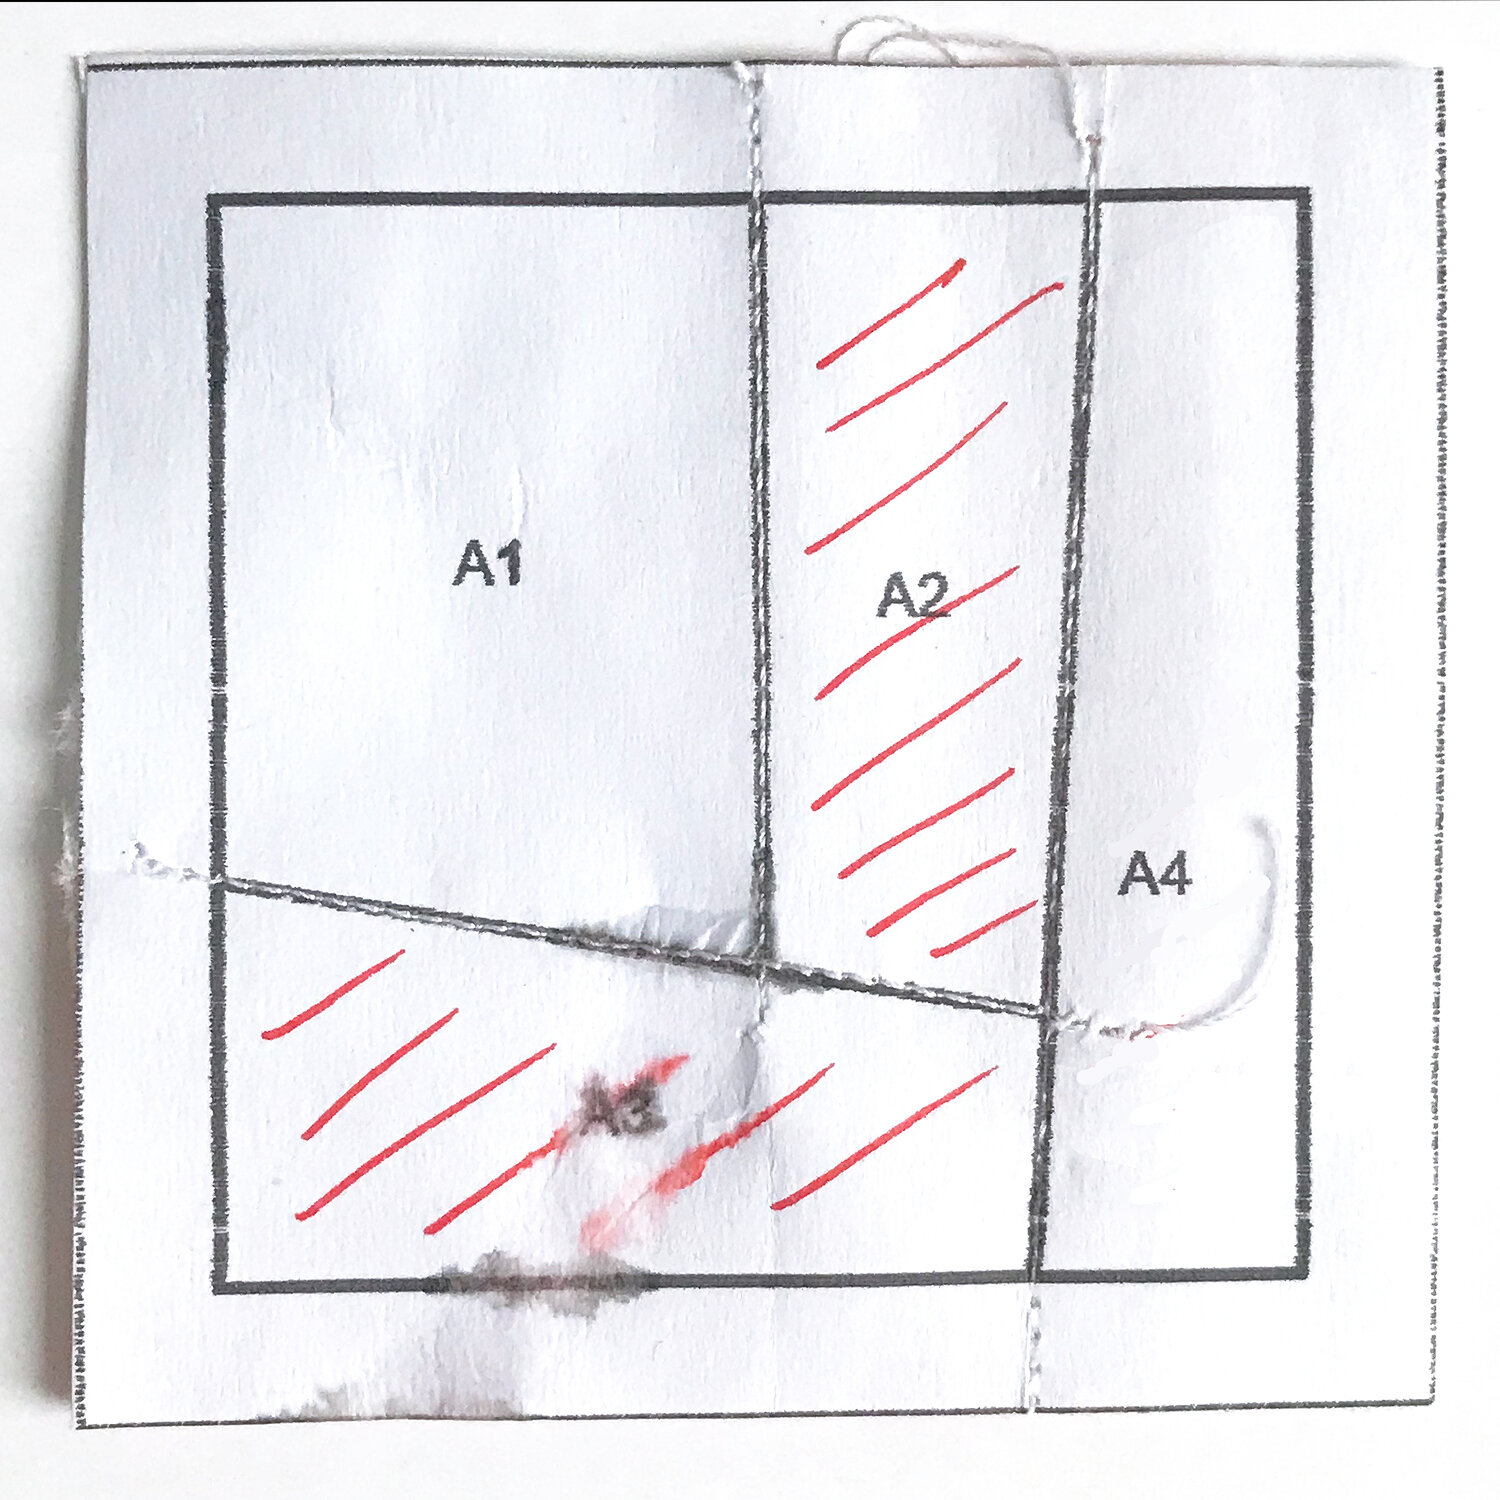
Next, as you see in Picture 2, I printed out the sheet and split it into 4 single units for the letters. I left a good amount of paper around – the actual seam allowance – because later on, I will need that marking line to make my little units match perfectly. I also marked the sections that need the printed fabric or the fabric that I’ve chosen for the letter itself. This way, there won’t be any confusion between these sections and those that are only for the background.
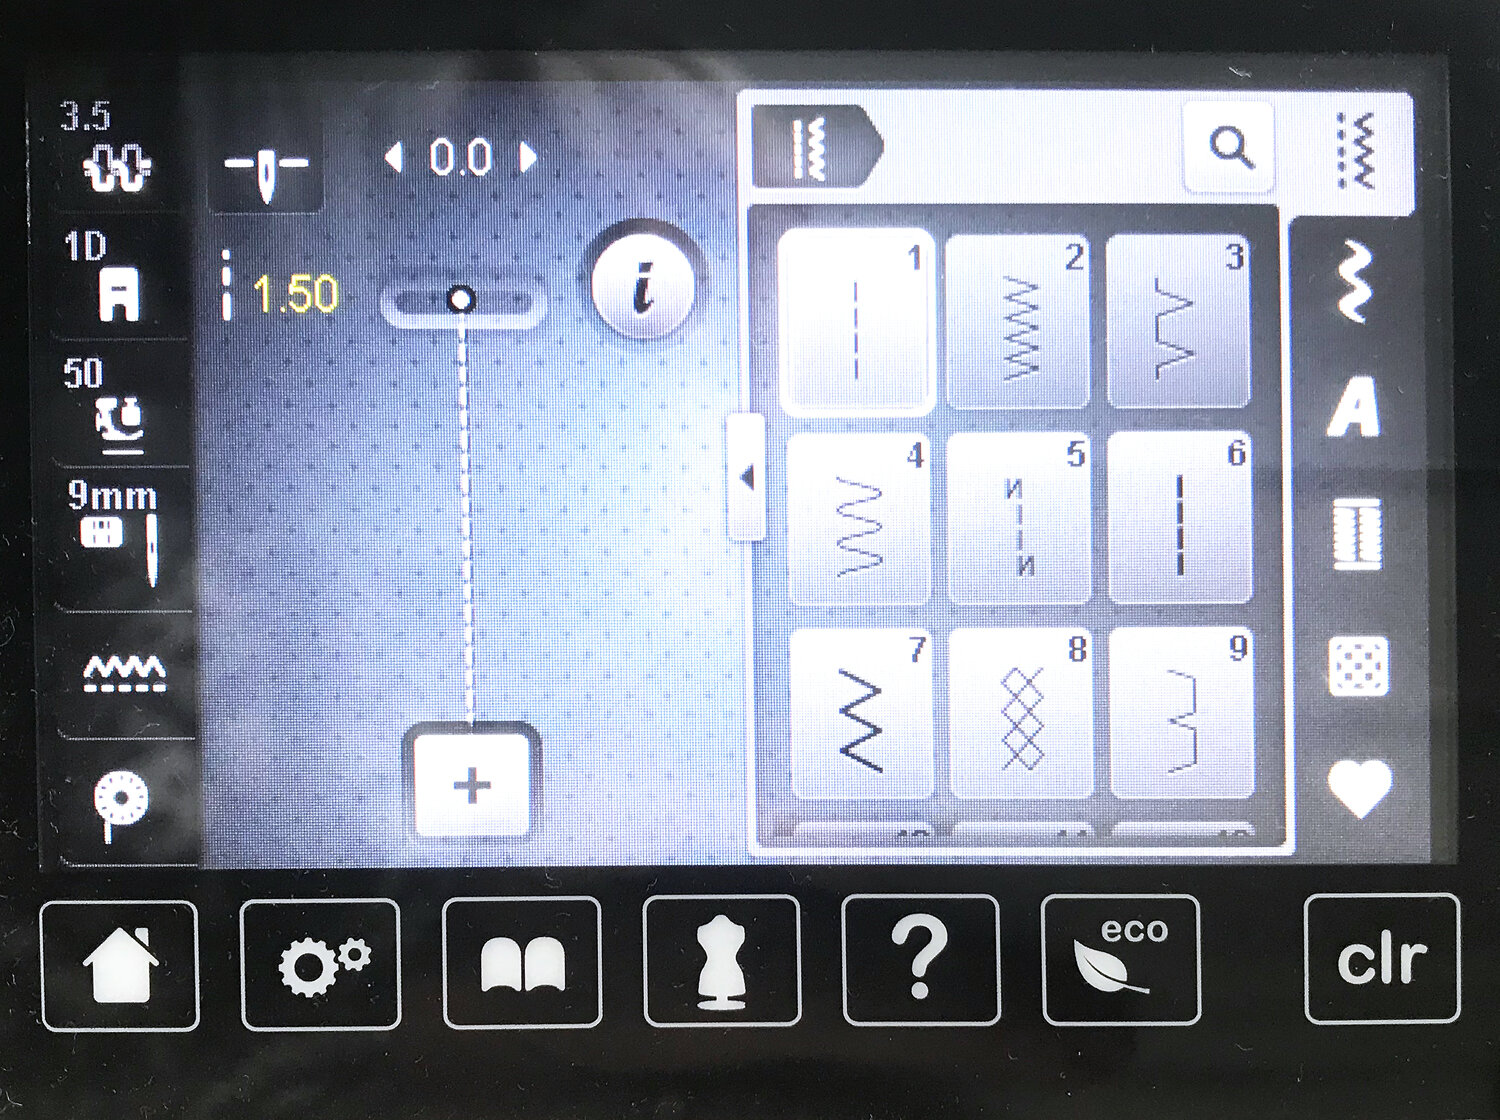
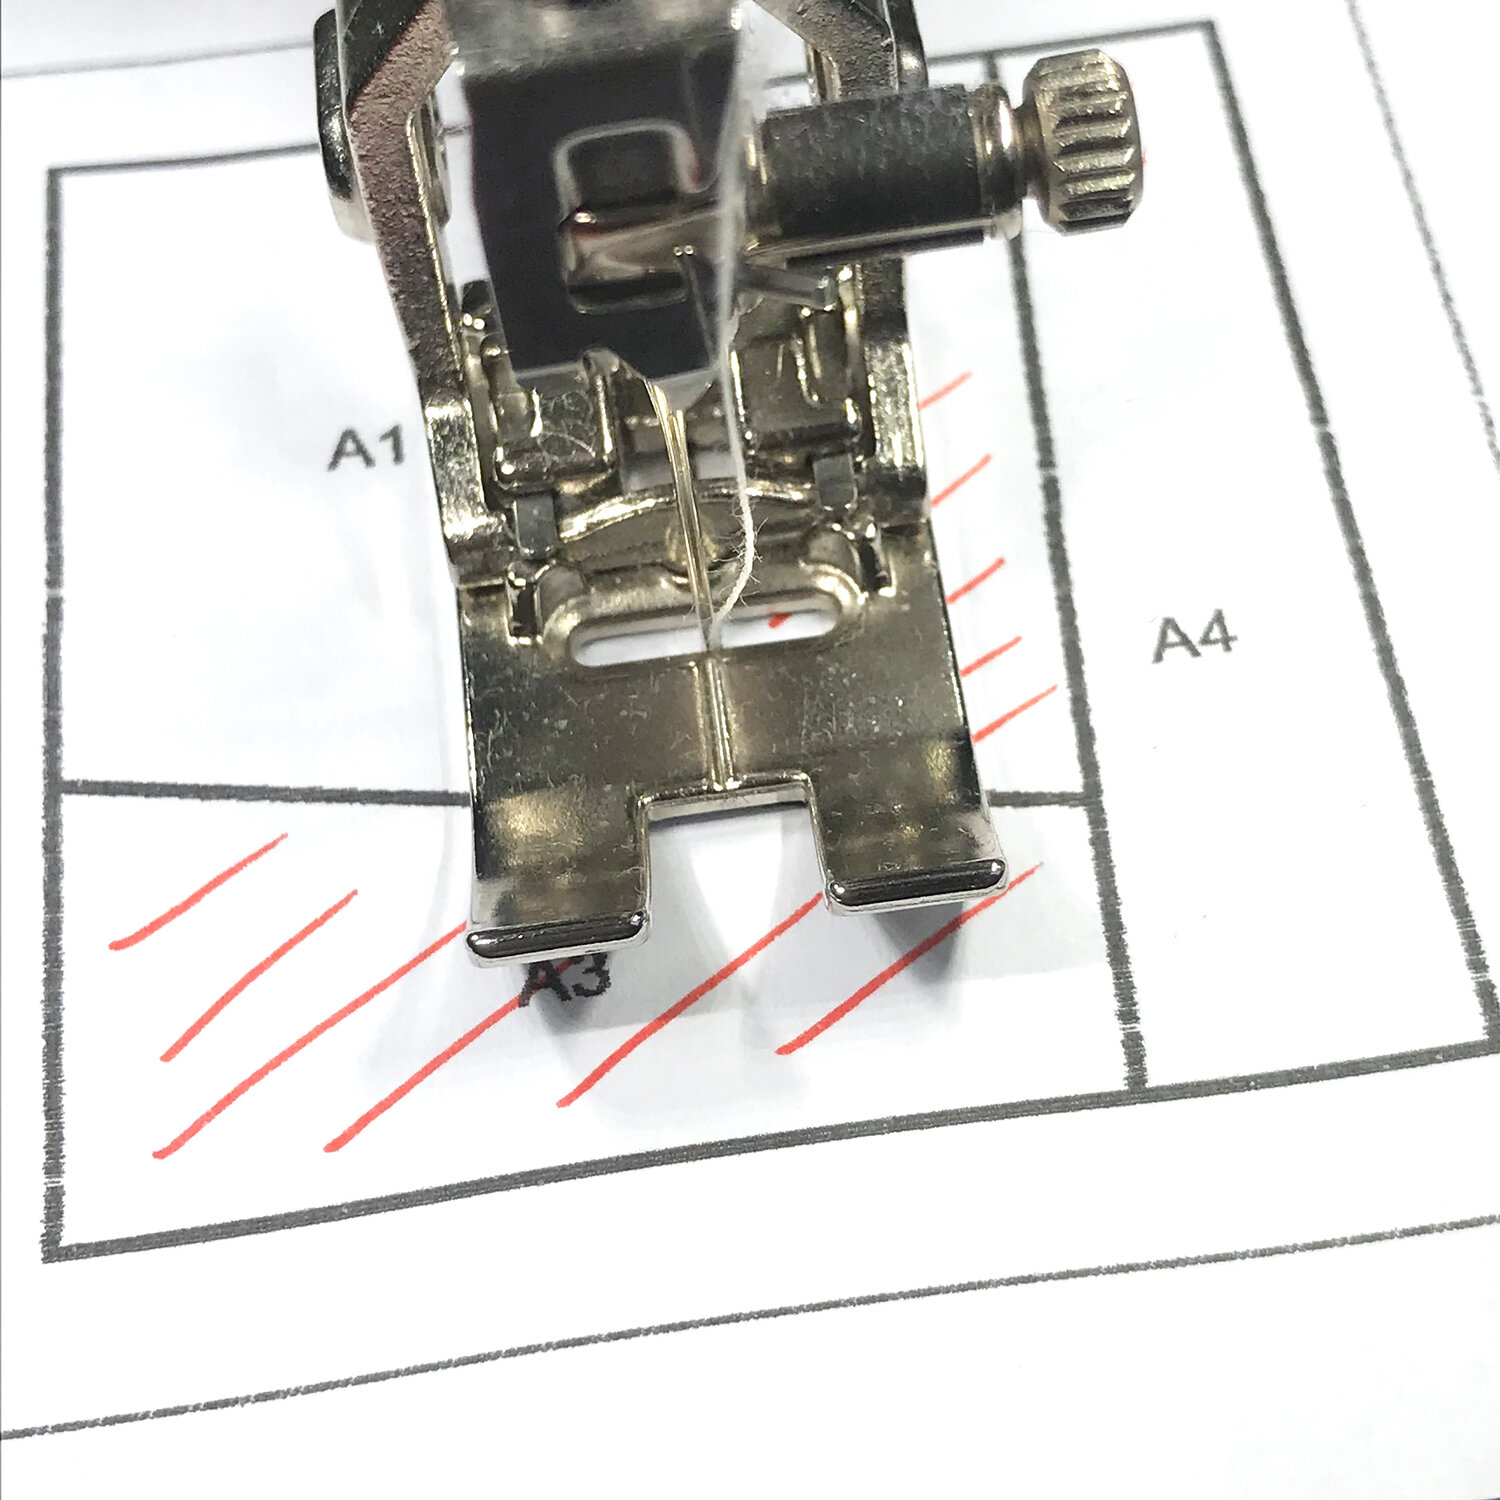
I set the stitch length of my machine to 1.5 (Picture 3). You can even use a slightly thicker needle so that later when it’s time to rip off the paper it’s very easy because the preparation is so strong.
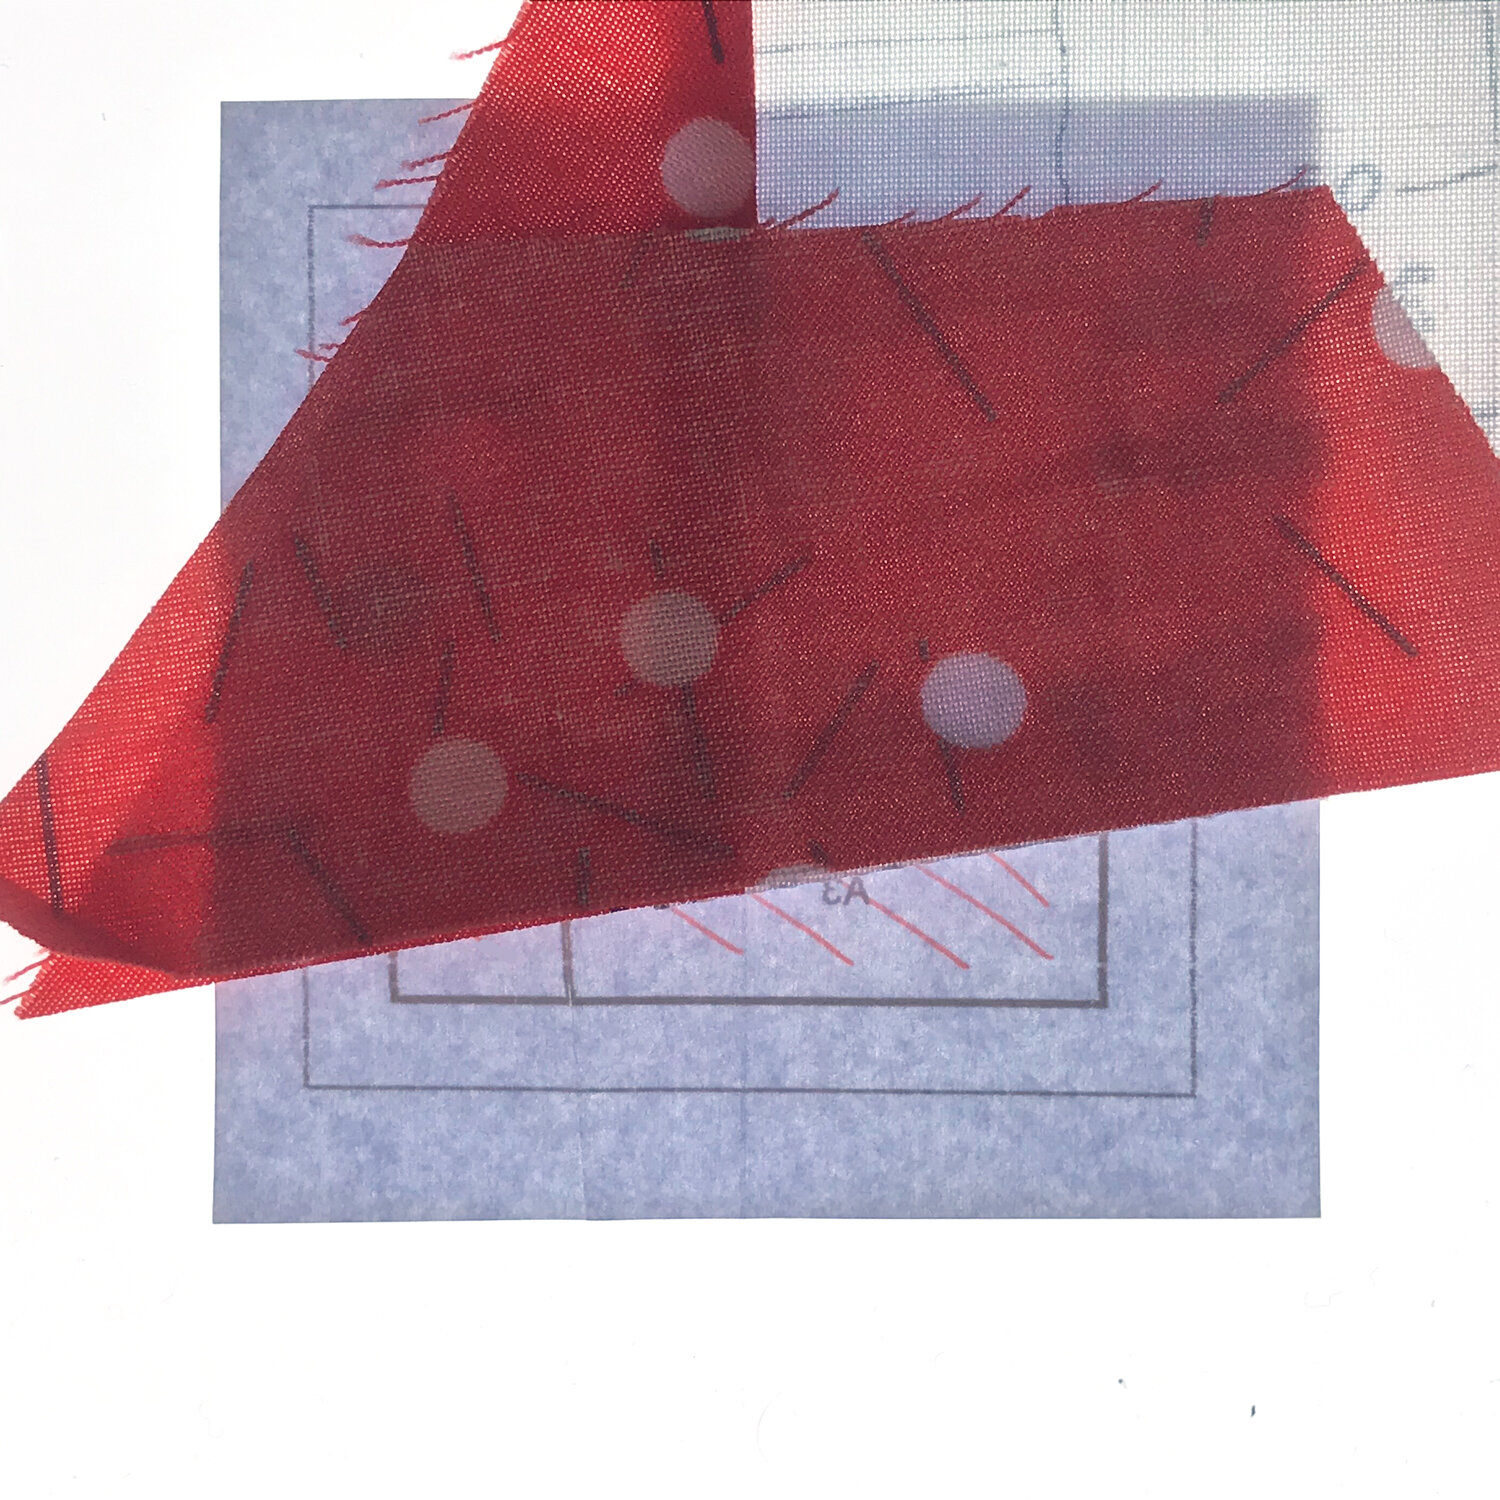
Start with placing the first piece of fabric (Picture 4). If you look at your paper pattern, each section of the pattern has a number and these numbers indicate the order in which the pieces are sewn down. You start with section 1, and place your template so that the printed side is down and the blank side is facing you. Line up a piece of fabric that is slightly larger than area A1 with the wrong side onto the blank backside of the paper. It has to be placed so that the fabric overlaps the section on all sides at least 1/4 of an inch.
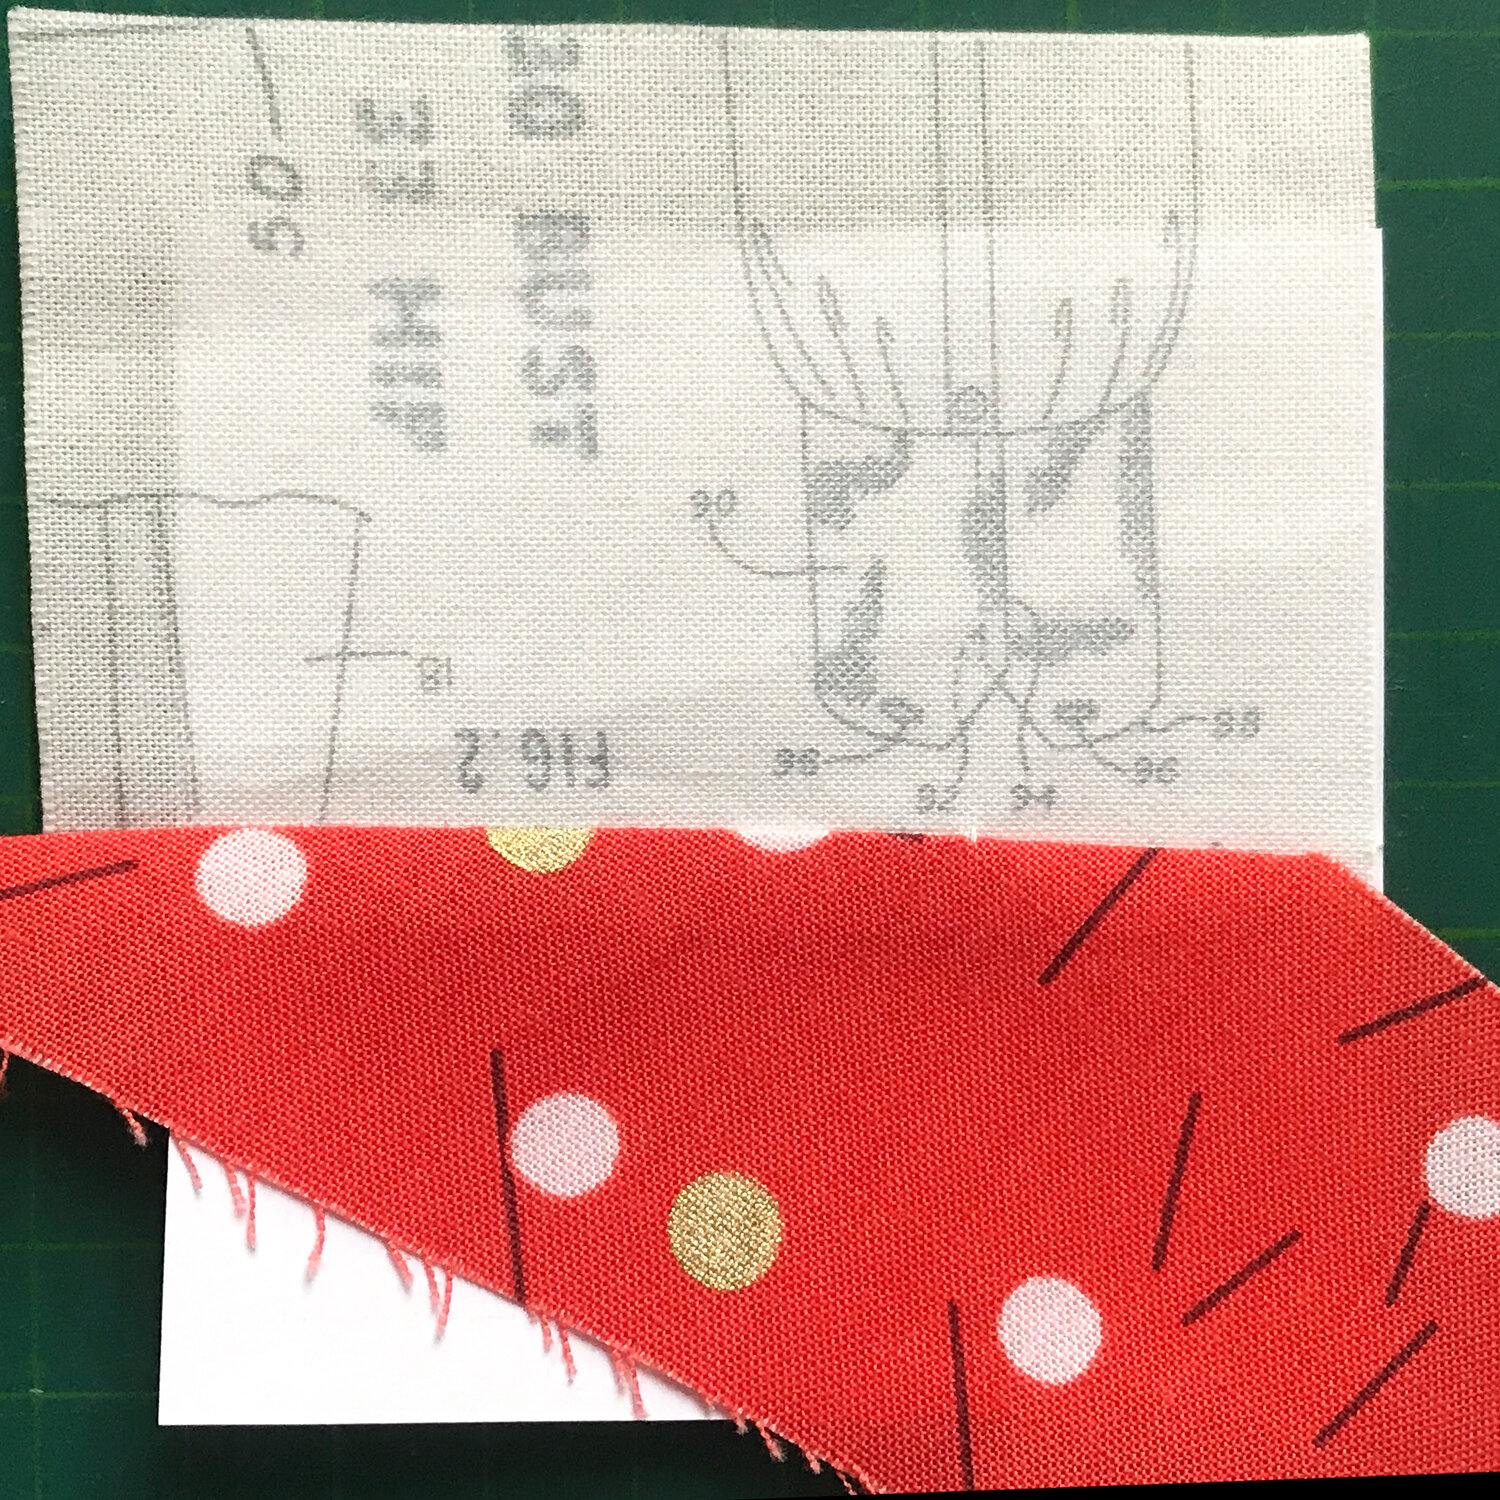
Next, you will align that little scrap which will serve as the piece of fabric for section 2 (Picture 5). Place this piece right sides together with your first fabric piece with the straight edge extending at least 1/4” beyond the planned seam. This will be your seam allowance.
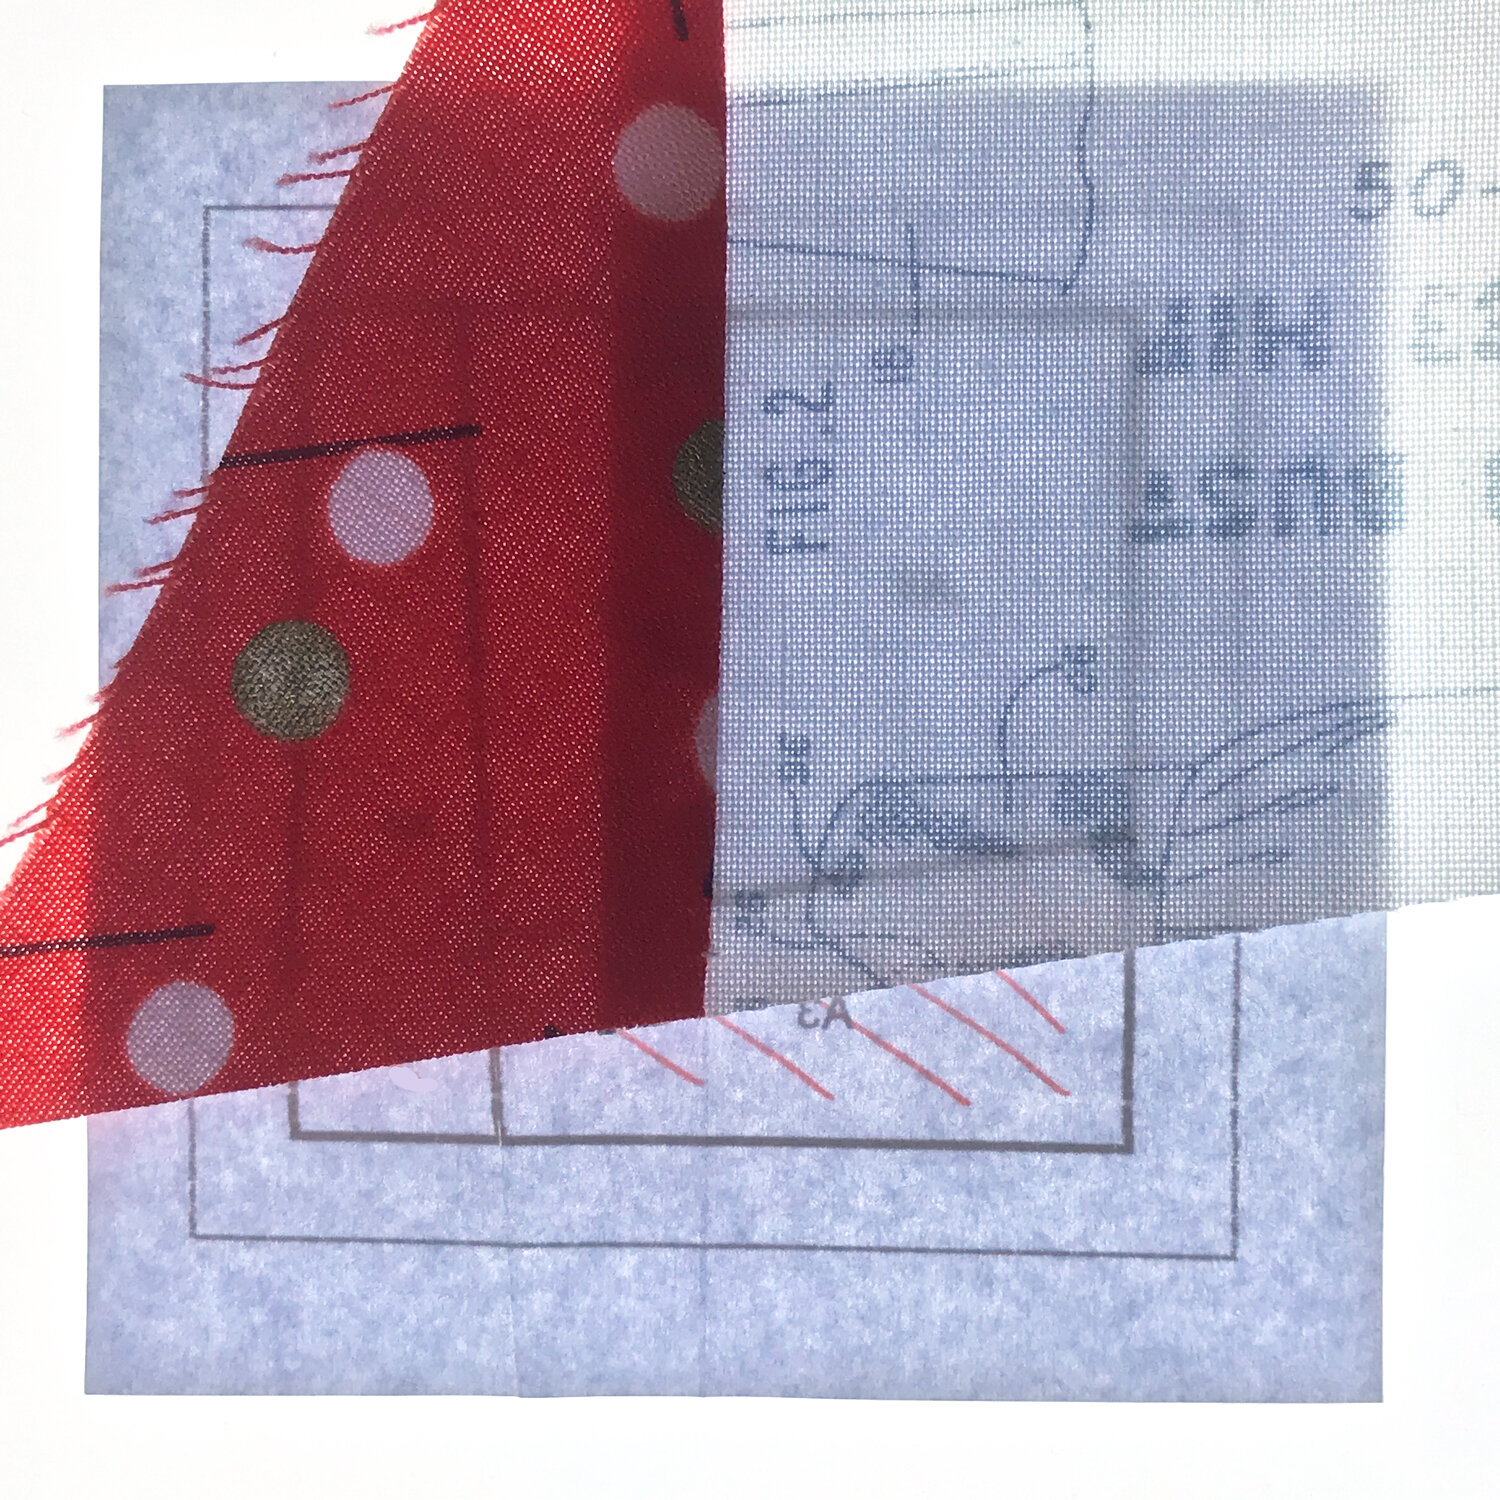
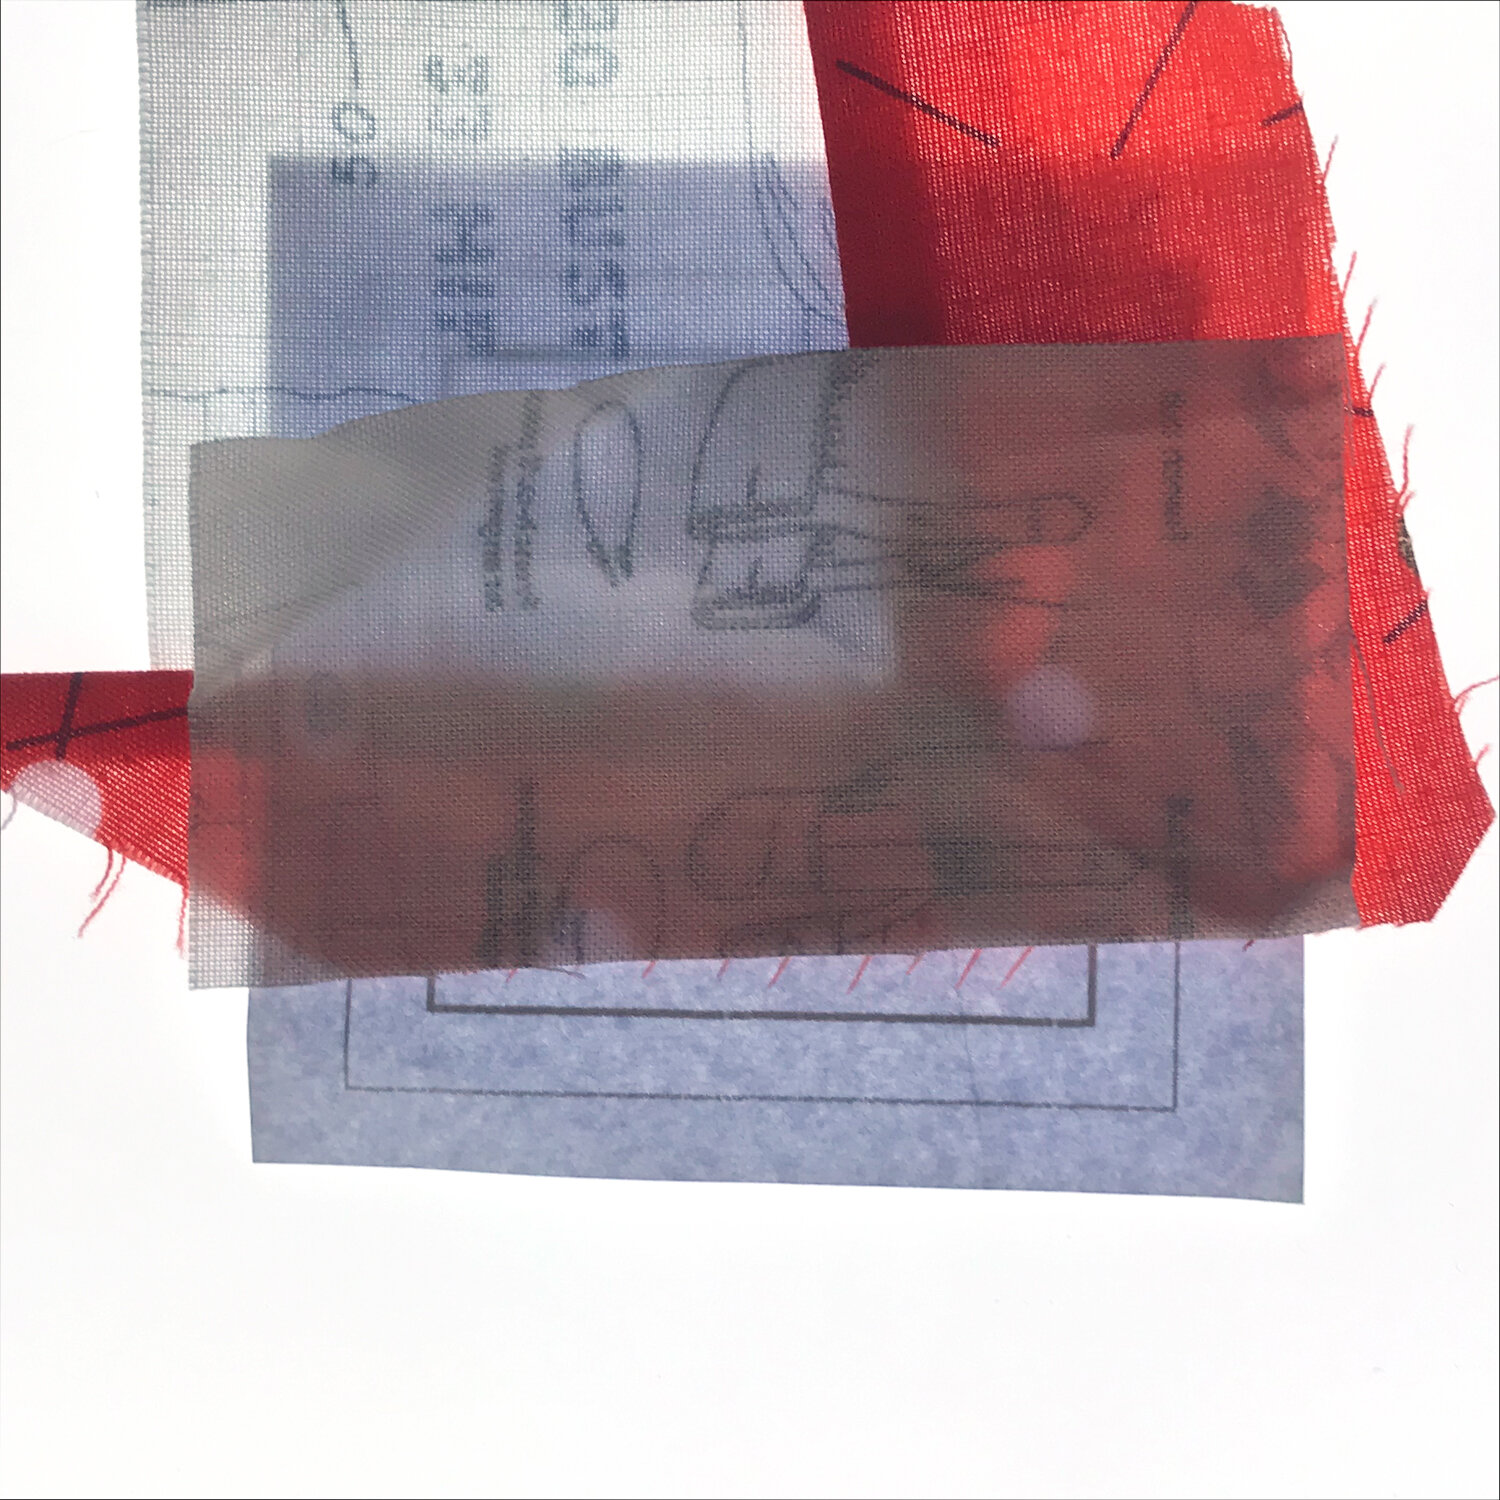
Then, pin it in place. You can try flipping it over and holding it against light to see if it will cover section 2. If you’re sure it will, then you will sew your fabric with one seam on that line between sections 1 and 2. Turn your paper so you see the printed side and sew it on the printed side of the paper as you see in Picture 6.
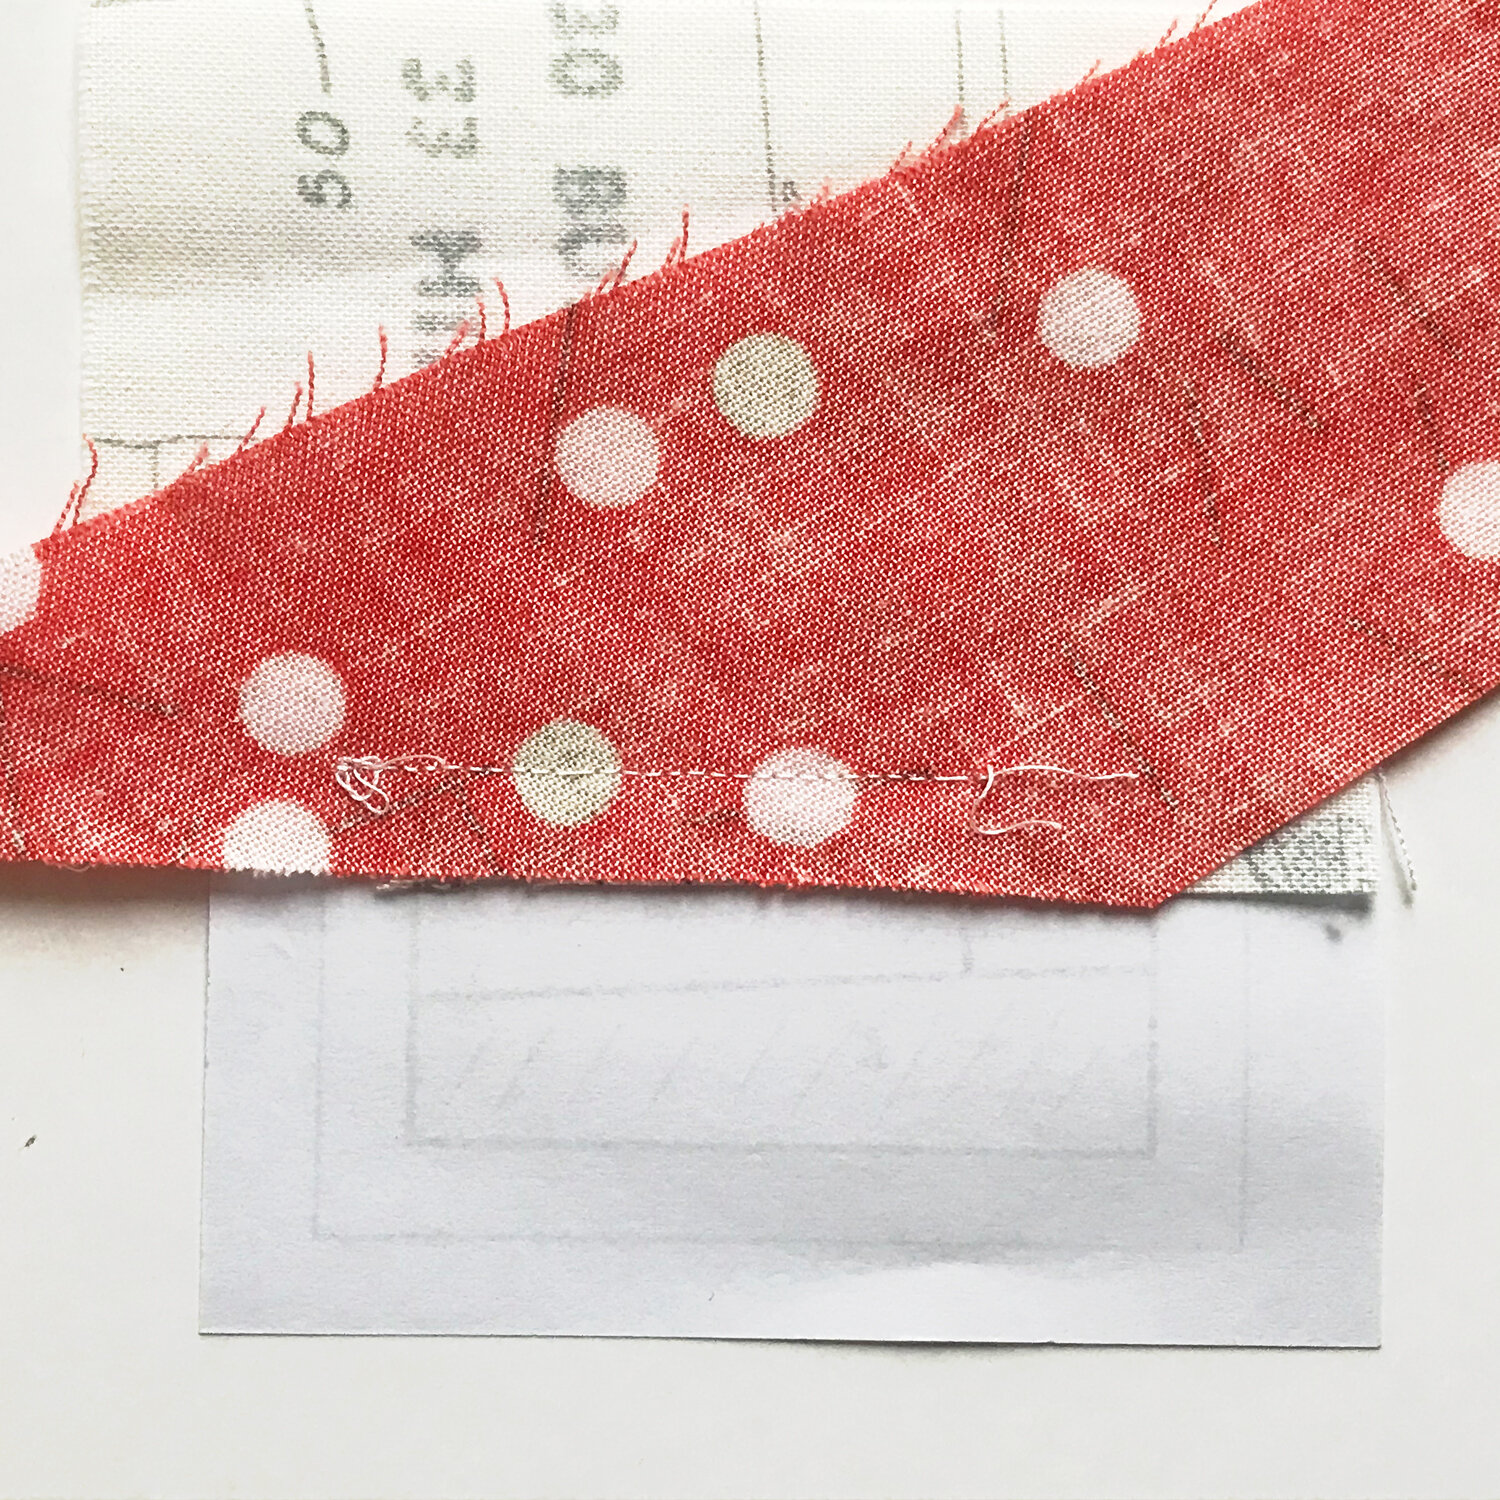
You should be 2 or 3 stitches before and after your actual needed seam, as you can see in Picture 7.
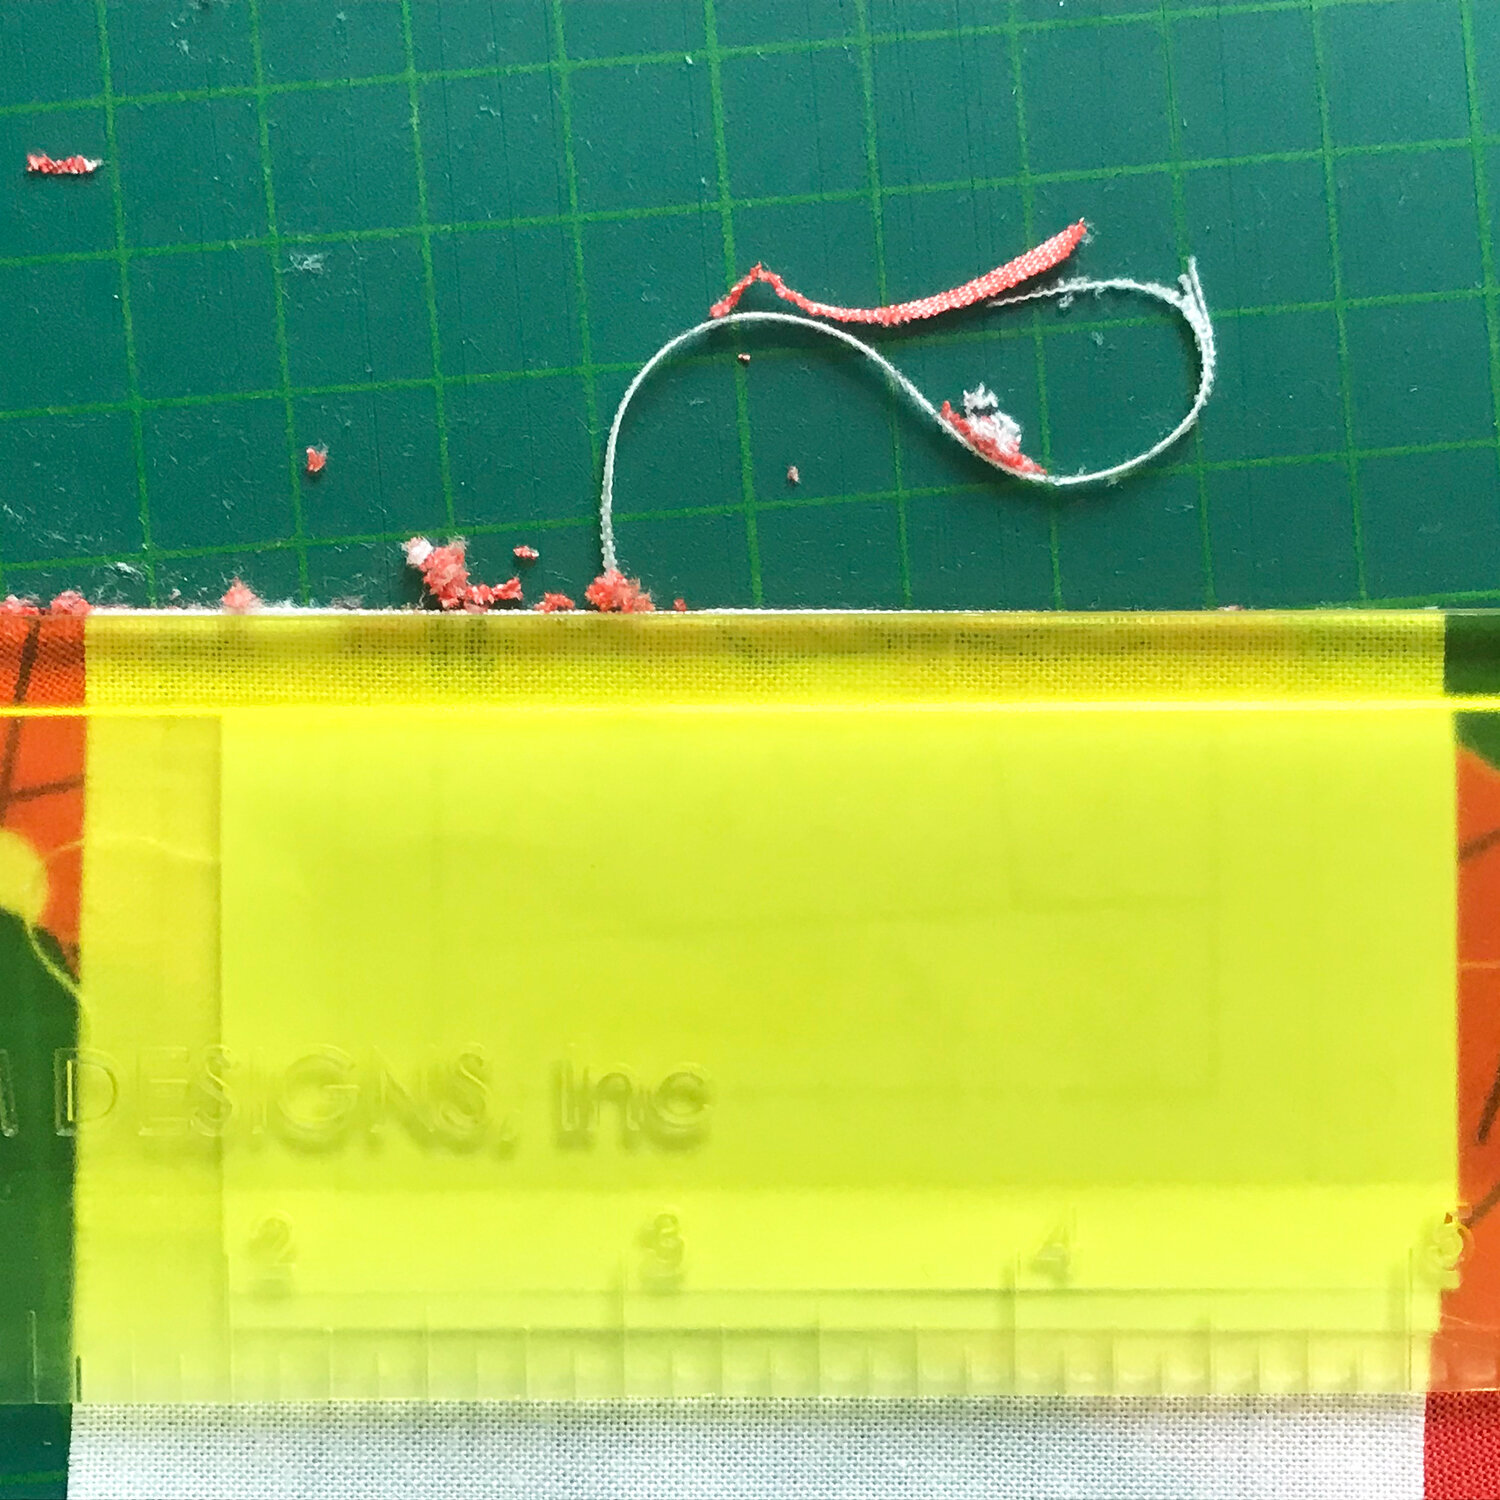
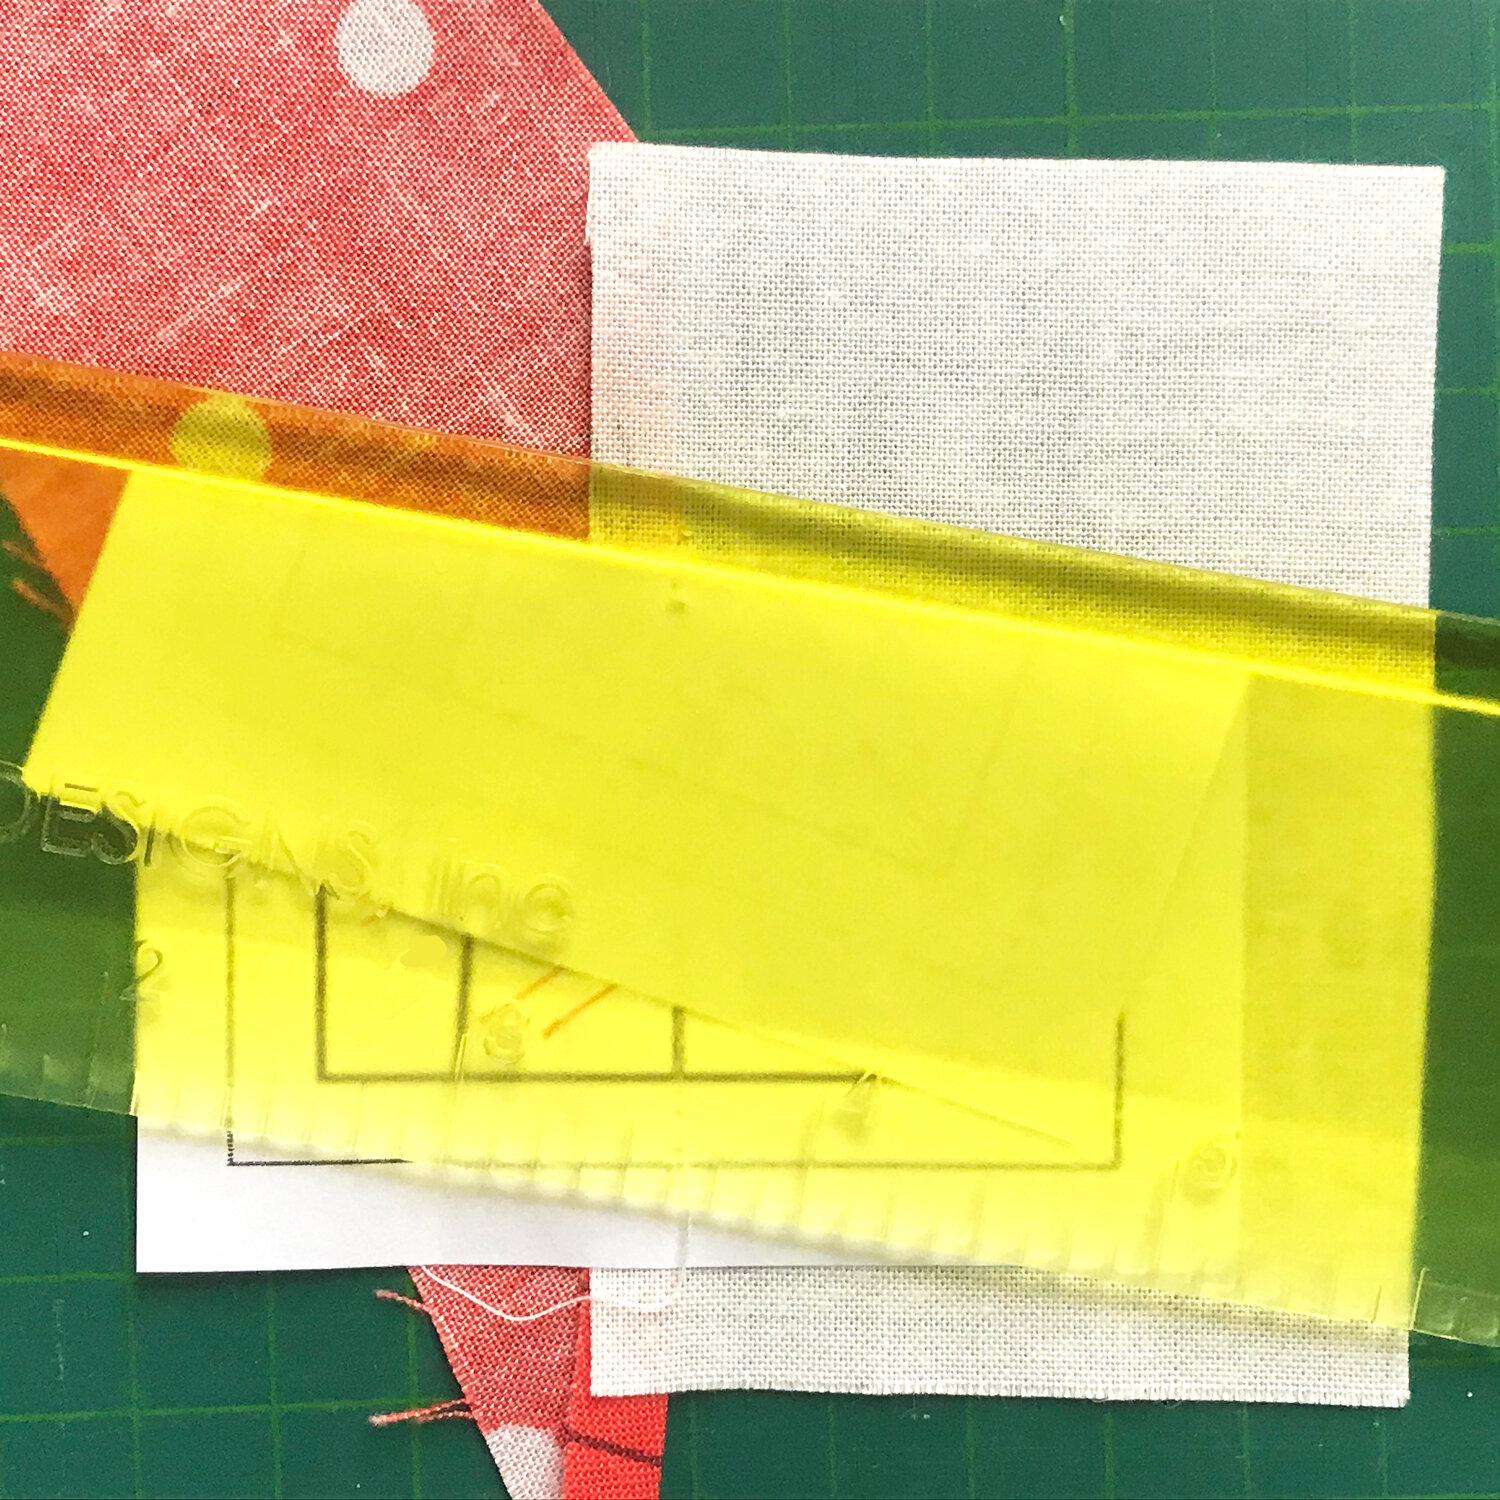
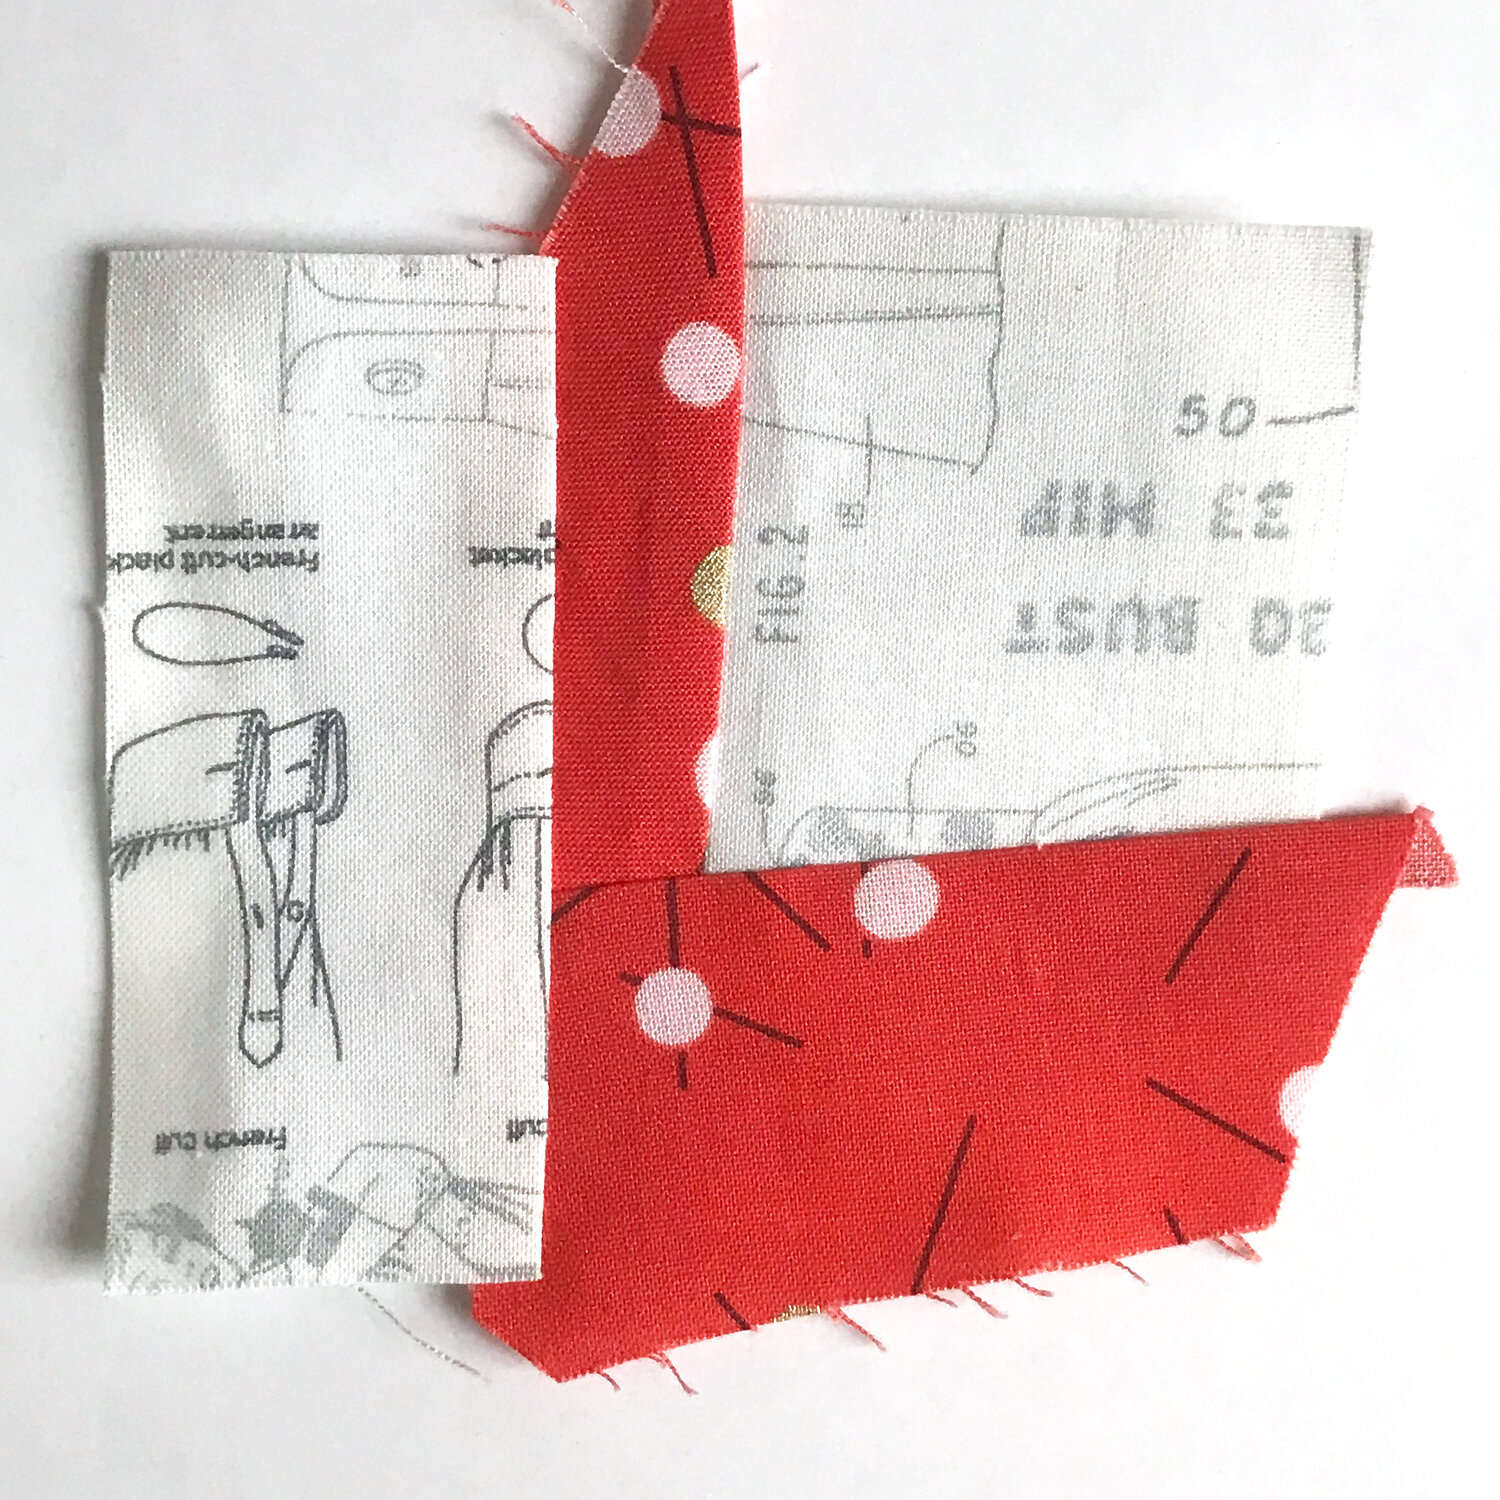
If you turn your work around, it should now look as is shown in Picture 8. Next, fold your paper back, and with a ruler trim that seam back to 1/4”. Be sure to double-check before you trim so that you don’t cut through the paper (Picture 9).
Unfold the paper pattern again and give it a good pressing with your iron on the right side. It should now look like what you see in Picture 10.
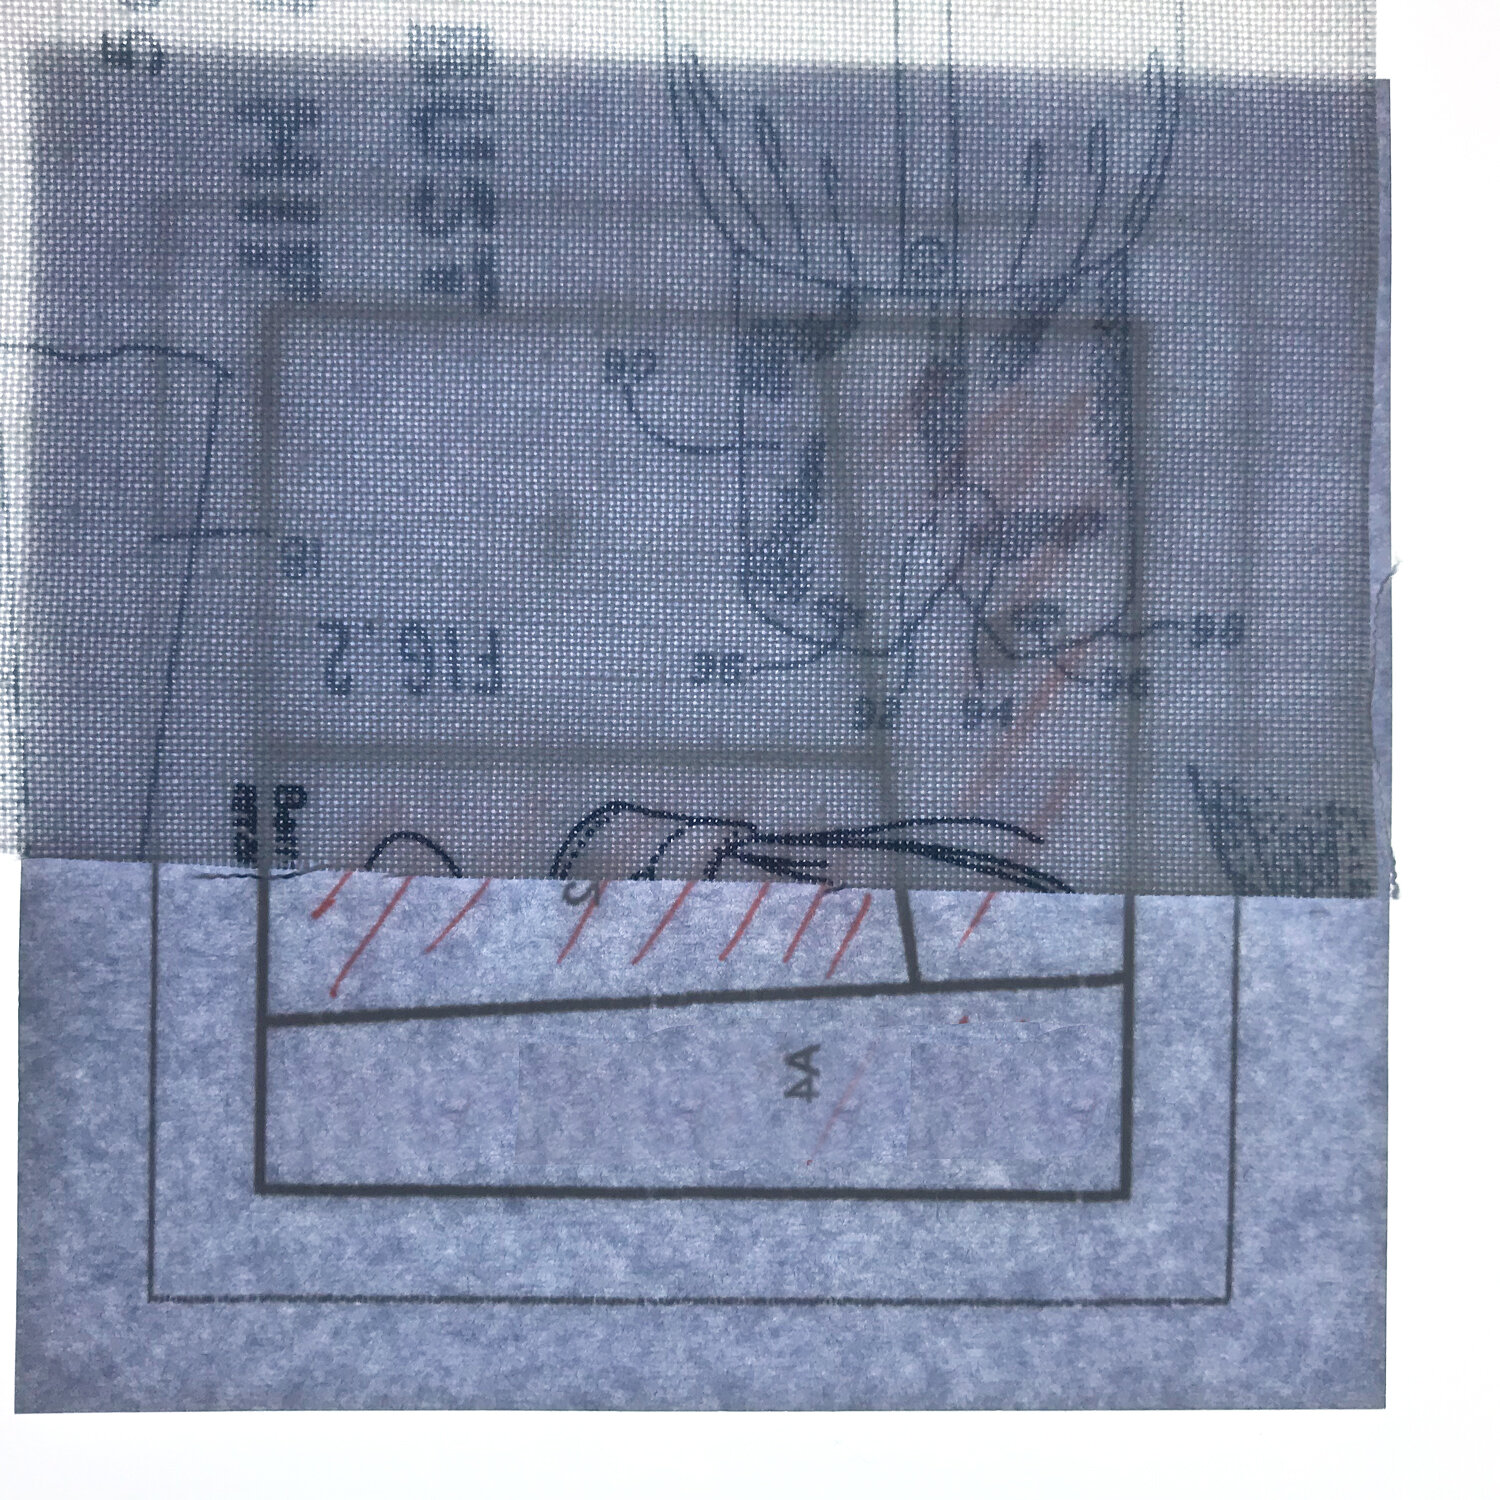
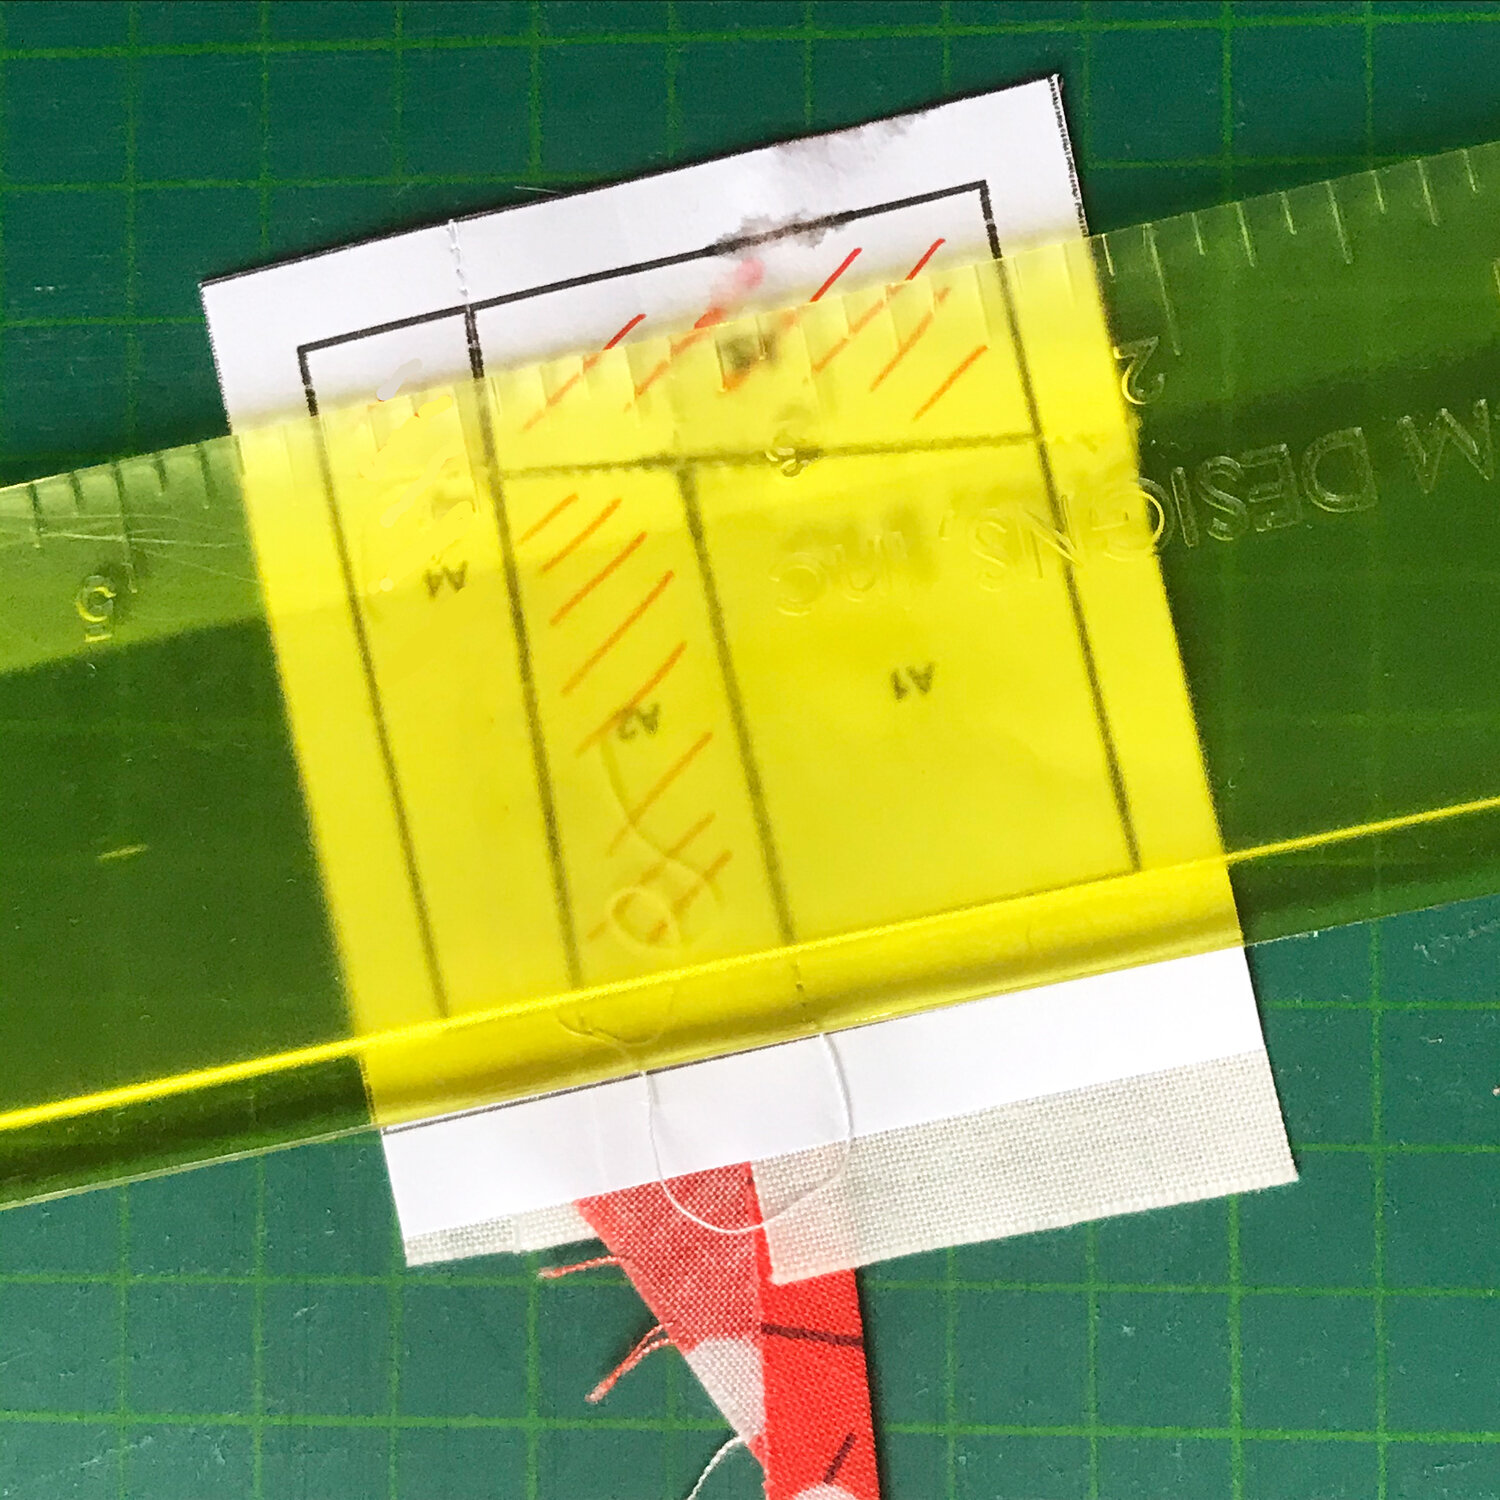
Now fold your paper back on the line between sections 2 and 3 as seen in Picture 11, and then trim the excess fabric back to 1/4”.
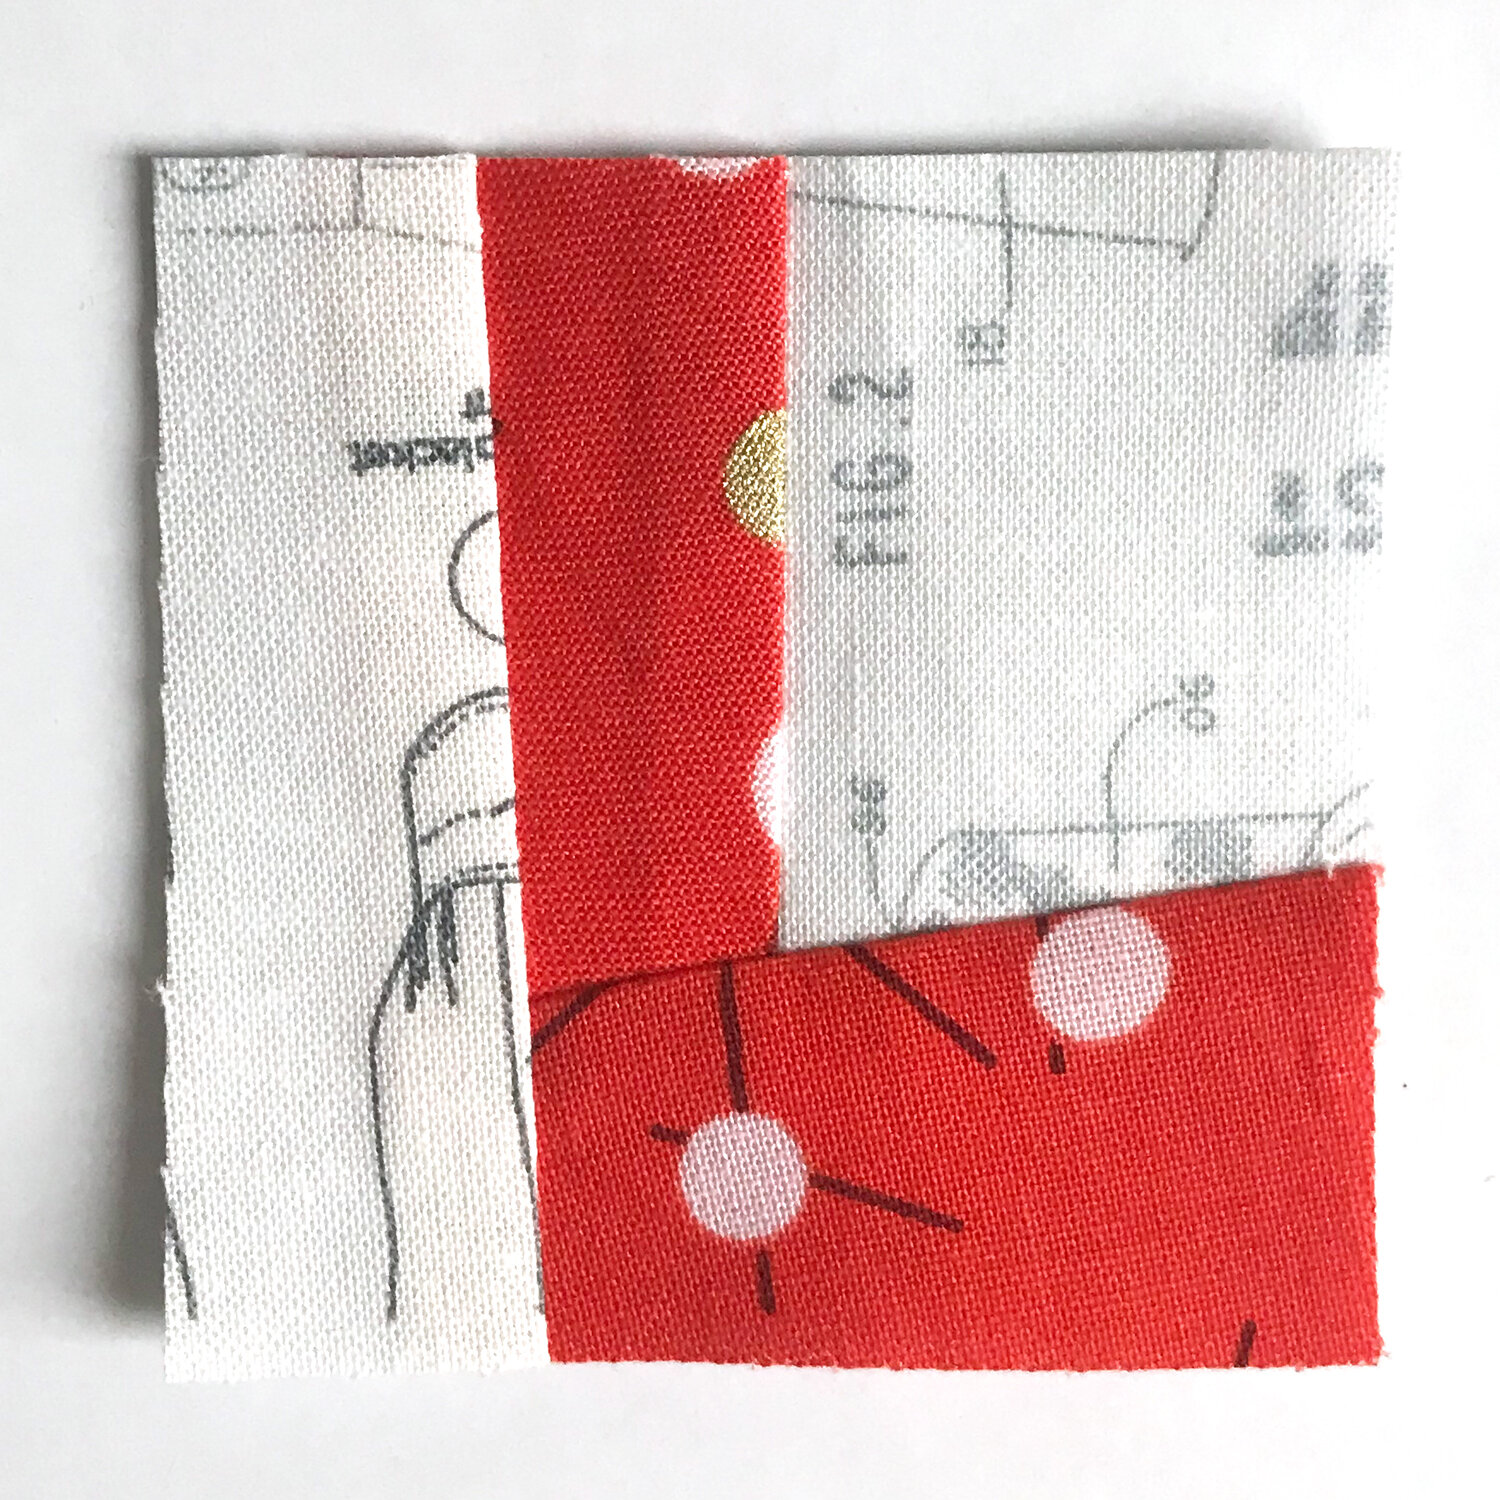
If you fold the paper pattern back in place you will see that it should now look like Picture 12.
You now pick a scrap to cover section A3, and place that scrap, edges matching, with the just trimmed back seam. Again, pin it in place and sew on the printed side of the seam between sections A2 and A3 (Picture 13).
This process repeats again and again – you fold back the paper on that seam, trim off the excess fabric to 1/4”, fold back the paper to give it a good press, place the next scrap, and so on (Pictures 14 - 18).
Next, trim the unit to size (Picture 19), including a seam allowance on the marked lines as shown in Picture 20.
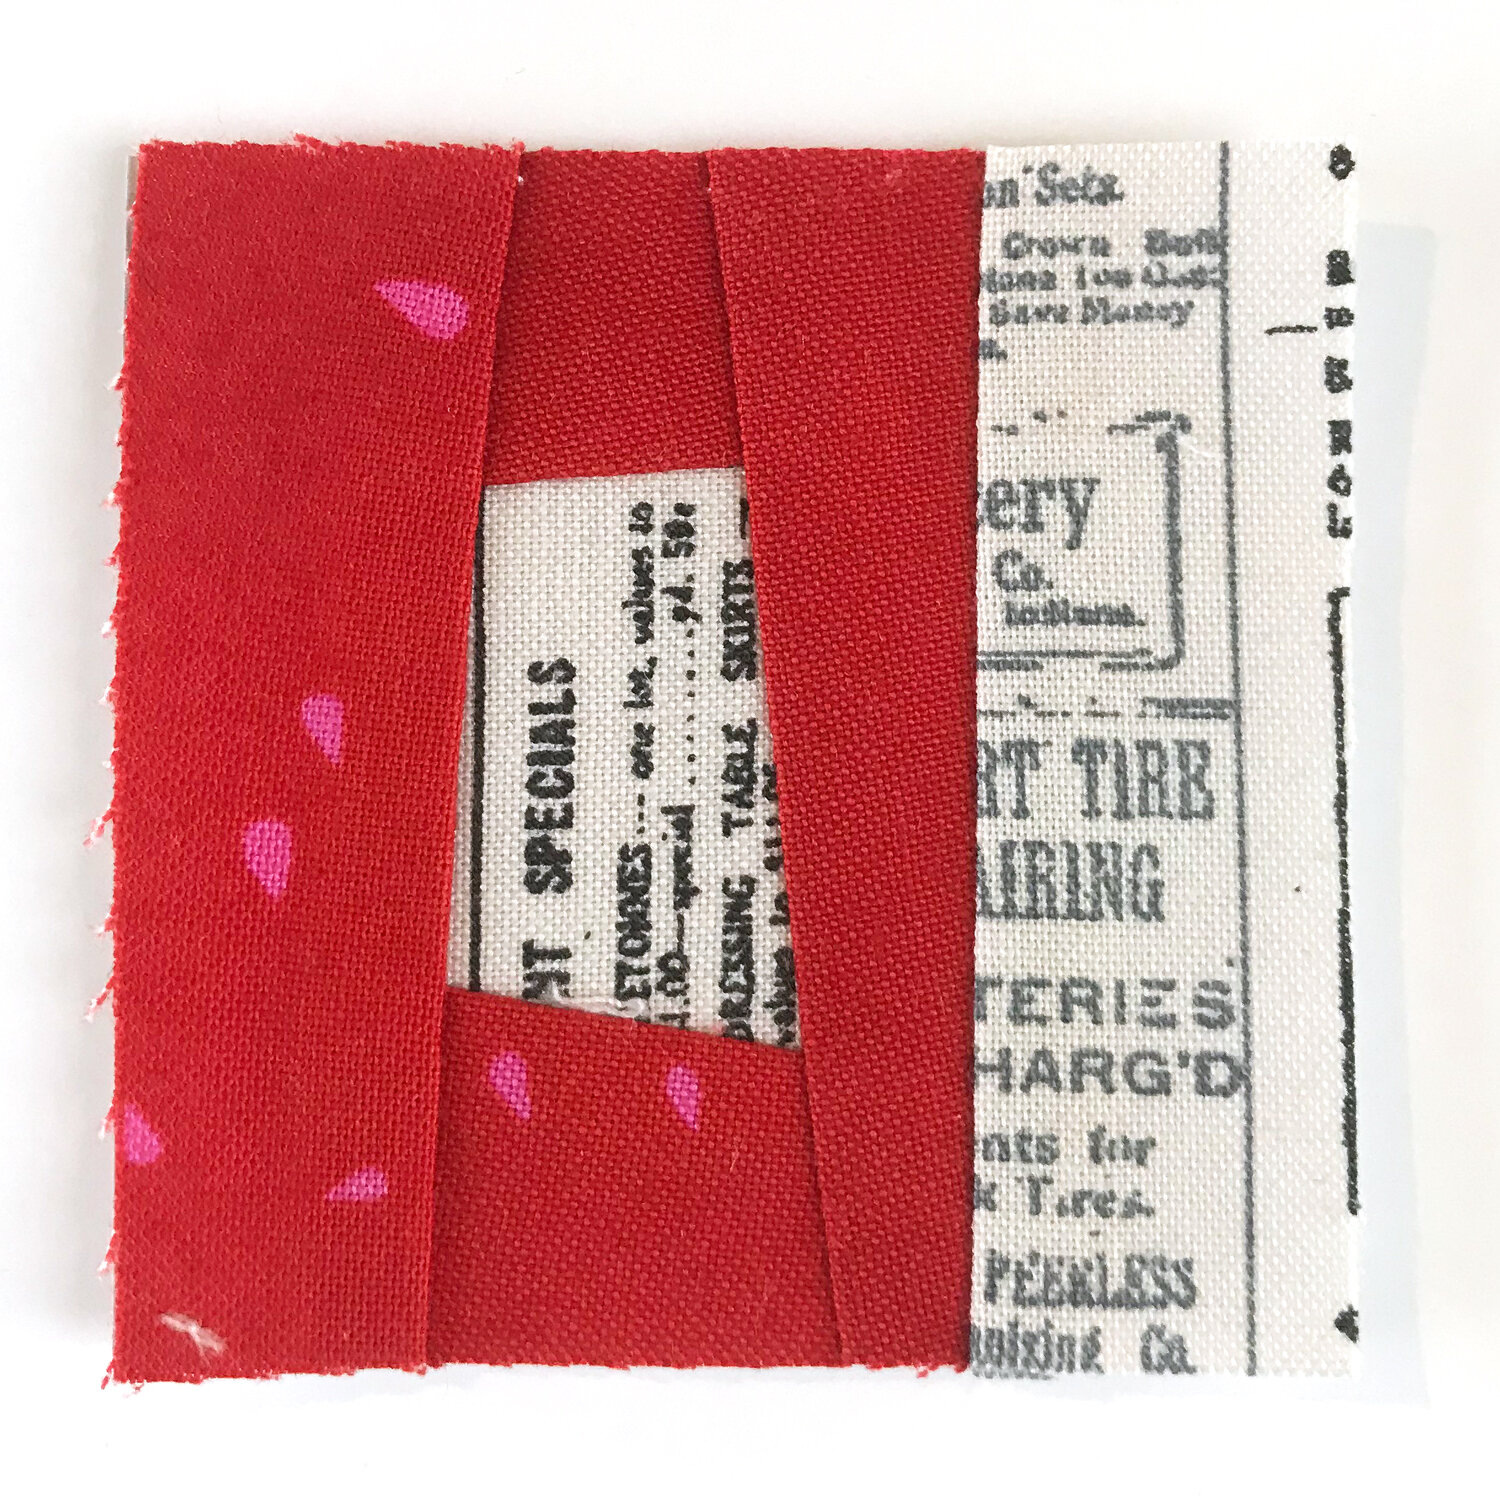
Picture 21 shows you the finished unit. You work the other units in the same manner, as in Pictures 22 and 23. In the end, join all 4 units to the desired block as you can see in Picture 24.
When your block is done you can do all kinds of things with it! This sweet little 4” block is perfect for a small accessory like a pin cushion, or, as seen above, as Valentine’s greeting card for a loved one.
You are getting things better by watching a video? My designer colleague Vanessa Goertzen has put together a great Instagram video for this technique.
And here is my block version for the Zen Chic Blockheads 3 Layout
FREE QUILT ALONG BLOCKHEADS 2020
BLOCK #5
LOVE
BRIGITTE HEITLAND
For the 6” block I’ll use to include in my quilt layout, I used yellow, orange and green for the letters with my SPOTTED fabric collection. This block will be positioned in the corner (see below) where the yellows fade into green in my color wheel color scheme.
Stay tuned each week for the next free block pattern and to see more of my layout revealed!
Free quilt along Blockheads 2020, Block 5: LOVE by Zen Chic
Fabric used in the block is from Zen Chic by Moda, SPOTTED and MORE PAPER LOVE VOLUMES.
Free quilt along Blockheads 2020, Block 5: LOVE
Fabric used in the block is from Zen Chic by Moda, SPOTTED and MORE PAPER LOW VOLUMES.
Don't miss the other blockheads involved in this project:
Betsy Chutchian
Corey Yoder of Coriander Quilt
Janet Clare
Jan Patek
Jen Kingwell
Joanna Figueroa of Fig Tree
Jo Morton
Laurie Simpson
Lisa Bongean of Primitive Gatherings
Lissa Alexander of Moda
Lynne Hagmeier of Kansas Troubles
Me & My Sister Designs
Robin Pickens
Sherri McConnell of A Quilting Life
Stacy Iest Hsu
Vanessa Goertzen of Lella Boutique
Carrie Nelson
Free quilt along with Moda Blockheads 2020, Block 5: LOVE using the SPOTTED and MORE PAPER LOW VOLUMES fabric collection from Zen Chic.

