Last week I had a fun project for you where you could use some scraps you had left, remember? Well if you have a few scraps still in your scrap box, you can make the project I have for you today.
However, don’t worry if you’ve used up all those little bits and pieces. These zippered pouches can certainly be made with yardage and precut fabrics. So take out your favorite ones and let’s look into them, shall we?
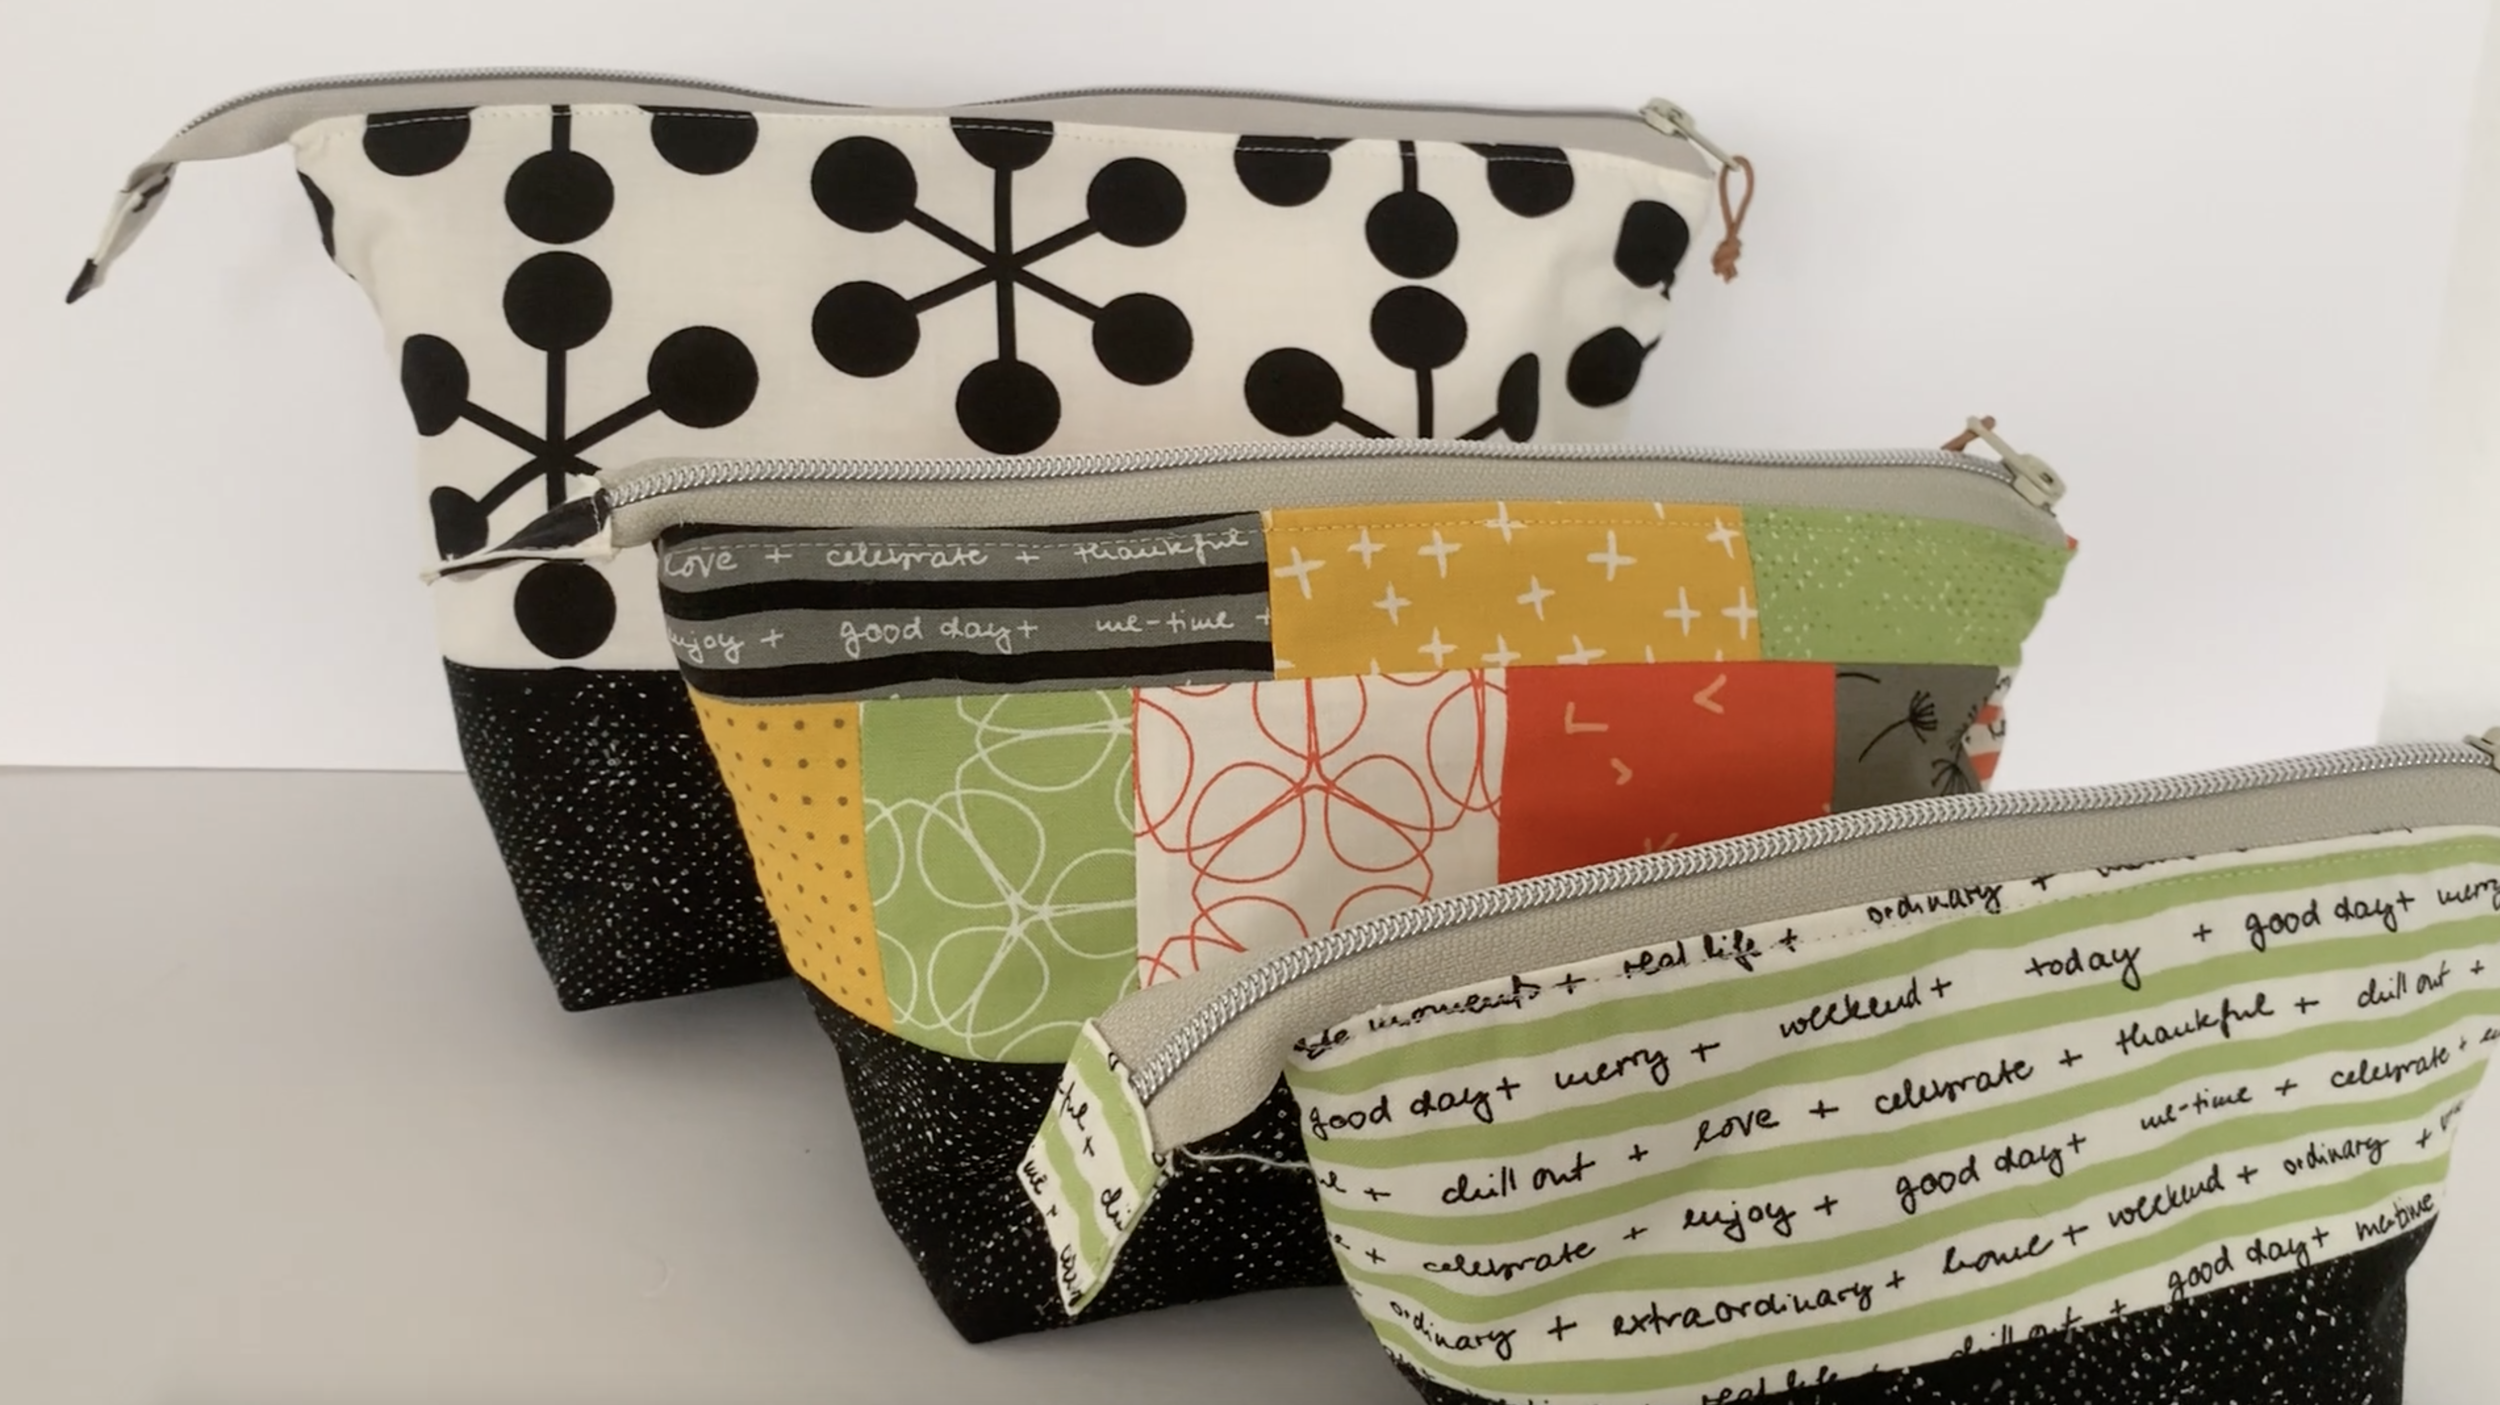
For this zippered pouch set, we used a variety of Quotation fabrics. The large pouch and the small one have only 2 fabrics on the outside both prints from the Quotation series. One is the well-known asterisk print. It’s a perfect one for a bold and bigger zipper pouch.
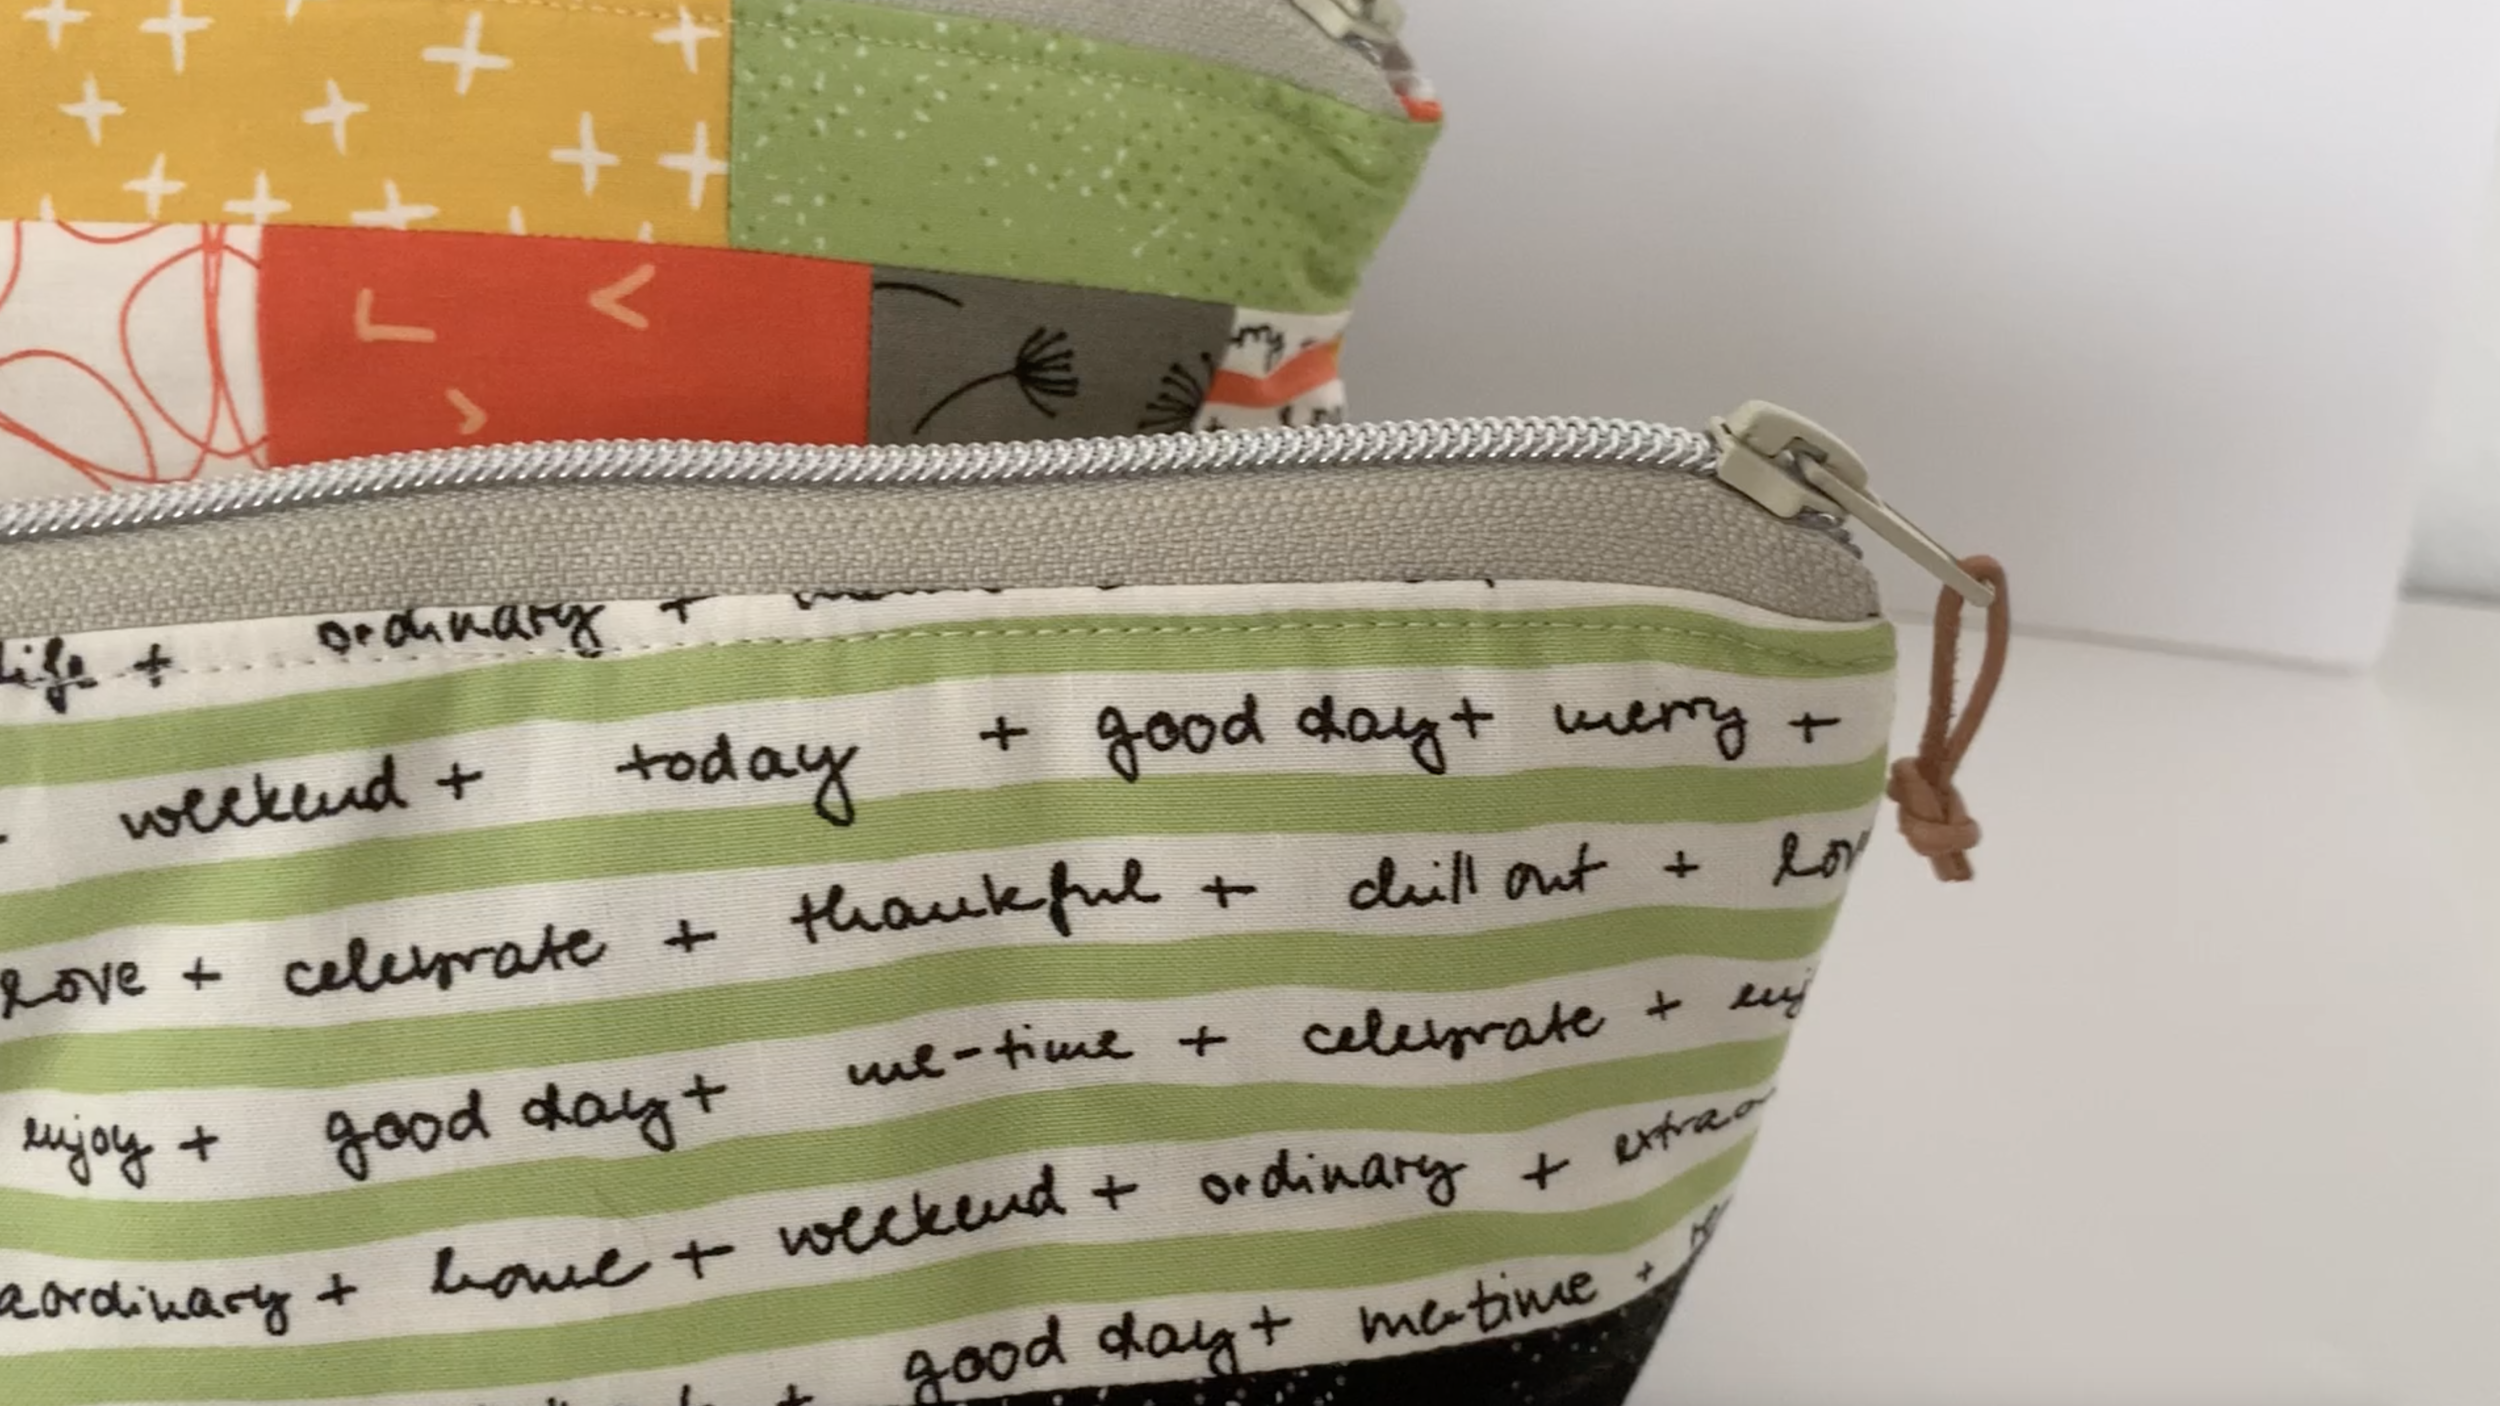
The little pouch is made of the inspiring text print in green from the Quotation collection. If you look closely you can see words like “celebrate”, “love”, “thank you”, and “enjoy”. Who doesn’t want a zipper pouch like that in their bag?
All zipper pouches in this set of 3 have their bottom made of the black variant of the Spotted fabrics. I think this black fabric looks like the blackboard with all those little white spots we all know from school, right?
But you don’t need to go back to school to learn to make these zipper pouches. Anna Graham from Noodle-head made an excellent tutorial that is easy to follow and where she is linking to another post for sewing instructions and photos. So make sure you find that link and click through as well.
I think my friend Antje Schmiedecke (you can find her on Instagram as @antokami) did an amazing job sewing these zipper pouches. Thank you so much, Antje.
So, which size are you going to sew first? Tell me in the comments, I would love to know!
FREE QUILT ALONG BLOCKHEADS 2020
BLOCK #54
WINDMILLS
Free quilt along Blockheads 2020, Block 54: Windmills
Fabrics used in this block are from Zen Chic by Moda, SPOTTED and MORE PAPER LOW VOLUMES.
Time is flying by and we are getting to a close with the Blockheads3 Quilt Along. Only 3 blocks to sew. Can you believe it?
This week it’s Janet Clare’s turn to stand in the spotlights. She designed a block called Windmills. And this block undoubtedly looks like a windmill. The little triangles in the corners even give you a sense of motion somehow. It is quite brilliant.
Wanna know a fun fact about Janet? She likes to quilt with scissors instead of a rotary cutter. It gives her blocks a more lively look, she says. On her blog, Janet shares how she puts her blocks together which is probably a thing from her past, the urge to teach. In her early years, she was trained to be a teacher. And she still teaches in a way by hosting talks and workshops. A busy lady for sure!
And you could be as busy as Janet, but with one of her Layer Cakes that you can win this week. Moda is kindly giving away one from Janet’s collection The Blues. All you need to do is hop on over to the Facebook group for Moda Blockheads look for the question Janet is asking us this week and comment with your answer. That’s all! Next week the winner will be drawn for this awesome Layer Cake, so fingers crossed.
There is one thing I would like to mention here. We have been getting some questions about the final instructions for assembling and finishing the quilt top. Rest assured, we won’t keep you hanging. This will be explained in the last blog post of the Moda Blockheads Quilt Along. So in the post with block 56, you’ll get those instructions.
Now go on and make that Windmills block. Happy quilting!
Free quilt along Blockheads 2020, Block 54: Windmills
Fabrics used in this block are from Zen Chic by Moda, SPOTTED and MORE PAPER LOW VOLUMES.
Don't miss the other blockheads involved in this project:
Betsy Chutchian
Corey Yoder of Coriander Quilt
Janet Clare
Jan Patek
Jen Kingwell
Joanna Figueroa of Fig Tree
Jo Morton
Laurie Simpson
Lisa Bongean of Primitive Gatherings
Lissa Alexander of Moda
Lynne Hagmeier of Kansas Troubles
Me & My Sister Designs
Robin Pickens
Sherri McConnell of A Quilting Life
Stacy Iest Hsu
Vanessa Goertzen of Lella Boutique
Carrie Nelson
Stay tuned… Each week I’ll reveal more of my layout with the next block!
Free quilt along Blockheads 2020, Block 54: Windmills
Fabrics used in this block are from Zen Chic by Moda, SPOTTED and MORE PAPER LOW VOLUMES.


Can you believe it? We are almost done with this Moda Blockheads Quilt Along. In this post we’ll share the last block STAR DANCE designed by Joanna Figueroa. And we are going to provide you some handy instructions on how to assemble the whole quilt using the Zen Chic layout. Let’s dive in and finish this great project together!